Baking Homemade Bread Without Special Tools

If you’ve ever spent forty dollars on a fancy sourdough starter kit or spent three hours watching a YouTube video about “hydration percentages” only to end up with a gummy, unbaked brick, please just stop. Honestly, the internet has turned something as simple as how to bake bread at home into this high-stakes, pseudo-scientific ritual that requires a degree in chemistry and a designer kitchen. I’ve spent enough years managing complex corporate projects to know when a process has become unnecessarily bloated, and bread is no exception. You don’t need a specialized stone oven or a twelve-step fermentation schedule to get a decent crust; you just need to stop overcomplicating the basics.
I’m not here to sell you on a lifestyle or a complicated hobby that eats up your entire Sunday. My goal is to give you the straight-talking, actionable steps to get a warm, reliable loaf on your table without the mental clutter. I’m going to show you how to master the fundamentals using what you already have in your pantry, focusing on the small, repeatable wins that actually matter. Let’s cut through the noise and just get this loaf started.
Table of Contents
Ditch the Fancy Gear Essential Bread Baking Tools
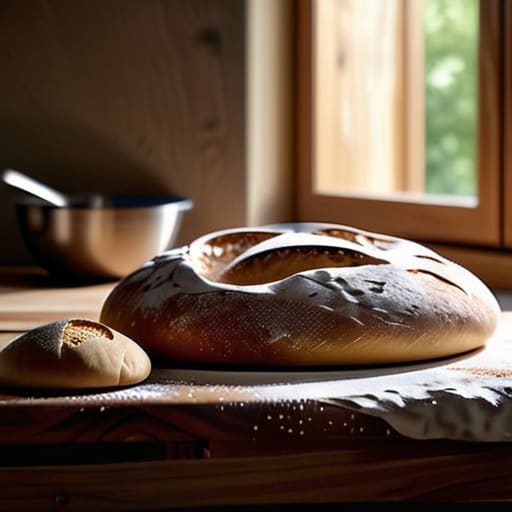
Look, I’ve seen those endless lists of specialized gadgets online that make you feel like you need a laboratory just to get a decent crust. You don’t. When I first started experimenting with bread making for beginners, I felt the same pressure to buy every fancy Dutch oven and proofing basket on the market. Honestly? Most of that is just noise. If you want to succeed, you really only need a few essential bread baking tools that actually serve a purpose.
First, grab a sturdy mixing bowl—glass or stainless steel is fine—and a decent kitchen scale. Measuring by volume is a trap that leads to inconsistent loaves, and I don’t have the patience for that kind of guesswork. You’ll also want a bench scraper; it’s a game-changer for cleaning your workspace and handling sticky dough without the mess. Finally, a simple baking sheet and some parchment paper will get you through 90% of your projects. We aren’t trying to win a televised baking competition here; we’re just trying to make a loaf that tastes better than the grocery store version. Keep it simple, keep it functional, and just get started.
Bread Making for Beginners Keeping It Simple and Real
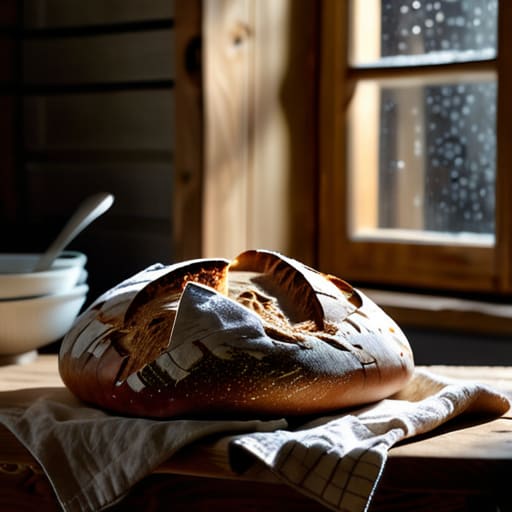
Look, if you’ve been scrolling through social media, you probably think you need a temperature-controlled proofing box and a degree in chemistry to make a decent loaf. You don’t. When it comes to bread making for beginners, the biggest hurdle isn’t your skill level—it’s your expectations. I spent years managing complex projects where every variable had to be perfect, but in my kitchen, I’ve learned that a little chaos is actually part of the charm.
The real magic happens during the yeast fermentation process, and honestly, it’s more about patience than precision. You’re just giving those tiny organisms a warm place to do their job. Don’t stress if your dough doesn’t look like a professional photograph after ten minutes. Just watch how it changes; it’ll tell you when it’s ready. If you can master the basic rhythm of mixing, waiting, and shaping, you’re already halfway there. We aren’t aiming for a Michelin star here; we’re just aiming for a warm slice of toast that didn’t come out of a plastic bag.
Five Ways to Keep Your Bread from Becoming a Project
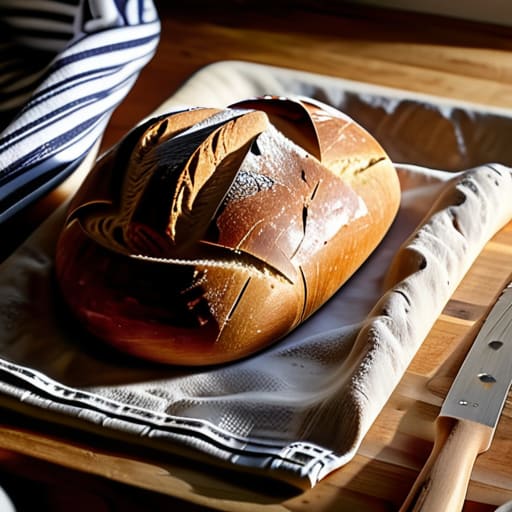
- Stop obsessing over the exact temperature. Your kitchen isn’t a laboratory, and your dough doesn’t need a thermometer to tell it what to do. If the room feels comfortable to you, it’s probably fine for the yeast. Just watch the dough, not the clock.
- Don’t be afraid to get your hands dirty. I know those fancy stand mixers look tempting, but there is something about the tactile feedback of kneading by hand that tells you exactly when the gluten is ready. You’ll know it’s done when it feels elastic, not when a timer goes off.
- Embrace the mess. If you’re worried about flour getting on your counters or sticky dough sticking to your fingers, you’ve already lost the battle. Spread some extra flour around, grab a bench scraper, and just lean into the chaos. It’s easier to clean up a mess than it is to bake a perfect loaf while being precious about your kitchen.
- Let the dough rest. This is the one part where you actually have to slow down. If you try to rush the rising process because you’re hungry, you’ll end up with a dense, heavy brick. Give it the time it needs to breathe; it’s the easiest work you’ll do all day.
- Trust your senses, not just the recipe. Recipes are just suggestions. If the dough feels too dry, add a splash of water. If it’s too sticky, add a dusting of flour. You’ll learn more from one “failed” loaf that you adjusted on the fly than from ten perfect ones that followed a script.
The Bottom Line: Just Start Baking
Forget the expensive sourdough kits and specialized proofing baskets; if you have a heavy pot and a basic scale, you’re already halfway there.
Don’t let the science intimidate you—bread is just flour, water, salt, and patience, so stop overthinking the ratios and just get your hands in the dough.
Aim for progress, not perfection, because a slightly misshapen loaf that tastes better than store-bought is still a massive win for your kitchen.
Don't Let the Flour Settle
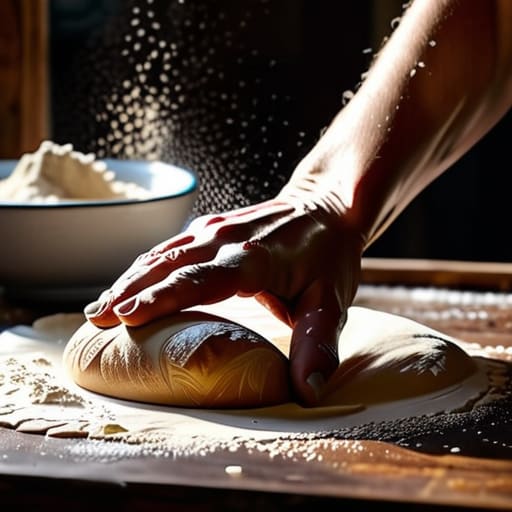
Look, we’ve covered a lot of ground here, but let’s boil it down to the basics so you can actually get started. You don’t need a professional-grade kitchen or a degree in chemistry to make a decent loaf. All you really need is some decent flour, a bit of patience, and the willingness to get your hands a little messy. Remember: keep your tools simple, don’t stress over the perfect rise on your first try, and most importantly, stop overcomplicating the process. If the dough feels a bit sticky or your crust isn’t quite as golden as a magazine photo, it’s still bread, and it’s still going to taste a hell of a lot better than anything you’ll find in a plastic bag at the grocery store.
At the end of the day, baking bread isn’t about perfection; it’s about the small, quiet win of creating something real from scratch. There is something incredibly grounding about the smell of yeast hitting warm water and the way a fresh loaf transforms a kitchen from a mere room into a functional, living home. It’s one of those intentional acts that cuts through the noise of a busy week. So, grab your notebook, clear off a spot on the counter, and just start baking. You’ve got this, and I promise, that first warm slice will make every bit of the effort worth it.
Frequently Asked Questions
Why does my bread always come out as a hard brick instead of being soft and airy?
Look, I’ve been there—staring at a loaf that’s more useful as a doorstop than breakfast. Usually, it’s one of two things: you’re either under-proofing the dough or you’re overworking it. If you don’t let that yeast do its job and create air pockets, you’re basically baking a rock. Also, check your hydration; if your dough is too dry, it won’t rise. Don’t get discouraged; just adjust your timing and let it breathe.
Can I actually make this work if I don't have a stand mixer or a fancy kitchen?
Look, I’ve spent years managing complex projects, and if there’s one thing I know, it’s that you don’t need a massive budget to get results. You don’t need a $500 stand mixer or a professional-grade kitchen to bake a decent loaf. Honestly? A sturdy bowl, a wooden spoon, and your own two hands are more than enough. If you have a countertop and a little bit of patience, you’re already halfway there. Let’s just get started.
How do I know when the dough is actually "ready" without losing my mind over timing?
Look, forget the timer. Yeast doesn’t care what your oven clock says, and neither should you. Instead, use your hands. Give the dough a gentle poke; if it springs back slowly and leaves a tiny indentation, it’s ready. If it snaps back instantly, it needs more time. If it just stays there like a puddle, you’ve gone too far. Trust your gut and your fingertips—they’re much more reliable than a kitchen timer.