How to Repair and Mend Your Clothes to Make Them Last

I was standing in front of my closet last Tuesday, staring at a pair of my favorite linen trousers with a gaping hole near the hem, and my first instinct was to sigh and think, well, there goes another hundred dollars. We’ve been conditioned to believe that once a seam pops or a thread runs, that garment is officially destined for the donation bin. But honestly? That’s just bad math. Learning how to mend clothes isn’t some lost, complicated art form reserved for grandmothers in rocking chairs; it’s just a basic life skill that keeps your wardrobe—and your budget—intact.
I’m not here to teach you how to embroider intricate floral patterns or spend hours on a single button. My goal is to give you the no-nonsense essentials so you can tackle common repairs in minutes. We’re going to cover the quick fixes that actually work, from securing a loose hem to patching up those annoying snags, without any of the fluff. Let’s stop letting perfectly good fabric clutter up your “to-fix” pile and finally get these repairs done so you can get back to your actual life.
Table of Contents
- Step-by-Step Instructions
- Mastering Needle and Thread Basics for Quick Wins
- The Sewing Kit Essentials You Actually Need to Function
- Five ways to stop the bleed before your favorite shirt becomes a rag
- The bottom line: Keep it simple and keep moving
- Don't Let a Loose Thread Stop You
- Frequently Asked Questions
Guide Overview
Tools & Supplies
- Hand sewing needles (various sizes for different fabrics)
- Fabric scissors (sharp blades for clean cuts)
- Thimble (to protect fingers during heavy stitching)
- Embroidery floss or all-purpose thread (3-5 assorted colors)
- Sewing kit (assorted buttons and safety pins)
Step-by-Step Instructions
- 1. First things first, you need to gather your supplies so you aren’t hunting through junk drawers halfway through a repair. Clear a spot on your dining table and grab a decent needle, some high-quality thread that matches your fabric, and a pair of sharp scissors. I always keep a small dedicated sewing kit in my utility drawer because nothing kills my momentum like searching for a single needle when I’m in the zone.
- 2. Before you even touch the fabric, take a close look at the damage to figure out your strategy. Is it a clean rip in a seam, or is there a hole in the actual material? If it’s just a seam popping open, you’re in luck—that’s a quick fix. If there’s a hole, you might need to plan for a patch or a decorative embroidery fix to hide the evidence.
- 3. If you’re tackling a loose seam, turn the garment inside out. This is the secret to making sure the repair stays hidden on the outside. Thread your needle and tie a knot at the end of the thread, then start your stitches about a quarter-inch away from the actual tear. You want to anchor the thread firmly in the healthy fabric before you start working your way toward the damaged area.
- 4. For a simple rip, use a “running stitch” or a “backstitch” to pull the edges together. I personally prefer the backstitch for anything that needs to hold up to regular wear, like jeans or work shirts, because it’s significantly more durable than a basic up-and-down motion. Just keep your tension even; if you pull too tight, you’ll pucker the fabric and end up with a mess that looks more obvious than the original tear.
- 5. If you’re dealing with a hole in the fabric itself, don’t panic. You can use a small scrap of similar fabric as an “underlay.” Place the scrap behind the hole, pin it in place, and then sew around the edges of the hole to secure it to the patch. This is much more effective than just trying to sew the edges of the hole together, which usually just results in a bunched-up, ugly knot.
- 6. Once you’ve finished the actual sewing, don’t just rip the thread out and call it a day. You need to secure the ends by tying off several small knots on the underside of the fabric. I always double-check my work by giving the fabric a gentle tug to make sure everything is seated properly.
- 7. Finally, trim any loose threads with your sharpest scissors. If you’re feeling particularly organized, take a quick note in your project notebook about what you fixed and when. It sounds a bit overkill, but tracking your maintenance helps you realize just how much money you’re saving by repairing instead of replacing.
Mastering Needle and Thread Basics for Quick Wins
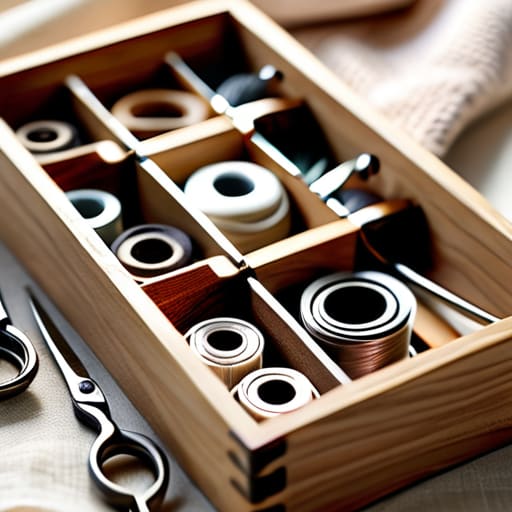
Before you dive into the actual repairs, you need to get your workspace sorted. I’ve learned the hard way that hunting for a tiny needle in a junk drawer is the fastest way to lose your momentum. Instead, keep a small, dedicated container of sewing kit essentials—think high-quality thread in neutral tones, sharp fabric scissors, and a few different needle sizes—somewhere accessible, like a kitchen drawer or a utility closet. Having these tools within arm’s reach turns a chore into a five-minute task rather than a weekend project.
Once you have your tools, don’t be intimidated by the mechanics. Mastering the needle and thread basics is really just about muscle memory. Start by practicing a simple running stitch on a scrap of old fabric to get a feel for your tension; if you pull too hard, you’ll pucker the cloth, and if you’re too loose, the seam won’t hold. Consistency is more important than speed. Once you can control that tension, you’ll find that everything from securing a loose hem to learning how to sew a button becomes second nature.
The Sewing Kit Essentials You Actually Need to Function
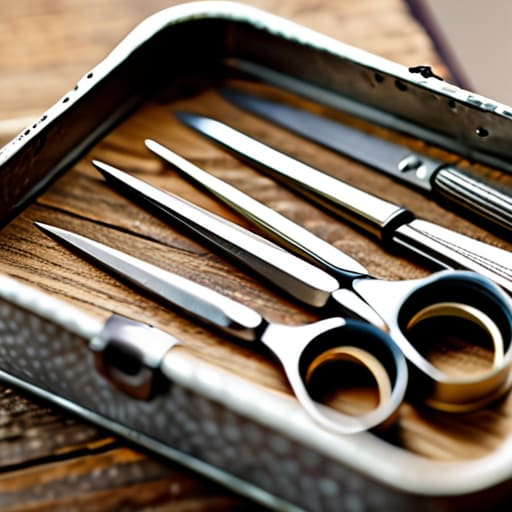
Look, you don’t need a floor-to-ceiling sewing cabinet or those massive, overpriced kits that come with fifty shades of pink thread you’ll never use. In my experience, most “emergency” repairs can be handled with a handful of high-quality basics. I keep a small, dedicated tin in my utility drawer containing just the sewing kit essentials that actually move the needle: a variety of needle sizes (from fine for silk to sturdy for denim), a few spools of neutral thread, sharp fabric scissors, and a seam ripper. If you have those, you’re already ahead of the game.
I also highly recommend keeping a small stash of matching fabric scraps and some fine safety pins on hand. Sometimes a quick fix requires a bit of fabric patch application to stabilize a thinning area before you even start stitching. Having these little extras tucked away means you aren’t hunting through junk drawers when a hem falls or a seam pops right before you head out the door. Keep it simple, keep it accessible, and you’ll actually find yourself using it.
Five ways to stop the bleed before your favorite shirt becomes a rag
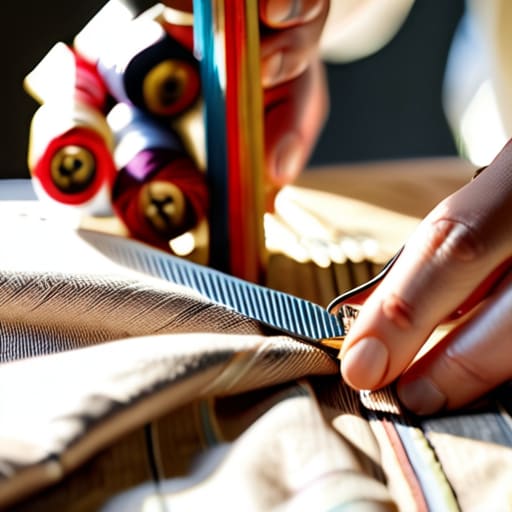
- Match your thread to the garment, not your sewing kit; if the thread stands out like a sore thumb, the mend looks amateur, so grab a spool that actually disappears into the fabric.
- Don’t just patch the hole; trim the frayed edges first to prevent the unraveling from spreading further while you’re trying to work.
- Use a thimble when you’re working with heavy denim or canvas, because nothing kills your productivity like a needle prick that leaves you distracted for the rest of the afternoon.
- Always knot your thread twice at the start of a stitch to ensure your hard work doesn’t come undone the second you pull that sweater over your head.
- Keep a small stash of “emergency” buttons in your junk drawer or a specific sewing kit so you aren’t scrambling for a replacement when a button pops off right before a meeting.
The bottom line: Keep it simple and keep moving
Don’t let a tiny tear turn into a reason to buy something new; most wardrobe “emergencies” can be solved with ten minutes and a basic needle and thread.
Stop overbuying sewing supplies—you only need a handful of high-quality essentials that actually work when you’re in the middle of a project.
View mending as a way to reclaim your time and your money, rather than a tedious chore on your to-do list.
Don't Let a Loose Thread Stop You
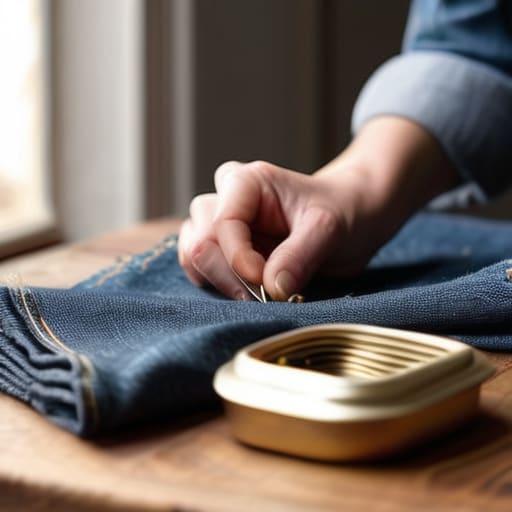
At the end of the day, mending isn’t about becoming a master seamstress or spending hours hunched over a sewing machine; it’s about taking control of what you already own. We’ve covered the essentials, from building a kit that actually works to mastering those quick-fix stitches that save a garment from the trash bin. Whether you’re reinforcing a button or closing up a small tear, the goal is the same: to stop the cycle of constant replacement and start maintaining your belongings with intention. Once you have the right tools and a little bit of rhythm, these tasks stop feeling like chores and start feeling like the small, efficient wins they truly are.
I know how it feels to look at a pile of “to-fix” laundry and feel that immediate mental weight. It’s just one more thing on the list, right? But I promise you, once you tackle that first loose hem, the momentum shifts. There is a certain kind of quiet satisfaction in knowing you can handle the small breaks in your life without needing to run to the store for a replacement. Let’s stop letting minor damage dictate our schedules or clutter our closets. Grab your needle, find a patch of good light, and just get it done. Your wardrobe—and your peace of mind—will thank you.
Frequently Asked Questions
How do I know if a piece of clothing is actually worth the effort of mending, or if I should just let it go?
Look, I’m a big believer in intentionality, not just hoarding fabric. Before you reach for the needle, ask yourself two things: Does this piece actually fit my current life, and is the damage structural or cosmetic? If it’s a beautiful vintage blazer with a loose button, mend it. But if it’s a fast-fashion top with a massive hole in a high-friction area, let it go. Don’t waste your energy on clutter.
What’s the trick to matching thread colors so my repairs don't look like a messy DIY project?
Here’s the secret: don’t just grab the first blue you see. I always lay the fabric flat on the table, grab a few different shades of thread, and hold them directly against the cloth under natural light. If you’re still stuck, go one shade darker rather than lighter. A slightly darker thread tends to sink into the fibers and disappear, whereas a lighter thread just screams, “I patched this myself.”
I’m terrified of ruining my expensive knits—is there a way to fix a snag without making a hole even bigger?
I hear you—there is nothing more heart-sinking than seeing a snag in a high-quality sweater. Take a breath; you haven’t ruined it yet. Whatever you do, do not cut that loop. Instead, grab a large-eye needle and some matching thread. Use the needle to gently pull the snag through to the inside of the garment. Once it’s on the reverse side, you can secure it with a tiny, invisible knot. Problem solved.