Weekend Woodworking: Projects You Can Complete in Days
I’ve spent enough years staring at that one wobbly side table and that awkward, empty corner in the hallway to know that a house never truly feels “settled” until you’ve fixed the little things yourself. We often think we need a massive workshop and a degree in carpentry to make a real impact, but that’s just a recipe for procrastination. In reality, the most transformative changes come from tackling small, manageable beginner woodworking projects that actually serve a purpose in your daily routine. It’s not about building a masterpiece for a museum; it’s about reducing the mental load of a cluttered home by creating exactly what you need.
In this guide, I’m stripping away the intimidation factor and giving you five straightforward wins to kickstart your DIY journey. I’ll walk you through five specific projects that require minimal tools but offer maximum functional impact for your space. By the time we’re done, you won’t just have a few new pieces of furniture; you’ll have the confidence to stop looking at your home’s flaws and start actually fixing them. Let’s get to work.
Table of Contents
The Entryway Catch-All
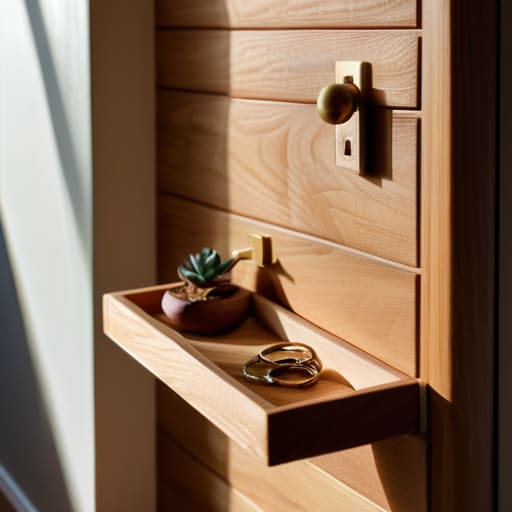
We’ve all been there: you walk through the front door with groceries in one hand and your keys in the other, only to realize you have nowhere to actually put them down. A simple, wall-mounted catch-all tray is the first thing I tackled when I started working with wood. It doesn’t require complex joinery or fancy power tools; you just need some decent scrap wood, a bit of sandpaper, and some sturdy mounting hardware.
Floating Spice Racks
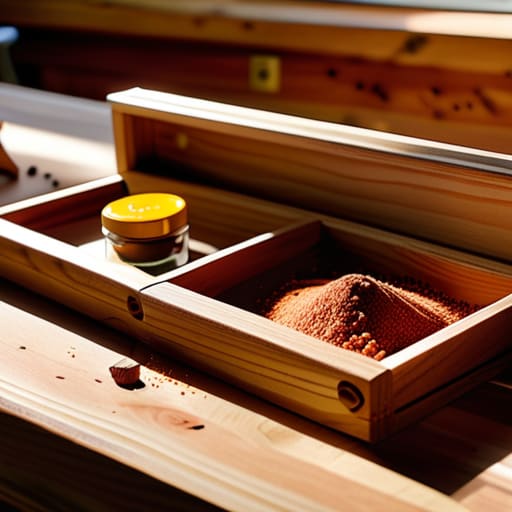
If your kitchen cabinets are overflowing and you’re tired of digging through a dark pantry just to find the cumin, it’s time to reclaim your counter space. Floating spice racks are a fantastic beginner project because they are essentially just small, rectangular boxes. You can use inexpensive pine or even some leftover cedar if you want something a bit more durable and aromatic.
Minimalist Plant Stands
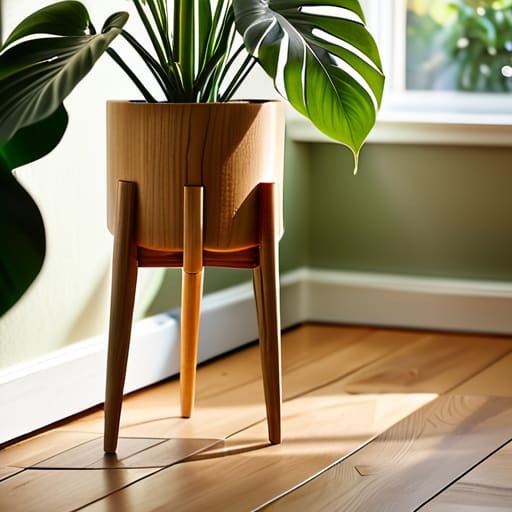
I have a tendency to collect more houseplants than my suburban fixer-upper can actually hold, which usually leads to a cluttered floor. Instead of buying those flimsy plastic stands from big-box stores, I started building my own minimalist tripod stands. They use basic straight cuts and a few simple screws, making them the perfect low-stakes project for a Saturday afternoon.
Desktop Organizer Trays
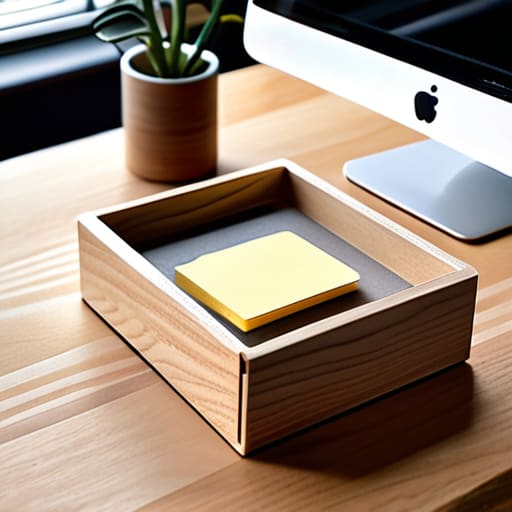
Since I spend a significant portion of my day working from a home office, I know exactly how a messy desk can derail your focus. A custom desktop organizer is a game-changer for keeping your pens, post-its, and charging cables from migrating into a chaotic pile. You can build these using thin plywood, which is much easier to cut and manipulate than heavy lumber.
Rustic Picture Ledges
One of the biggest mistakes people make when decorating is hanging every single frame perfectly level on the wall; it’s exhausting to maintain and often looks too rigid. I prefer using wooden picture ledges, which allow you to lean your art and photos against the wall. It gives your space a more relaxed, lived-in feel while still keeping things organized.
The Bottom Line: Small Wins, Big Impact
Don’t wait for a massive renovation to feel in control; start with one small, functional project that solves a real problem in your house.
Focus on utility over perfection—a sturdy, handmade shelf that actually holds your books is better than a “perfect” piece that sits empty.
Keep your tools organized and your workspace clear so that when you finally have an hour to fix something, you aren’t spending forty minutes just looking for a screwdriver.
Getting Started and Staying Steady
Look, I know the idea of picking up a saw for the first time feels a little daunting, but remember that these five projects—from that simple entryway shelf to a custom spice rack—are all about building momentum. You don’t need a professional-grade workshop or a degree in carpentry to make a difference in your home. The goal isn’t to create a museum piece; it’s about choosing something functional that solves a specific problem in your daily routine. Whether you’re tackling a small planter or a sturdy stool, the key is to focus on the process and accept that your first few cuts might not be perfectly straight. That’s okay. Just grab your measuring tape, clear off a workspace, and start where you are.
At the end of the day, woodworking is just another way to reclaim your environment from the chaos. There is a unique, quiet satisfaction that comes from looking at a piece of furniture and knowing you were the one who made it work for your life. Don’t let the fear of making a mistake keep you stuck in a cycle of buying cheap, disposable items that break within a year. Invest a little time in yourself and your space instead. Once you finish that first project, you’ll realize that fixing your home is much easier when you actually have the tools and the confidence to do it yourself. Now, go get to work.
Frequently Asked Questions
I don't have a garage full of power tools yet—can I actually pull these projects off with just a basic hand saw and a screwdriver?
Absolutely. Look, I didn’t start my furniture restoration journey with a shop full of heavy machinery either. If you’ve got a decent hand saw, a screwdriver, and a hammer, you’re already halfway there. Most of these projects are about smart measuring and steady hands, not high-voltage power. Don’t let a lack of fancy equipment stall your progress. Grab what you have, clear a spot on the kitchen table, and just start cutting.
What kind of wood should I be buying at the hardware store so I don't waste money on something that's going to warp or split?
Look, don’t get seduced by the cheap, rough-cut pine at the end of the aisle just because it saves you ten bucks. It’s almost guaranteed to warp the second it hits your living room air. If you’re just starting, grab some Select Pine or Poplar. They’re straighter, smoother, and much more forgiving. It’s a small upfront investment that saves you the massive headache of trying to sand out a twist later.
How do I make sure my finished pieces don't look like "DIY disasters" and actually hold up to daily use in a busy house?
The secret is all in the prep and the finish. If you skip sanding, you’ll feel those rough patches every time you touch the piece. Sand through the grits—start coarse and work your way up—until it’s smooth as silk. Then, don’t skimp on the protection. In a house with kids and heavy traffic, a high-quality polyurethane or a sturdy wax is non-negotiable. If it isn’t sealed properly, it won’t survive the first spill.