Fix a Leaky Faucet Quickly With This Simple Guide
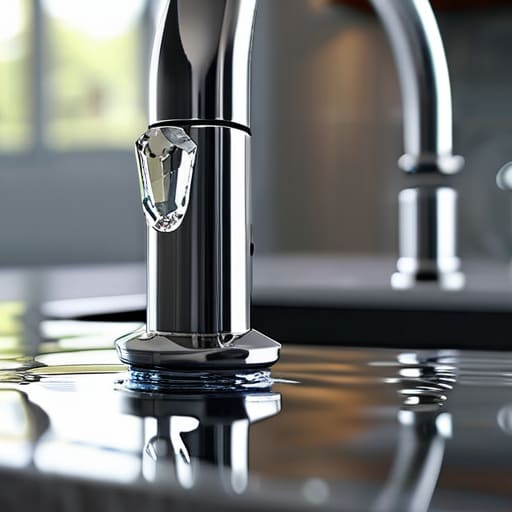
It was 2:00 AM, and that rhythmic, maddening drip… drip… drip… from the kitchen sink was echoing through the entire house like a metronome of pure stress. I was lying there, staring at the ceiling of our fixer-upper, thinking about how much mental energy that tiny sound was stealing from me. Most people think you need to call an expensive plumber or tear out the entire vanity just to stop the noise, but that’s a total myth. Learning how to fix a leaky faucet isn’t about mastering complex engineering; it’s usually just about replacing a worn-out washer or a tiny O-ring that’s seen better days.
I’m not here to give you a lecture or a twenty-step manual that requires a degree in mechanical engineering. Instead, I’m going to walk you through the straight-talking, practical steps to get that silence back in your home. We’re going to identify the source of the leak, grab the right tools, and get the job done so you can stop worrying about your water bill and start enjoying a little peace and quiet. Let’s just get this fixed and move on with our lives.
Table of Contents
Guide Overview
Tools & Supplies
- Adjustable wrench for loosening nuts
- Screwdriver (Phillips or flathead) for removing handles
- Allen wrench for removing set screws
- Replacement washers or O-rings (1 set)
- Plumber's grease (1 small tube)
Step-by-Step Instructions
- 1. First things first, you need to shut off the water. I know, it’s the least glamorous part, but unless you want your kitchen floor to turn into a swimming pool, find the shut-off valves under the sink and turn them clockwise until they stop. Once you’ve done that, turn the faucet on to drain any remaining water in the lines.
- 2. Grab a towel and lay it over the drain, or better yet, plug the sink. I’ve lost more than one tiny, essential screw to the dark abyss of a bathroom drain, and trust me, you don’t want to be fishing for hardware while you’re already frustrated.
- 3. Now, it’s time to get under the hood. Use a screwdriver to remove the decorative cap on the handle, then unscrew the handle itself to reveal the inner workings. If you’re dealing with an older faucet, you might need a wrench to loosen the packing nut, so just take your time and don’t force anything too aggressively.
- 4. Once the handle is out of the way, you’ll see the stem or the cartridge. Pull it straight up—you might need a pair of pliers for this bit—and take a good look at it. Most of the time, the culprit is just a worn-out rubber washer or an O-ring that’s seen better days.
- 5. Take those old, crusty parts with you to the hardware store. Don’t try to guess the size based on memory; bring the actual pieces with you to ensure you get an exact match. There is nothing more soul-crushing than driving back to the store a second time because you bought the wrong three-cent washer.
- 6. Swap out the old components with your shiny new ones. Make sure everything is seated exactly where it was before, and if you see any mineral buildup or grit on the parts, give them a quick wipe with a bit of white vinegar to keep things clean.
- 7. Reassemble everything in the reverse order you took it apart. Tighten the parts firmly, but remember my golden rule: don’t over-tighten. You want it secure, not stripped. Once it’s all back together, turn your water valves back on slowly and test it out to make sure that annoying drip is officially a thing of the past.
The Essential Plumbing Tools for Faucet Repair
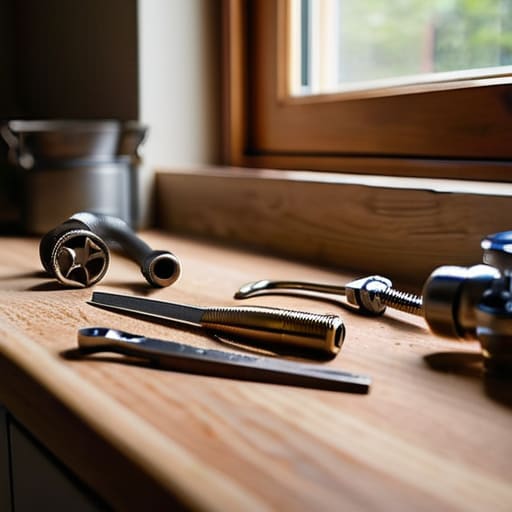
Before you dive under the sink, let’s talk gear. I’ve learned the hard way that nothing kills a productive Saturday like realizing you’re missing one specific wrench halfway through a job. You don’t need a professional-grade kit, but you do need the right plumbing tools for faucet repair to avoid stripping screws or scratching your finish. Grab an adjustable wrench, a set of screwdrivers (both Phillips and flathead), and some needle-nose pliers. If you’re dealing with a more modern setup, you might also want a dedicated cartridge puller handy.
I also highly recommend keeping a small tub of plumber’s grease and some fresh Teflon tape in your utility drawer. When you’re working on a faucet valve repair guide, these little extras are what separate a temporary patch from a permanent fix. If you’re specifically looking to replace a faucet washer, make sure you have a small container to keep the old parts organized—I usually use one of my little notebook clips to keep track of everything so nothing goes down the drain. Having these basics ready means you can stop the drip and get back to your life without the extra stress.
A Simple Faucet Valve Repair Guide
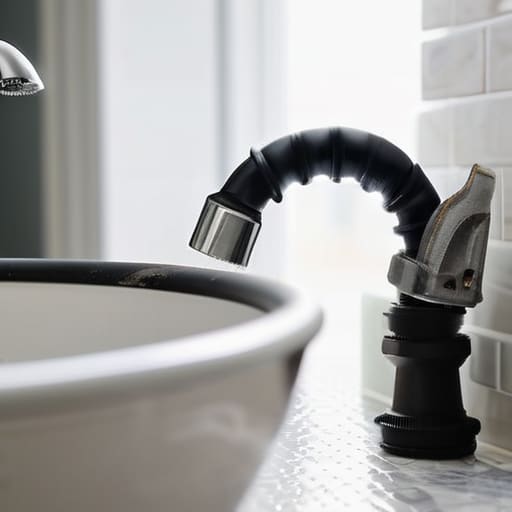
Before you dive into the actual mechanics, I want to share a little secret from my years of dealing with suburban house quirks: most leaks aren’t a sign of a dying faucet, they’re just a sign of a worn-out part. If you’re dealing with a traditional compression faucet, the culprit is almost always a degraded rubber component. When you replace faucet washer sets, don’t just swap the one that looks crusty; grab a whole pack. It’s much easier to spend five dollars now than to have to take the whole thing apart again next week because a different washer gave up the ghost.
If you have a more modern setup, you’re likely looking at a cartridge system. This is where things get a bit more technical, but don’t let that intimidate you. The cartridge faucet replacement steps are actually pretty straightforward once you have your tools laid out on a towel. My best advice? Take a photo of the internal assembly at every single stage of the disassembly. When you’re halfway through and can’t remember which way that little clip goes, that photo will be your best friend. It’s all about minimizing the guesswork so you can get back to your life.
Five Pro-Tips to Save Your Sanity (and Your Water Bill)
- Turn off the water before you even touch a screwdriver. I’ve seen too many DIY projects turn into indoor swimming pools because someone forgot to locate the shut-off valves under the sink first.
- Take your old parts with you to the hardware store. Don’t try to describe a “tiny rubber thingy” to the guy in the plumbing aisle; just put the old washer or cartridge in a plastic bag and show him exactly what you need.
- Lay a towel down over the drain. There is nothing more frustrating than spending twenty minutes fishing a tiny, silver screw out of the P-trap because it slipped past the grate.
- Don’t over-tighten anything. I know the instinct is to crank that nut down until it’s immovable, but you’ll just crack the housing or strip the threads. Tighten it until it’s snug, then stop.
- Clean the area while you’re in there. Since you’ve already got the faucet apart, take a moment to wipe away any mineral buildup or grime around the base. It’s a five-second task that makes the whole thing feel brand new once you’re done.
Quick Wins to Keep Your Plumbing in Check
Don’t wait for a puddle to form; if you hear that rhythmic drip, tackle it immediately to save yourself a massive water bill and a headache later.
Keep a basic toolkit—especially a good wrench and some replacement washers—on hand so you aren’t scrambling through hardware stores mid-project.
Most faucet issues are just a matter of a worn-out part, not a total plumbing disaster, so don’t be intimidated by the task at hand.
One Less Thing on Your Plate
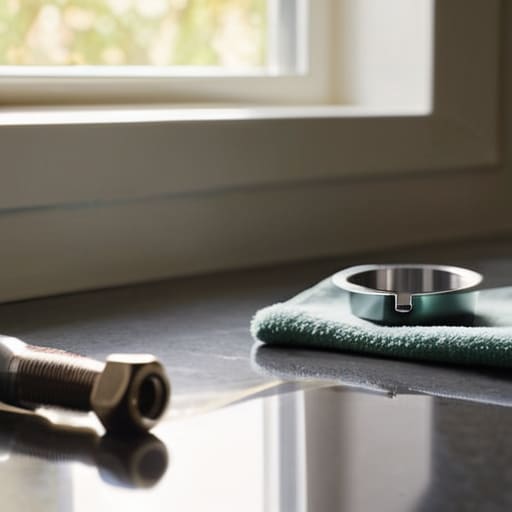
At the end of the day, fixing that leak wasn’t just about stopping the water waste or saving a few bucks on the utility bill. It was about taking the right tools, following those steps, and actually taking control of a small piece of your environment. Whether you were replacing a worn-out washer or adjusting a valve, you’ve successfully moved a nagging problem from your mental to-do list to the “done” column. Remember, the key is to keep your workspace organized and never rush the process; most plumbing headaches come from trying to force something that just needs a little patience and the right wrench.
I know that when you’re staring at a disassembled faucet, it can feel like just one more thing demanding your energy. But there is a specific kind of peace that comes from looking at a repaired fixture and knowing you handled it yourself. These small, actionable wins are exactly how we stop the chaos from creeping in. Don’t let the little things pile up until they feel overwhelming. Grab your notebook, tackle one repair at a time, and build a home that works for you, rather than you constantly working for it. You’ve got this.
Frequently Asked Questions
What if I open the faucet up and realize the whole thing is too corroded to actually fix?
Look, I’ve been there. You open it up expecting a quick fix and find nothing but crusty, green corrosion that looks like it’s been underwater for a decade. If the internal components are pitted or the metal is crumbling, stop right there. Don’t waste your Saturday fighting a losing battle. At that point, it’s not a repair; it’s a replacement. Take a photo of the model number, head to the hardware store, and let’s just get a new one.
How do I know if I need to replace just a single rubber washer or if the entire cartridge is shot?
Here’s the rule of thumb I use: if you take the faucet apart and find a worn-out, flattened, or cracked rubber washer, swap that out first. It’s a cheap, five-minute fix. But if the washer looks fine and the water is still escaping, or if the handle feels gritty and hard to turn, the cartridge is likely shot. Don’t waste your afternoon fighting a dead cartridge; just bite the bullet and replace the whole unit.
Is there a way to tell if the leak is coming from the spout itself or just seeping out from under the handle?
It’s a great question, and honestly, figuring this out early saves you so much unnecessary tinkering. Here’s the trick: dry everything off completely with a towel first. Then, watch closely. If water is steadily dripping from the very tip of the spout, you’ve likely got a worn-out washer or cartridge inside. But if it’s pooling around the base or seeping from under the handle itself, the issue is usually a faulty O-ring or a loose packing nut.