Constructing a Custom Trellis for Your Climbing Plants
I was standing in my backyard last Saturday, staring at a tangled, weeping mess of jasmine that had completely overtaken my patio furniture, when I realized I’d reached my breaking point. Most gardening blogs will try to convince you that you need expensive, pre-fabricated wrought iron or a complex architectural plan to fix a problem like this, but that is just unnecessary clutter. The truth is, learning how to build a garden trellis shouldn’t require a degree in engineering or a massive trip to a high-end nursery. You don’t need a masterpiece; you just need something sturdy enough to give those vines a direction to grow so they stop suffocating your outdoor living space.
In this guide, I’m stripping away the fluff and the overcomplicated blueprints to show you a way to get this done in a single afternoon. I’ll walk you through the exact materials I use for my own projects—focusing on durability and simplicity—and give you a straightforward method that actually holds up against the wind. We aren’t going to overthink the aesthetics or waste money on fancy gadgets; we are simply going to build something functional that works. Let’s get those plants off the ground and get your garden back in order.
Table of Contents
- Step-by-Step Instructions
- Your Essential Garden Trellis Materials List for Quick Wins
- Simple Wooden Trellis Design Ideas for Vertical Gardening Solutions
- Five Pro-Tips to Save You Time (and Sanity) in the Garden
- Three Quick Wins for a Trellis That Actually Lasts
- Get Growing and Let It Go
- Frequently Asked Questions
Guide Overview
Tools & Supplies
- Measuring tape for accurate cuts
- Handsaw or miter saw for wood processing
- Drill with bits for creating pilot holes
- Screwdriver or drill driver for assembly
- Untreated cedar or redwood stakes (4-6 pieces)
- Wooden garden twine or wire (1 roll)
- Exterior grade wood screws (1 small box)
- Garden staples or small nails (1 small pack)
Step-by-Step Instructions
- 1. First things first, head to your local hardware store and grab some pressure-treated wood. You’ll want a couple of sturdy 2x2s for the vertical posts and some thinner cedar lath or even heavy-duty wire for the horizontal lattice. Don’t go overboard with fancy hardwoods; you just need something that can stand up to the rain without rotting the second summer hits.
- 2. Measure out your space and mark where those vertical posts are going to live. If you’re building this against a fence, you might be able to skip some digging, but for a free-standing trellis, you’ll want to dig holes at least 12 inches deep. I always keep a small level in my pocket for this exact reason—if those posts aren’t straight from the start, your whole project is going to look tilted and messy.
- 3. Once your holes are ready, set your posts in and pack them down with dirt or gravel. If you want this thing to last more than one season, I highly recommend adding a bit of gravel at the bottom of the hole to improve drainage. It’s a small step, but it prevents the wood from sitting in a permanent puddle, which is the fastest way to invite rot.
- 4. Now comes the part where we actually build the “grid.” Depending on the look you’re going for, you can either nail your horizontal slats directly to the posts or use a staple gun to attach heavy-duty wire. If you’re using wood slats, space them about 6 to 8 inches apart—this gives your climbing plants plenty of room to find a grip without getting tangled in a chaotic mess.
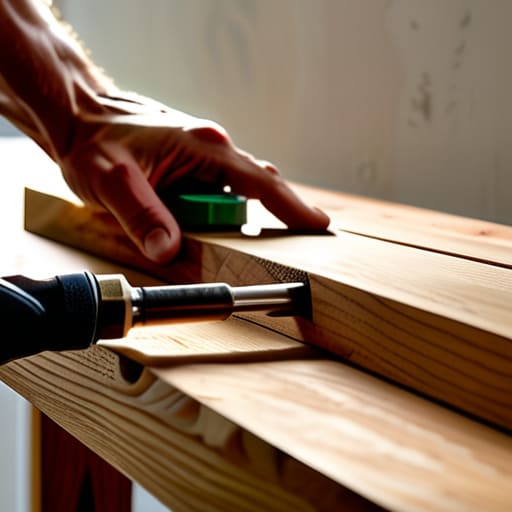
- 5. Grab your drill and secure everything together, but don’t over-tighten your screws. I’ve seen plenty of people crack the wood by being too aggressive with their tools. Just ensure the structure feels solid when you give it a firm shake; if it wobbles, you need to reinforce those joints before you ever think about adding a plant.
- 6. Before you call it a day, take a moment to sand down any rough edges or splinters. It sounds like an extra step, but if you’re going to be pruning your vines later, you don’t want to be dealing with nasty splinters every time you reach into the garden. A quick pass with some medium-grit sandpaper makes the whole thing look intentional and polished.
- 7. Finally, give the wood a quick coat of a clear, eco-friendly sealant if you want to be extra proactive. It’s much easier to apply a protective layer now than it is to try and fix sun-bleached, weathered wood two years down the road. Once that’s dry, you’re officially ready to plant your climbers and let nature do the rest.
Your Essential Garden Trellis Materials List for Quick Wins
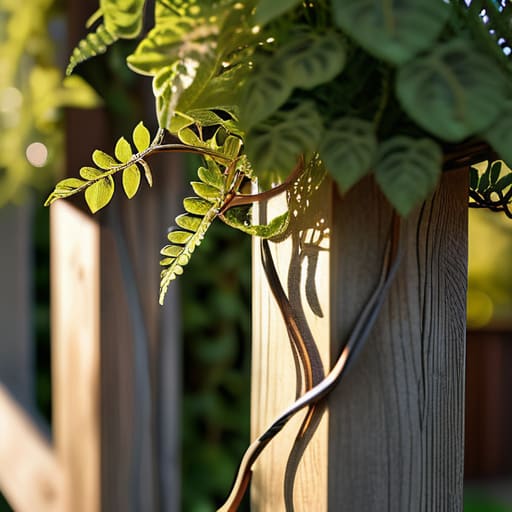
Before you head to the hardware store, let’s get one thing straight: don’t fall into the trap of buying every expensive gadget in the garden aisle. You don’t need a master carpenter’s toolkit to create effective climbing plant support structures. For a standard setup, I always recommend starting with cedar or pressure-treated lumber; they stand up to the weather without you having to baby them every weekend. If you’re looking for something even simpler, even some heavy-duty wire and a few sturdy stakes can work wonders for smaller climbers.
I keep a running note in my kitchen notebook about what actually lasts versus what just looks pretty for a month. When putting together your garden trellis materials list, prioritize stability over aesthetics. You’ll want high-quality exterior screws—not those cheap ones that snap when the wood swells—and perhaps some jute twine if you’re working with delicate vines. The goal isn’t to win a landscaping award; it’s to create reliable vertical gardening solutions that keep your plants off the dirt and out of your walking paths. Grab the essentials, keep it simple, and let’s get to work.
Simple Wooden Trellis Design Ideas for Vertical Gardening Solutions
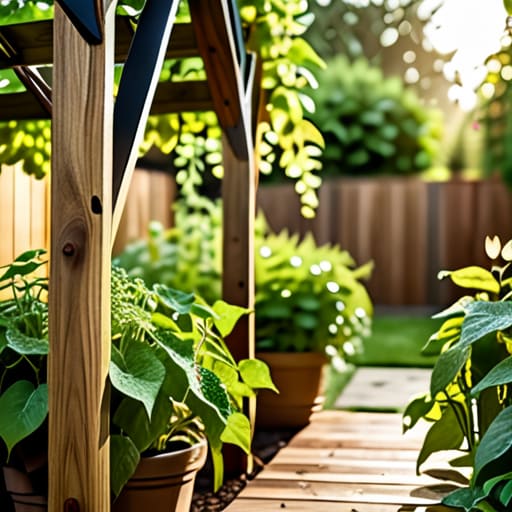
Once you have your materials gathered, the real fun begins with deciding on a layout that actually fits your space. If you’re working with a small patio or a cramped corner, I always suggest looking into vertical gardening solutions that utilize height rather than floor space. A simple A-frame design is my personal go-to; it’s incredibly stable and provides a wide base for heavier climbers like squash or cucumbers. If you want something more understated, a flat lattice attached directly to a fence is a seamless way to add greenery without making the yard feel cluttered.
For those of you looking to grow edibles, don’t overlook the importance of trellis installation for vegetables specifically. If you’re growing pole beans or peas, a simple cattle panel arched over a walkway creates a beautiful, functional tunnel. If you’re more into aesthetics, you can experiment with different wooden trellis design ideas, like a geometric diamond pattern or even a minimalist rectangular grid. Just remember: keep the design proportional to the plant. A delicate structure won’t hold up a heavy wisteria, so match your build to your plant’s weight.
Five Pro-Tips to Save You Time (and Sanity) in the Garden
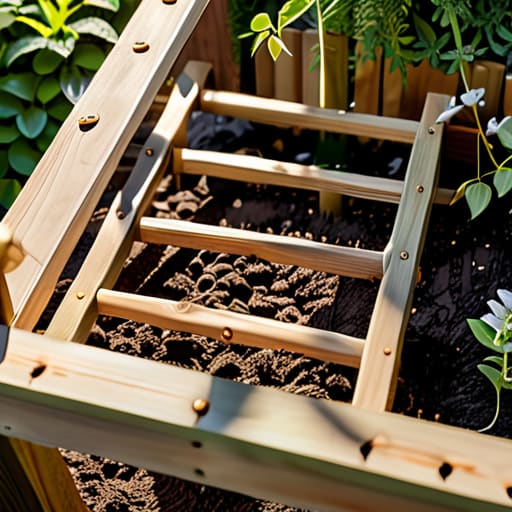
- Don’t overthink the wood choice; if you’re on a budget, cedar is the gold standard because it handles moisture like a champ without rotting halfway through the season.
- Check your tension before you walk away; give your twine or wire a good tug to make sure it’s taut, otherwise your climbing plants will just sag into a tangled mess on the ground.
- Always build a little bit higher than you think you need to; those vines always grow faster than your mental schedule allows, and you don’t want to be rebuilding the structure in July.
- Keep your hardware heavy-duty; I’ve learned the hard way that cheap staples or thin nails won’t hold up against a heavy tomato plant or a vigorous clematis once the wind picks up.
- Secure the base firmly in the ground or against a solid wall; a trellis is useless if it topples over the first time a heavy summer storm rolls through your yard.
Three Quick Wins for a Trellis That Actually Lasts
Don’t skimp on the wood; grab something rot-resistant like cedar or pressure-treated lumber so you aren’t rebuilding this whole thing next season.
Prioritize stability over aesthetics—make sure those stakes are driven deep enough into the ground to handle a heavy vine or a sudden summer storm.
Keep it simple and functional; you don’t need a complex architectural masterpiece to give your plants a place to climb, just a sturdy structure that gets the job done.
Get Growing and Let It Go
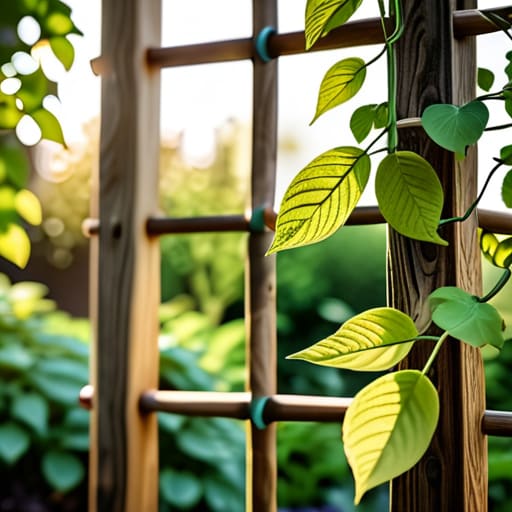
At the end of the day, building a trellis isn’t about achieving architectural perfection or having a showroom-ready garden; it’s about giving your plants a reliable structure to thrive on. We’ve walked through the materials, picked out a design that fits your space, and laid out the steps to get it standing upright. Once you have that sturdy frame in place, the hard part is over. You’ve taken a chaotic patch of dirt and given it a sense of intentional direction. Now, all that’s left is to plant your climbers, secure them to the wood, and let nature take over the heavy lifting.
I know how it feels to look at a project and think it’s going to be another weekend-long headache, but I promise you, the payoff is worth the effort. There is something incredibly grounding about seeing a vine wrap itself around something you built with your own two hands. It turns a house into a home and a backyard into a sanctuary. So, stop staring at that empty garden bed and just get it done. Your future self—the one sitting in the shade of a lush, green wall—will definitely thank you for taking this small, practical step today.
Frequently Asked Questions
How do I make sure my trellis won't rot after one season of heavy rain?
Look, I’ve learned the hard way that “weatherproof” is a relative term. If you want this to last more than one season, don’t skip the prep. Use cedar or redwood if your budget allows—they handle moisture naturally. If you’re using standard pine, you absolutely must seal it. Grab a high-quality, exterior-grade wood sealer or a solid stain. Slather it on every surface, especially the ends where the grain is exposed. Do it right once, and you won’t be rebuilding next spring.
What’s the best way to secure a trellis to a fence or wall without ruining the structure?
Look, I’ve spent enough time fixing holes in my siding to know that “just drill a hole” isn’t always the best advice. If you’re working with a wooden fence, use stainless steel screw eyes; they’re discrete and won’t rust out on you. For a brick or stone wall, skip the heavy masonry nails and grab some masonry anchors. It’s a little more work upfront, but it saves you a massive headache (and a repair bill) later.
My climbing plants are already pretty heavy; will a simple wooden frame actually hold them up?
Look, I get it. You’ve spent months nurturing those vines, and the last thing you want is for them to come crashing down in a heap of tangled mess. If you’re dealing with heavy hitters like wisteria or beefsteak tomatoes, don’t just eyeball it. Use thicker, pressure-treated lumber for the main frame and secure it deep into the ground. A sturdy foundation is the difference between a lush vertical garden and a DIY disaster.