The Right Way to Freeze Food Properly
I was standing in my kitchen last Tuesday, staring at a mountain of wilted spinach and a bag of slightly soft berries, thinking about how much money I was about to throw straight into the trash. We’ve been sold this idea that mastering how to freeze food requires a chemistry degree, expensive vacuum sealers, and enough specialized containers to stock a small restaurant. Honestly? That’s just unnecessary noise. I’ve spent too many years managing complex projects to let a simple kitchen task turn into a logistical nightmare, and I’m not about to let a lack of fancy gadgets stand between me and a functional pantry.
I’m not here to give you a lecture on molecular gastronomy or sell you on a subscription for airtight canisters you’ll never use. Instead, I’m going to show you the small, actionable wins that actually work in a busy, real-world kitchen. We’re going to talk about the practical shortcuts and the little mistakes I’ve made over the years so you don’t have to. My goal is to give you a straight-talking roadmap to preserving what you have, so you can stop stressing about waste and start reclaiming your time.
Table of Contents
Mastering Airtight Container Importance for Freshness
If you’ve ever dug to the bottom of your freezer only to find a gray, shriveled block of something that used to be delicious, you already know the enemy: air. That icy, crusty layer is freezer burn, and it’s essentially the result of oxygen getting a foothold where it doesn’t belong. Understanding airtight container importance isn’t just about being neat; it’s about protecting your investment. When air hits the surface of your food, it dehydrates it, ruining the texture and making even the best ingredients taste like cardboard.
I’ve learned through a lot of trial and error—and a fair amount of wasted groceries—that the container you choose is just as vital as the food itself. For things like soups or stews, heavy-duty glass or BPA-free plastic containers are my go-to. If you’re looking to go the extra mile, I highly recommend vacuum sealing for long term storage. It’s a bit of an upfront investment, but it’s the single best way to ensure your meals stay fresh for months rather than weeks. Just keep it simple: if air can get in, the quality is going out.
Preventing Freezer Burn With Simple Best Practices for Food Storage
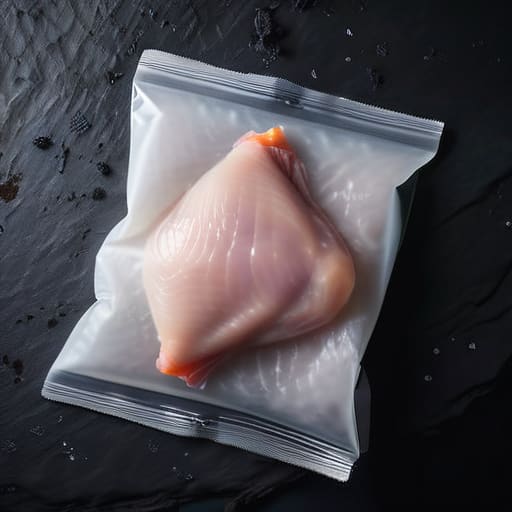
Look, we’ve all been there: you pull out a bag of chicken breasts only to find them covered in those nasty, grayish ice crystals that make everything taste like cardboard. That’s freezer burn, and it’s essentially just dehydration caused by air hitting your food. To stop it, you have to treat air like the enemy. If you’re serious about preventing freezer burn, I highly recommend investing in a decent vacuum sealer. It’s one of those tools that actually pays for itself in saved groceries. By removing that extra oxygen, you’re essentially putting the food in a time capsule.
If a vacuum sealer feels like too much gear for your kitchen right now, don’t sweat it. You can still nail the best practices for food storage with just a standard freezer bag and a little elbow grease. The trick is to squeeze every possible bit of air out before you zip it shut—I usually use a straw to suck out the last bit of air if I’m being extra thorough. Also, try to keep your items in single layers when possible; it helps them freeze faster and more evenly, which keeps the texture much closer to fresh.
My five non-negotiable rules for a stress-free freezer
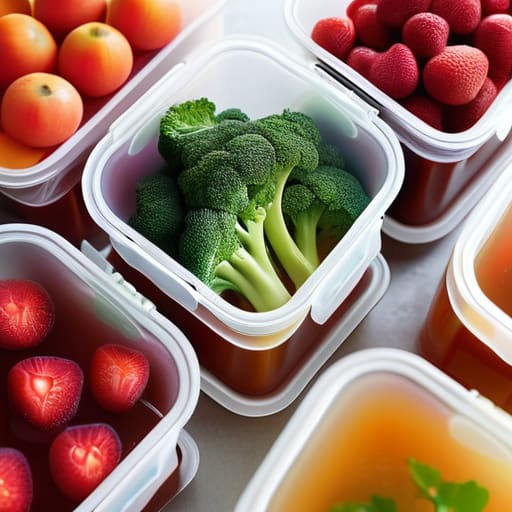
- Label everything with a Sharpie and a piece of masking tape. Trust me, I’ve spent way too many evenings staring at a frozen block of mystery, trying to remember if it was beef stew or chili. Write the contents and the date; your future self will thank you.
- Flash-freeze your small stuff. If you’re freezing berries, peas, or even leftover meatballs, spread them out on a baking sheet in the freezer for an hour before bagging them. This keeps them from turning into one giant, unmanageable ice brick.
- Portion it out before it hits the cold. Don’t freeze a massive gallon of soup if you only ever eat two cups at a time. Use small, individual containers or heavy-duty freezer bags so you aren’t thawing out a week’s worth of food just to have a quick lunch.
- Leave a little breathing room. Liquids expand when they freeze. If you fill a container right to the brim, you’re going to end up with a cracked lid or a freezer-sized mess. Always leave at least an inch of headspace.
- Get the air out. Air is the enemy of freshness. If you’re using bags, squeeze out every bit of excess air you can before sealing. If you don’t have a vacuum sealer, don’t sweat it—just use a straw to suck out the last bit of air through the corner of the bag. It works surprisingly well.
The bottom line for a smarter freezer
Stop guessing and start labeling; use a permanent marker to write the date and contents on every bag so you aren’t playing detective with a frozen block of mystery meat three months from now.
Invest in quality over quantity when it comes to containers—if it doesn’t seal tight, it’s not worth the shelf space.
Don’t let “perfect” be the enemy of “done”—even a quick squeeze of air out of a sandwich bag is better than leaving food exposed to the frost.
Stop Overthinking It and Start Freezing
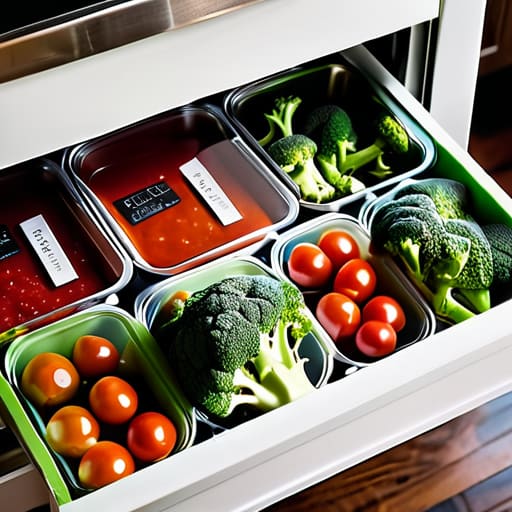
At the end of the day, freezing food isn’t about achieving some level of culinary perfection; it’s about protecting your time and your budget. We’ve covered the essentials: grab the right airtight containers, squeeze out that excess air to prevent freezer burn, and label everything so you aren’t playing a guessing game with a mystery block of ice three months from now. If you follow these simple steps, you’ll stop throwing money in the trash and start building a pantry that actually works for you. It’s all about reducing that mental load so that when a Tuesday night feels particularly chaotic, dinner is already halfway solved.
I know it can feel like just one more chore on an already overflowing to-do list, but I promise you, the effort pays off. There is a specific kind of peace that comes from opening your freezer and seeing a well-organized system instead of a cluttered mess. Don’t feel like you have to overhaul your entire kitchen in one afternoon. Just pick one thing—maybe it’s freezing a batch of herbs or prepping a single sauce—and start there. Once you see how much easier your life gets when you’re prepared, you won’t want to go back. You’ve got this.
Frequently Asked Questions
How long can I actually keep things in the freezer before they start tasting like "freezer" food?
Look, I’ve learned the hard way that “forever” isn’t a real timeline. If you want things to actually taste good, aim for three to six months for most meats and veggies. If you’re freezing leftovers or bread, try to use them within a month or two. Beyond that, even with the best containers, the quality starts to dip. Don’t let things get lost in the back of the freezer—if you can’t see it, you won’t eat it.
Do I really need to thaw everything in the fridge overnight, or is there a faster way that won't ruin the texture?
Look, I get it. Planning your meals a full day in advance isn’t always realistic when life gets messy. If you’re in a pinch, use the cold water method: keep your food in a leak-proof bag and submerge it in a bowl of cool water, changing the water every thirty minutes. It’s much faster than the fridge but won’t cook the edges like the microwave will. Just avoid the microwave if you care about texture.
Is it okay to freeze leftovers straight from the stove, or do I need to let them cool down completely first?
Look, I get the temptation to just shove a hot pot straight into the freezer to get it out of sight, but please don’t. It’s a recipe for disaster. Putting hot food in raises the internal temperature of your freezer, which can partially thaw everything around it. You’ll end up with a science experiment of melted frost and lukewarm leftovers. Let it cool on the counter for a bit first—just enough so it’s not steaming.