Never Hang a Picture Crooked Again With These Pro Tips
I was standing in my hallway last Tuesday, staring at a stack of framed family photos leaning against the baseboard, feeling that familiar, heavy weight of a “to-do” list that never ends. I know the feeling—you want your home to feel finished, but the thought of drilling holes, measuring things three times, and inevitably ending up with a crooked frame makes you want to just leave it for another year. But here is the truth: learning how to hang a picture shouldn’t feel like a high-stakes engineering project. It’s not about having a professional toolkit or a degree in carpentry; it’s just about having the right approach so you don’t end up with a wall full of unnecessary holes.
I’m not going to give you a lecture on the physics of weight distribution or overwhelm you with a twenty-step checklist. Instead, I’m going to show you how to get it done efficiently and correctly the first time. We’re going to cover the essential tools you actually need, how to find your level without losing your mind, and my personal trick for ensuring everything sits exactly where it belongs. Let’s stop letting those empty walls stress you out and finally get those frames up.
Table of Contents
Guide Overview
Tools & Supplies
- Hammer for driving nails or hooks
- Pencil for marking placement
- Measuring tape for accuracy
- Level to ensure straightness
- Picture frame 1 unit
- Wall anchors or nails 1 pack
- Hanging hardware 1 pack
Step-by-Step Instructions
- 1. First things first, clear your workspace and gather your supplies. You don’t want to be halfway through a hole in the drywall only to realize you’re missing a screwdriver. Grab a hammer, a level, a pencil, a measuring tape, and—most importantly—the right hardware. If you’re hanging something heavy, skip the flimsy adhesive strips and go for a proper screw and anchor.
- 2. Measure the back of your frame to find the hanging point. Most frames have a wire or a sawtooth hanger, and you need to know exactly where that sits in relation to the top of the frame. I always use a pencil to mark the exact spot on the back of the frame where the hardware sits. This prevents that annoying “oops, it’s crooked” moment later on.
- 3. Now, let’s find the sweet spot on the wall. Don’t just eyeball it; that’s how you end up with a gallery wall that looks like it’s sliding off the house. Hold the frame up against the wall (I usually have my teenager help with this part) and use your pencil to mark where the top of the frame should sit. Once you’re happy with the height, mark the actual nail or screw hole based on the measurements you took in step two.
- 4. Double-check your math with a level. Even if you think you’ve got it, take thirty seconds to hold your level against your mark or the top edge of the frame. It’s much easier to erase a pencil mark now than it is to patch a hole in the drywall later because your art is tilting five degrees to the left.
- 5. Time to actually make the hole. If you’re using a nail, hold it at a slight downward angle—this helps the weight of the picture pull the nail into the wall rather than out of it. If you’re using a drill for a heavier piece, make sure you’re drilling into a stud if possible, or use a plastic anchor to ensure that beautiful piece of art doesn’t end up on the floor.
- 6. Hang the frame and do the final check. Slide the wire or hanger onto the nail, then step back. Give the frame a tiny nudge to make sure it’s seated properly, and then use your level one last time on the top edge. If it’s straight, you’re officially done and can get back to your actual life.
Picking the Right Picture Hanging Hardware Types for Your Home
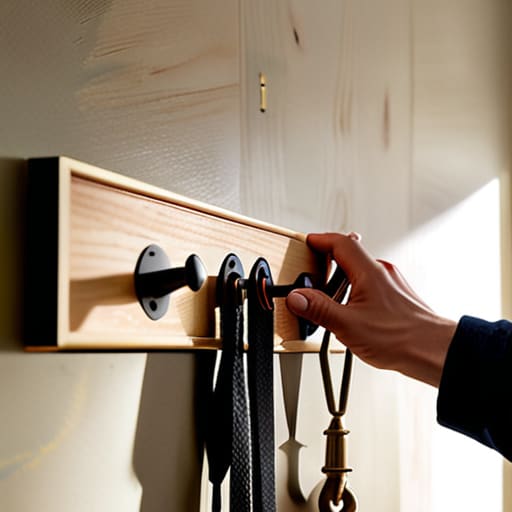
Before you go grabbing the first random nail you find in that junk drawer, let’s talk about actually choosing the right gear. I’ve learned the hard way that using a tiny finishing nail for a substantial piece is a recipe for a midnight trip to the hardware store when your art inevitably slides down the wall. If you’re hanging heavy frames on drywall, skip the nails entirely and opt for heavy-duty picture hooks or even toggle bolts if you’re feeling ambitious. For those lighter, smaller frames—the kind that usually clutter up my entryway—simple adhesive strips or small brass hooks work wonders for avoiding wall damage when hanging art.
The real trick is matching the hardware to your specific wall type. If you’re dealing with plaster in an older home, you’ll want to be extra cautious about cracks, whereas modern drywall is much more forgiving with standard anchors. I always keep a small assortment of wall mounting tools for pictures tucked away in my utility closet so I’m never caught off guard. Remember, the goal isn’t just to get the frame up; it’s to make sure it stays exactly where you put it.
Mastering Wall Mounting Tools for Pictures and Avoiding Damage
Look, I’ve spent enough time staring at crooked frames to know that the difference between a professional-looking gallery and a DIY disaster usually comes down to the tools you have in your hand. If you’re working with something substantial, like a heavy mirror or a large framed print, don’t just wing it with a tiny nail. When you’re hanging heavy frames on drywall, you need to respect the physics of the wall. I always keep a small kit of wall mounting tools for pictures in my utility drawer—specifically a stud finder and a decent hammer. If you hit a stud, you’re golden; if not, make sure you’re using the right anchors so you aren’t waking up to a smashed frame on the floor.
The biggest headache, though, is usually the “oops” factor—those tiny, annoying holes left behind. To focus on avoiding wall damage when hanging art, I’ve learned to favor adhesive strips for lightweight pieces or specialized picture hooks that minimize the puncture size. If you do have to drill, just remember: measure twice, drill once. It’s a cliché for a reason, and in my house, we live by it.
Five Pro-Tips to Save Your Walls (and Your Sanity)
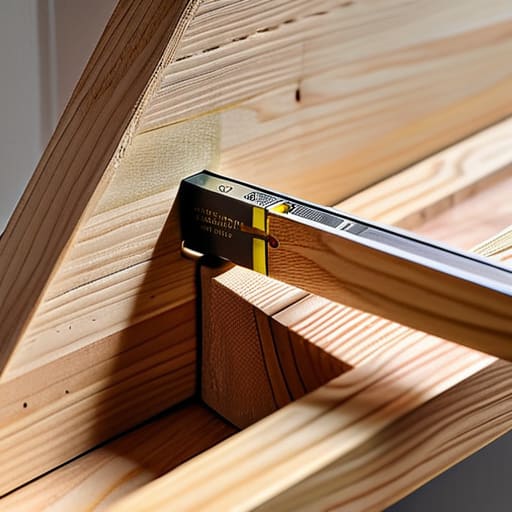
- Stop eye-balling it. I know it feels intuitive, but your eyes lie to you when you’re standing too close. Use a measuring tape to mark your center point on the wall before you even touch a nail; it saves you from that dreaded “leaning left” syndrome.
- Don’t forget the floor test. Before you commit to a hole in the drywall, lay the picture on the floor in front of the wall exactly where you want it. Step back, look at it from the doorway, and make sure the scale actually works with your furniture.
- Use painters tape for a dry run. If you’re nervous about where the corners will land, tape a piece of paper the same size as your frame to the wall. It gives you a visual boundary so you aren’t constantly adjusting and making new holes.
- Mind the “weight vs. wire” math. If your frame has a wire on the back, remember that the picture will actually sit a few inches lower than the top of the frame once it’s hung. Account for that drop so you don’t end up with art that’s too low for the room.
- Keep a “oops” kit handy. I always keep a small container of spackle and a sanding sponge in my utility drawer. If you miss the mark or a nail slips, you can patch it in thirty seconds instead of letting a tiny hole turn into a permanent eyesore.
The Bottom Line: Three Things to Remember
Don’t guess—measure twice and use a level, because nothing kills the vibe of a room faster than a crooked frame.
Match your hardware to your wall type; using the wrong nail in drywall is a one-way ticket to a hole you’ll regret later.
Keep it simple and focus on progress over perfection—get that art off the floor and onto the wall so you can actually enjoy your space.
Done and Dusted
At the end of the day, hanging a picture isn’t about achieving museum-grade perfection; it’s about having the right tools and the right hardware so you aren’t staring at a lopsided frame for the next six months. We’ve covered how to pick the right hooks for your specific wall type and how to use your tools without leaving unnecessary scars on your drywall. Remember, the goal is to minimize the friction between having a beautiful piece of art and actually seeing it on your wall. Once you’ve measured twice and checked your level, you can stop worrying about the mechanics and just enjoy the view.
I know it can feel like just another chore on an already overflowing to-do list, but there is something deeply satisfying about finally closing that loop. Every time I finish a small project like this—whether it’s a family portrait or a print I found at a flea market—it feels like I’m reclaiming a little bit of my space from the chaos. Don’t let the fear of a tiny nail hole keep your walls bare. Pick up your hammer, trust your measurements, and get it done. Your home deserves to feel finished, and you deserve the peace of mind that comes with a job well done.
Frequently Asked Questions
What do I do if I accidentally end up with a tiny hole in the drywall after taking the picture down?
Don’t panic—we’ve all been there. If it’s just a tiny nail hole, don’t go buying a whole tub of spackle. Grab a small container of lightweight spackle and a putty knife (or even an old credit card if you’re in a pinch). Smear a little bit into the hole, wipe it flush with the wall, and let it dry. Once it’s set, a quick sand with fine-grit sandpaper makes it vanish. Problem solved.
How do I keep heavy frames from hanging crookedly once they've been on the wall for a few weeks?
It’s the most frustrating thing—you spend twenty minutes getting it perfect, and three weeks later, it’s tilting like it’s had one too many. Usually, it’s because the wire is too loose or the frame is top-heavy. My trick? Stop relying on just one nail. Use two hooks spaced apart to create a stable base, or better yet, add a small piece of adhesive rubber bumper to the bottom corners. It keeps the frame seated and stops that annoying drift.
Is there a trick to hanging art on a wall that’s already covered in old nail holes and patch marks?
Look, I’ve been there—staring at a wall that looks more like a Swiss cheese factory than a living room. My first trick? Don’t try to hide the history; just lean into it. If you’re patching, use a lightweight spackle, sand it flush, and dab a tiny bit of matching paint on top. If the holes are everywhere, consider a gallery wall. Grouping several pieces together can actually make those old marks look like intentional texture.




