How to Restore Your Tile and Clean Grout Like a Pro
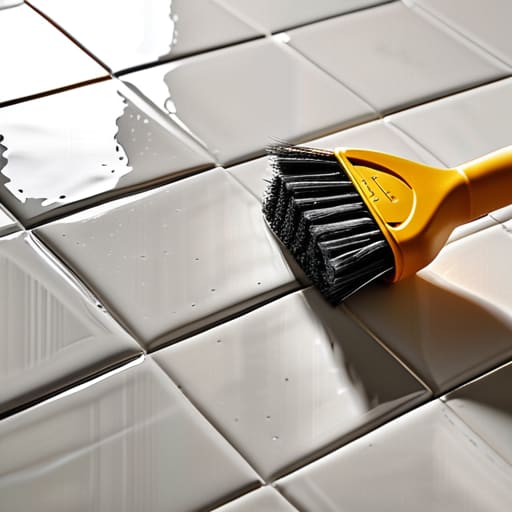
I was kneeling on my kitchen floor last Saturday, staring at those gray, fuzzy lines between my tiles, feeling that familiar wave of domestic defeat. I had spent forty-five minutes scrubbing with a generic spray and a brand-new sponge, only to realize I was essentially just moving the dirt around rather than actually removing it. We’ve all been told that you need industrial-strength chemicals or expensive, specialized machines to see a difference, but that’s just a myth designed to empty your wallet. If you’re looking for the real secret on how to clean grout without losing your mind (or your knuckles), it isn’t about brute force; it’s about using the right chemistry and the right tools.
I’m not here to sell you a fifteen-step ritual or a cabinet full of toxic cleaners. In this guide, I’m stripping away the fluff to give you a straight-talking, actionable plan that works. I’ll show you exactly which household staples will do the heavy lifting for you and how to tackle different surfaces without damaging your home. Let’s stop overcomplicating this and just get it done.
Table of Contents
Guide Overview
Tools & Supplies
- Stiff-bristled grout brush or old toothbrush for scrubbing
- Microfiber cloth or sponge for wiping away residue
- Baking soda (1 cup)
- White vinegar (1/2 cup)
- Warm water (2 cups)
Step-by-Step Instructions
- 1. First things first, clear the decks. I can’t stand working around clutter, so move the bath mats, the stray shampoo bottles, or whatever’s sitting on your floor. You want a completely clear workspace so you aren’t accidentally scrubbing a loofah instead of the tile.
- 2. Grab your supplies before you get started. You don’t want to be halfway through a scrub only to realize you’re out of supplies. You’ll need a sturdy scrub brush (an old toothbrush works in a pinch, but a dedicated grout brush is much more efficient), some baking soda, and white vinegar. If you’re dealing with particularly stubborn grime, a little bit of dish soap won’t hurt either.
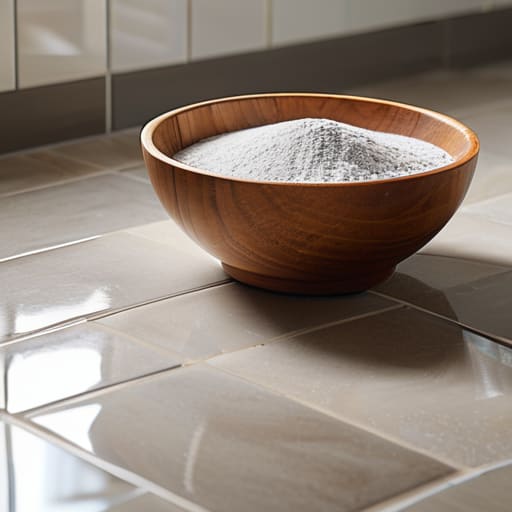
- 3. Mix up your cleaning paste. In a small bowl, combine your baking soda with enough water or vinegar to create a consistency that looks like thick toothpaste. If it’s too runny, it’ll just disappear into the cracks; if it’s too thick, it won’t penetrate the dirt. Aim for that sweet spot where it stays put.
- 4. Apply the paste generously. Spread it along the grout lines, making sure you aren’t being too precious with it—you want that mixture to actually sit in the grooves. Let it dwell for about 10 to 15 minutes. This is the part where I usually grab my notebook and jot down a grocery list; let the chemistry do the heavy lifting for you while you take a breather.
- 5. Get to scrubbing. This is where the real work happens. Use your brush to work the paste into the lines using firm, circular motions. Don’t go overboard and try to break your wrist, but don’t be afraid to apply some real pressure to those dark spots that have been bothering you for months.
- 6. Wipe it all away. Once you’ve finished scrubbing, take a clean microfiber cloth or a large sponge dampened with warm water and wipe the residue away. I prefer to do this in sections so I don’t end up with a cloudy, dried mess on the face of the tiles.
- 7. Dry the area thoroughly. This is a step people often skip, but it’s vital. Take a dry towel and buff the area dry to prevent any water spots from forming. A clean, dry floor is the ultimate small win that makes the whole room feel refreshed and back under control.
The Baking Soda and Vinegar Grout Cleaner Trick

Now, if you’re looking for a budget-friendly way to tackle those stubborn spots, the baking soda and vinegar grout cleaner method is my absolute go-to. It’s a classic for a reason: it works. I usually start by making a thick paste of baking soda and a little water, spreading it over the lines, and then spraying a bit of white vinegar on top. That little fizzing reaction does most of the heavy lifting for you. It’s one of those simple grout discoloration solutions that saves me from running out to buy expensive, chemical-heavy sprays every time a mess happens.
Just a quick word of caution from someone who has spent too many weekends scrubbing floors: don’t let this sit for hours. While it’s great for removing grout stains from tile, leaving vinegar on certain natural stones for too long can actually etch the surface. I always recommend testing a small, inconspicuous corner first. Once you’ve finished scrubbing and the lines are looking bright again, make sure to dry the area thoroughly. If you’re done with the deep clean, it might be time to look into a good sealer to keep that progress lasting longer.
Deep Cleaning Grout Lines Without the Stress
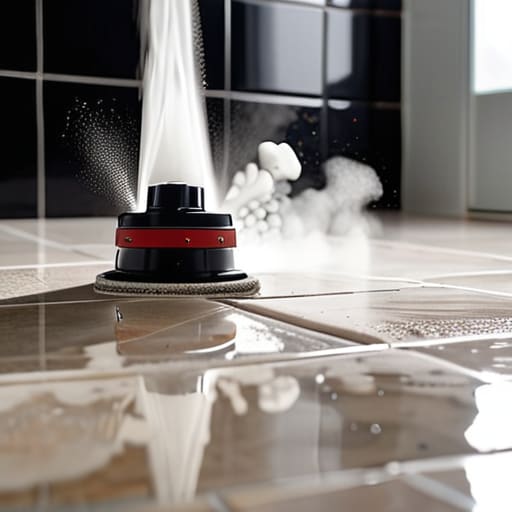
Look, we’ve all been there—you’re scrubbing away, but those stubborn patches of grime just won’t budge. If you’ve already tried the basics and you’re still staring at dark, dingy lines, it might be time to level up. For those really heavy-duty situations, I highly recommend cleaning tile grout with a steam cleaner. It’s a bit of an investment, but honestly, it’s a game-changer for my sanity. The high-pressure steam penetrates deep into the pores of the grout, lifting out years of buildup without you having to spend three hours on your hands and knees with a toothbrush.
If you aren’t ready to pull out the heavy machinery, don’t panic. Sometimes deep cleaning grout lines is less about brute force and more about patience. If you’re dealing with persistent grout discoloration solutions, try letting your cleaning mixture sit for at least fifteen minutes before you start scrubbing. This gives the solution time to actually break down the oils and dirt. Once you finally get it looking bright again, do yourself a favor and seal it. Finding the best grout sealer for your bathroom is the single best way to ensure you aren’t doing this entire process again in three months.
Five Pro-Tips to Keep Your Grout Looking New (Without Losing Your Mind)
- Invest in a decent grout brush. I know, a toothbrush works in a pinch, but if you’re tackling a whole bathroom, your wrist will thank you for getting a stiff-bristled grout brush that actually gets into those crevices.
- Don’t let the cleaner sit too long. I used to think more time meant more cleaning power, but if you leave vinegar or harsh chemicals sitting on your grout for an hour, you risk damaging the sealer. Apply, scrub, rinse, and move on.
- Seal it once it’s clean. This is the step everyone skips, but it’s the most important. Once your grout is bone-dry, apply a good sealer. It’s much easier to wipe a sealed surface than it is to scrub out deep-seated grime six months from now.
- Use a shop vac for the dry stuff first. Before you even touch a sponge, vacuum up the loose dust and hair from the lines. If you start scrubbing wet grime into dry dust, you’re just making a muddy mess that’s twice as hard to clean.
- Keep a “maintenance” spray handy. I keep a small spray bottle of diluted cleaner in the utility closet. A quick spritz and a wipe once a week prevents that buildup from ever becoming a “deep clean” weekend project.
The Bottom Line on Keeping Your Grout Clean
Don’t wait for the grime to become a permanent fixture; a quick weekly scrub with a stiff brush prevents the deep buildup that requires heavy-duty chemicals.
Stick to the simple stuff like baking soda and vinegar—you don’t need a cabinet full of expensive, toxic cleaners to get professional results.
Consistency beats intensity every single time; spending ten minutes once a week is much easier on your schedule (and your back) than a grueling deep-clean marathon.
The Finish Line
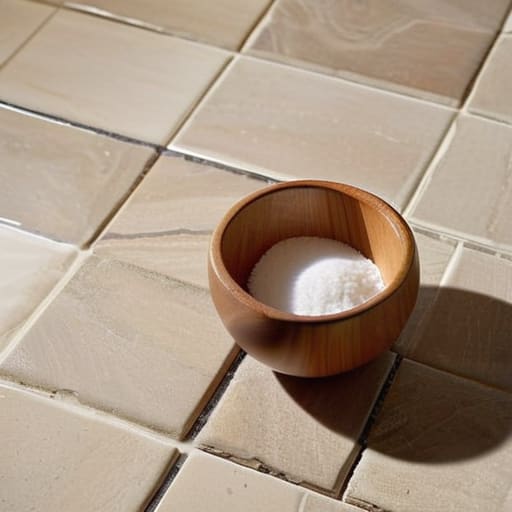
Look, I know that staring down a floor full of stained grout can feel like a losing battle, but we just proved it doesn’t have to be. Whether you went the route of the classic baking soda and vinegar paste or pulled out the heavy-duty scrub brush for a deep clean, the goal was the same: removing that layer of grime that makes a room feel heavy. Remember, you don’t need a cabinet full of expensive, chemical-heavy cleaners to see results; often, it’s the simplest tools that do the heavy lifting. Once you’ve finished scrubbing and rinsed everything away, take a second to actually look at those lines. You’ve turned a source of visual clutter into a clean, crisp foundation for your home.
At the end of the day, keeping your home in order isn’t about achieving some impossible standard of perfection—it’s about reducing the mental load that comes with a messy environment. When your floors look cared for, your whole headspace shifts. Don’t let a little dirt convince you that your house is falling apart; just grab your notebook, pick a corner, and tackle it one step at a time. You’ve got this, and I promise that the feeling of walking into a clean, bright room is entirely worth the effort. Now, go enjoy that clean floor.
Frequently Asked Questions
How often should I actually be doing this to keep the grime from coming back?
Look, I’m all for efficiency, so I’m not going to tell you to scrub your floors every weekend—that’s a recipe for burnout. For high-traffic areas like the kitchen, give those lines a quick wipe down once a week to stop grime from setting in. For the bathroom, a monthly deep scrub is usually plenty. If you stay on top of the small stuff, you won’t end up facing a massive, overwhelming project later.
Is there a way to seal the grout after I clean it so I don't have to do this every single month?
Absolutely, and honestly, you should. If you don’t seal it, that clean grout is just an open invitation for dirt and grease to settle right back in. Grab a high-quality penetrating sealer from the hardware store—it’s not as intimidating as it sounds. Just wipe it on, let it soak, and buff it off. It’s an extra thirty minutes of work now, but it’ll save you hours of scrubbing later. Trust me, your future self will thank you.
Can I use these same methods on my bathroom tile, or is there something different I should use for different surfaces?
The short answer is yes, these methods work great for bathroom tile, too. Whether it’s your kitchen backsplash or the floor in your master bath, the grout is usually the same culprit. Just a quick heads-up: if you have natural stone—like marble or slate—keep the vinegar away. It’s too acidic and can etch the surface. For anything else, though, grab your brush and let’s get those bathroom lines looking fresh.