Learn Macramé: How to Craft Your Very First Wall Hanging
I was sitting on my living room floor last Tuesday, surrounded by a literal mountain of tangled cotton cord and feeling completely defeated by a YouTube tutorial that promised “five minutes to mastery.” My hands were cramping, my tension was all over the place, and I was about two minutes away from tossing the whole mess into the donation bin. Here is the truth that most influencers won’t tell you: macrame isn’t about having a natural gift for artistry; it’s just about mastering a few repeatable patterns and having the patience to untangle your mistakes. If you’ve been staring at those intricate, boho-chic wall hangings thinking they’re out of your league, I’m here to tell you that you’re just looking at the wrong starting point.
In this guide, I’m stripping away the fluff and the expensive, specialized toolkits you don’t actually need. We are going to focus on the absolute essentials of macrame for beginners so you can stop overthinking and start creating. I’ll walk you through the only three knots that actually matter, how to pick cord that won’t drive you crazy, and how to finish a project that actually looks good in your home. Let’s stop scrolling through endless tutorials and just get your first plant hanger finished today.
Table of Contents
Guide Overview
Tools & Supplies
- Scissors for cutting cord cleanly
- Measuring tape to ensure even lengths
- Cotton macrame cord (3mm or 4mm) 1 roll
- Wooden dowel or ring 1 piece
Step-by-Step Instructions
- 1. First things first, clear off a table or a dedicated spot on your floor—I usually use my dining room table, but make sure it’s a surface you don’t mind getting a little dusty. You’ll need to secure a piece of dowel, a ring, or even a sturdy branch to act as your anchor. I like using a S-hook and a heavy book to hang your project from a door frame or a command hook, which keeps your hands free and prevents the whole thing from sliding around while you’re working.
- 2. Next, grab your cord and get it measured out. This is where most people trip up and end up with a tiny, useless scrap of string halfway through. Cut your cords much longer than you think you need to—usually about four to five times the length of the finished project. If you’re making a plant hanger, start with eight strands of cord, each about 10 feet long, and fold them in half to create a loop at the top.
- 3. Now, let’s tackle the foundation: the Lark’s Head Knot. This is the bread and butter of macrame and the easiest way to attach your cord to your anchor. Fold your cord in half to create a loop, place that loop over your dowel, and then pull the two loose ends through that loop. Tug it tight until it sits snugly against the wood. It’s a simple motion, but once you get the rhythm down, you’ll be able to do it in your sleep.
- 4. Once your cords are secure, it’s time to learn the Square Knot. This is the one that actually builds the structure of your piece. You’ll work with four strands at a time: the two outer ones are your “working cords” and the two middle ones are your “filler cords.” Take the left cord, cross it over the middle two to form a shape like a ‘4’, then take the right cord, place it over the left cord, under the middle cords, and up through the loop on the left. Pull it tight, then repeat the whole process starting from the right side.
- 5. If you want to add some texture or a bit of flair, try a Spiral Stitch. This is literally just a series of half-square knots. Instead of alternating sides, you just consistently knot from the same side—always the left, then always the left again. It creates a beautiful, twisting DNA-like effect that looks much more complicated than it actually is, which is a great way to impress people without spending hours on a complex pattern.
- 6. As you work your way down, keep an eye on your tension. I know it’s tempting to pull as hard as you can to make it look perfect, but if you’re too aggressive, your project will end up looking skewed and lopsided. Try to maintain a consistent, gentle pressure. If you find yourself getting frustrated, just step away, grab a cup of tea, and come back to it. Macrame is supposed to be a way to decompress, not a source of new stress.
- 7. Finally, once you’ve reached the desired length for your project, you’ll need to secure the bottom. For a plant hanger, this usually involves gathering all your cords together and tying a large, sturdy knot to create a cradle. Use a pair of sharp fabric scissors to trim the excess cord into a neat fringe. If you want a more polished look, you can even comb out the ends of the cotton cord to create a soft, bohemian tassel.
Pick the Right Macrame Cord Types for Beginners Without the Stress
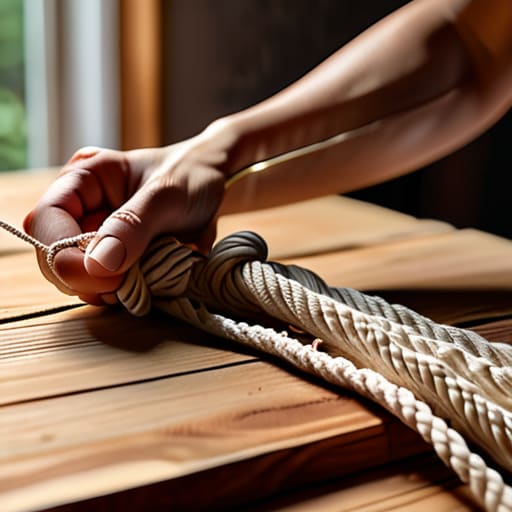
Look, I’ve spent enough time in my workshop to know that nothing kills a creative spark faster than fighting with your materials. You’ll walk into a craft store and see a mountain of options, but please, don’t get paralyzed by the choice. For your first few attempts, I highly recommend sticking to a single-strand cotton cord. It’s forgiving, easy on the hands, and won’t leave you frustrated when you’re trying to master those first few knots.
When you’re looking at a cotton cord weight guide, aim for something in the 3mm to 5mm range. Anything thinner feels like trying to tie shoelaces with dental floss, and anything thicker becomes a bulky, heavy mess before you’ve even learned the rhythm of the movement. If you can, grab a few different colors, but keep the texture consistent. My rule of thumb? If the cord feels soft and holds its shape without being stiff, it’s a winner. Getting the material right is half the battle; once you have the right cord, you can stop worrying about the gear and actually start making something beautiful.
An Essential Macrame Tools List to Get You Moving Fast
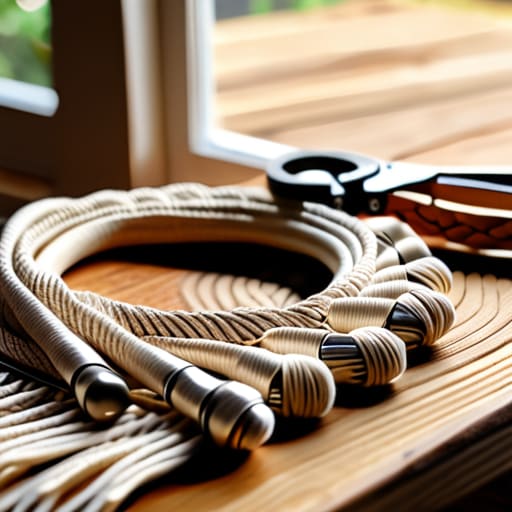
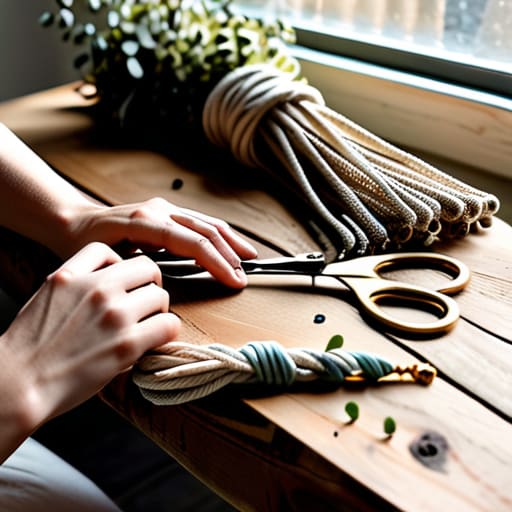
Look, I’ve learned from years of DIY projects that the quickest way to kill your momentum is by starting a craft only to realize you’re missing a crucial piece of gear. You don’t need a professional studio or a massive investment to get started, but you do need an essential macrame tools list that actually works. Beyond your cord, grab a decent pair of sharp fabric shears—don’t try to use your kitchen scissors, or you’ll end up with frayed, messy ends that will drive you crazy. A wooden dowel or a sturdy metal ring will serve as your base, and a measuring tape is non-negotiable if you want your finished piece to actually hang straight on the wall.
I also highly recommend picking up a small piece of masking tape or some binder clips. When I’m working on a new macrame wall hanging tutorial, I find that taping my cord to the edge of my desk keeps everything from sliding around while I’m trying to tension my knots. It’s a tiny tweak, but it saves so much frustration. Just keep your workspace clear, grab the basics, and let’s get to the actual making.
Five Ways to Avoid the Macrame Meltdown
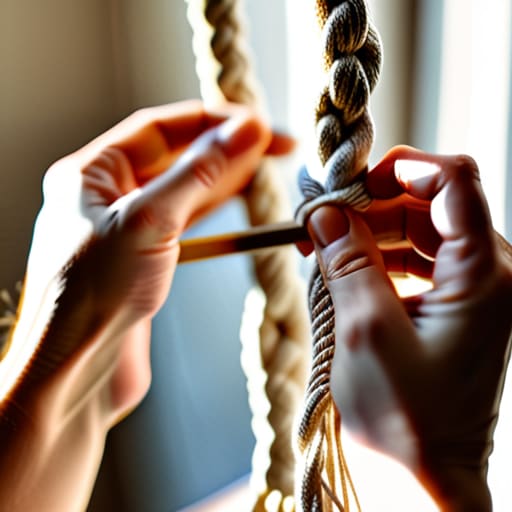
- Don’t aim for perfection on your first go; your first few knots will probably look a little wonky, and that’s perfectly fine. Just keep moving and focus on the rhythm of the cord rather than making it look like a Pinterest photo immediately.
- Secure your workspace properly. There is nothing more frustrating than trying to knot a piece that keeps sliding around the table, so use a heavy-duty dowel or a sturdy S-hook to keep your project anchored while you work.
- Watch your tension. It’s easy to pull too tight when you’re concentrating, but if you do that, your project will end up looking lopsided and stiff. Try to keep a steady, relaxed hand to ensure your pattern stays even.
- Keep a “mistake pile” nearby. When you mess up a knot—and you will—don’t try to untangle it for an hour. Just snip the cord, start that section over, and keep your momentum going. Life is too short to fight with a knot that won’t behave.
- Work in a well-lit area. I’ve learned the hard way that trying to thread thin cords in a dim corner is a recipe for a headache; make sure you have good light so you can actually see the structure of what you’re building.
Three Things to Remember Before You Start Knotting
Don’t get paralyzed by choice; grab a decent cotton cord and a pair of sharp scissors, and just start.
Perfection is the enemy of progress—your first few knots might look a little wonky, but that’s just part of the process.
Keep your workspace organized from the jump so you aren’t hunting for your measuring tape halfway through a project.
Stop Planning and Start Knotting
Look, we’ve covered the essentials: choosing a cord that won’t drive you crazy, grabbing the basic tools you actually need, and mastering those first few knots. You don’t need a dedicated studio or a mountain of expensive supplies to make something beautiful. All you really need is a bit of patience and the right setup to get moving. Remember, the goal here isn’t to produce a museum-quality masterpiece on your first try; it’s about building the muscle memory and finding that rhythm that turns a pile of string into something functional for your home. Don’t let the fear of a messy knot stop you from actually starting.
At the end of the day, macrame is just another way to reclaim a little bit of calm in a busy world. There is something incredibly grounding about working with your hands, especially when the rest of your schedule feels like it’s spinning out of control. Whether you end up with a perfect plant hanger or a tangled mess that ends up in the donation bin, you’ve still won because you took the time to create something. So, clear off a spot on the kitchen table, grab your cord, and just get it done. You might be surprised at how much peace you find in the process.
Frequently Asked Questions
How much cord should I actually buy so I don't run out halfway through my first project?
Look, I’ve been there—standing in the middle of a project with three knots left to go and a piece of cord that’s frustratingly short. It’s a total momentum killer. For your first plant hanger or wall hanging, don’t try to be precise; just buy more than you think you need. Grab a 100-meter spool or at least two large rolls. It’s much cheaper to have leftovers for your next project than to pay for shipping on a single extra roll mid-way through.
Is it okay to use whatever string I have lying around, or am I going to regret not buying the "right" stuff?
Look, I get the temptation to just grab that leftover twine from the junk drawer, but please, don’t do it. You’ll spend three hours fighting tangles and ends that fray the second you touch them, and then you’ll want to throw the whole project in the trash. Save yourself the headache. Grab a decent cotton cord. It’s a small investment that prevents a massive amount of frustration later. Let’s just do this right the first time.
My knots look all wonky and uneven—how do I get them to look tight and professional like the photos?
Look, I’ve been there. I once spent three hours on a wall hanging only to realize it looked more like a bird’s nest than art. The secret isn’t magic; it’s tension control. You have to find your “sweet spot”—pulling just enough to make the knot secure, but not so hard that you distort the cord. My trick? Practice your knots on a scrap piece of cord first to build that muscle memory. Keep it consistent, and don’t rush.