How to Install Shelving That Is Built to Last
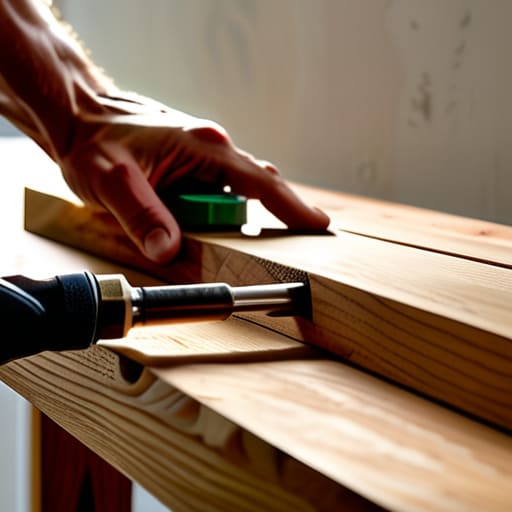
I was standing in my hallway last Tuesday, staring at a stack of heavy cookbooks that had been sitting on the floor for three weeks because I was too intimidated to touch my drill. We’ve been told that learning how to install a shelf is some complex feat of engineering that requires a contractor and a massive budget, but honestly? That is a total myth. Most of the time, the struggle isn’t the hardware; it’s just the mental friction of not knowing where to start. I’ve spent years restoring mid-century pieces and fixing up this suburban house, and I can tell you that once you stop overthinking the physics, it’s actually quite straightforward.
In this guide, I’m cutting through the fluff to show you exactly how to install a shelf without the headache or the crooked lines. I won’t bore you with unnecessary jargon or expensive, specialized tools you’ll only use once. Instead, I’m giving you my no-nonsense checklist for finding studs, leveling like a pro, and making sure those brackets actually hold the weight of your life. Let’s get those surfaces cleared off and finally get this project done.
Table of Contents
Guide Overview
Tools & Supplies
- Drill/Driver for creating holes and driving screws
- Level to ensure the shelf is straight
- Pencil for marking mounting points
- Measuring tape for spacing accuracy
- Shelf and brackets 1 set
- Wall anchors 1 pack (if not using studs)
- Screws 1 pack (compatible with anchors/brackets)
Step-by-Step Instructions
- 1. First things first, you need to gather your gear so you aren’t wandering around the garage halfway through the job. Grab a drill, a level, a stud finder, some sturdy screws, and your wall anchors if you aren’t hitting a stud. I keep a dedicated project bag right by the utility sink so I’m never hunting for a screwdriver when I’m actually ready to work.
- 2. Grab your stud finder and run it along the wall where you want the shelf to live. This is the most important part because if you try to hang a heavy piece of wood on just drywall, it will come crashing down eventually. Once you find those wooden studs, mark them lightly with a pencil; these are your anchor points for a shelf that actually stays put.
- 3. Hold your shelf (or your mounting bracket) up against the wall and use your level to make sure it’s perfectly straight. Don’t just eyeball it—I’ve seen enough crooked bookshelves in my time to know that even a slight tilt will drive you crazy every time you look at it. Once it’s level, mark the screw holes clearly with your pencil so you know exactly where to drill.
- 4. Now, it’s time to drill. If you’re hitting a stud, you can drill straight in, but if you’re in the “empty” space between studs, you’ll need to use those plastic drywall anchors. Make sure your drill bit is the correct size for your anchors; if the hole is too big, the whole thing is going to be wobbly, and we aren’t doing wobbly.
- 5. Line up your shelf or brackets with the holes you just drilled and start driving the screws in. I like to do this by hand for the last few turns just to make sure I don’t overtighten and strip the screw or crack the wood. It takes an extra thirty seconds, but it saves you a massive headache later.
- 6. Give the shelf a firm, but gentle, tug to make sure it’s seated securely against the wall. If it feels solid, go ahead and start placing your items back on it—but remember, start with the lighter stuff first. You can always add the heavy cookbooks later once you’ve confirmed the shelf is handling the weight like a pro.
Mastering Wall Stud Finder Usage and Essential Woodworking Tools
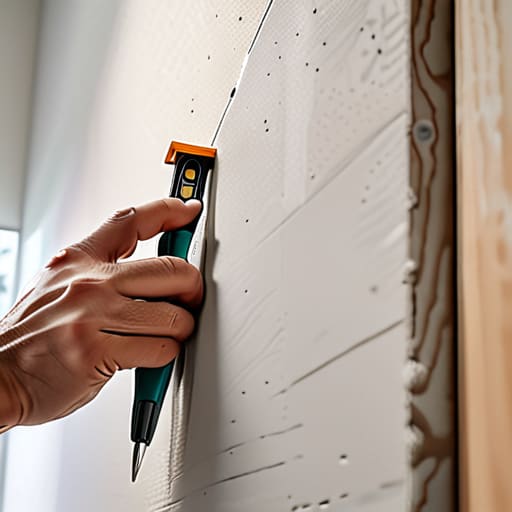
Now, let’s talk about the part that usually makes people hesitate: finding what’s actually behind your walls. If you’re planning on holding anything heavier than a single photograph, you cannot skip proper wall stud finder usage. I’ve learned the hard way that blindly drilling into drywall is a recipe for a very expensive, very messy afternoon. When you find those studs, mark them clearly in your notebook—I keep a little pencil tucked behind my ear for exactly this reason. If your layout doesn’t align perfectly with the studs, don’t panic; that’s when you break out the heavy duty shelf anchors to bridge the gap.
Beyond the stud finder, having the right kit makes the job feel less like a chore and more like a quick win. You don’t need a professional workshop, but a few essential woodworking tools—like a decent cordless drill, a variety of driver bits, and a solid level—are non-negotiable. I always say that measure twice and drill once isn’t just a cliché; it’s the difference between a sturdy display and a pile of broken ceramic on your floor. Get your gear ready first, and the rest is easy.
Choosing Heavy Duty Shelf Anchors and the Right Bracket Types
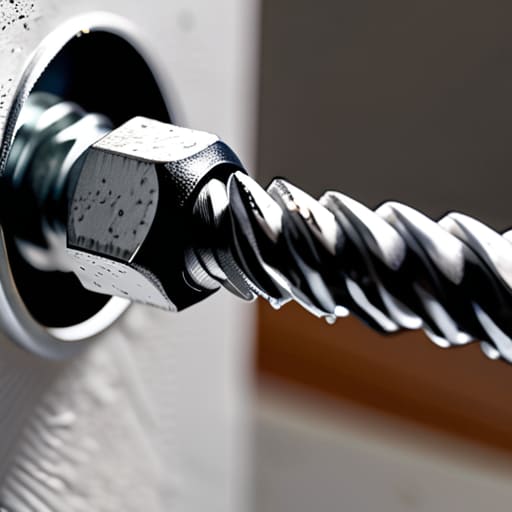
Now, let’s talk about what’s actually holding that weight. I’ve learned the hard way that if you’re planning to display anything heavier than a single succulent, you can’t just rely on luck. If you aren’t hitting a stud, you need to invest in high-quality heavy duty shelf anchors. Don’t bother with those flimsy plastic sleeves that come in the cheap kits; they’ll pull right out of the wall the moment you load up your books. Look for toggle bolts or zinc self-drilling anchors if you’re drilling into drywall. They provide the grip you need to sleep soundly at night without worrying about your decor crashing down.
When it comes to shelf bracket types, match the hardware to the vibe and the load. For a sturdy, industrial look that can handle a heavy collection of cookbooks, go with L-brackets or even decorative corbels. If you’re aiming for that clean, minimalist aesthetic, you might be looking at floating hardware, but keep in mind those require much more precision. Whatever you choose, make sure the bracket’s footprint is wide enough to support the depth of your wood. It’s all about intentional stability.
Five Pro-Tips to Save You from a Sagging Shelf
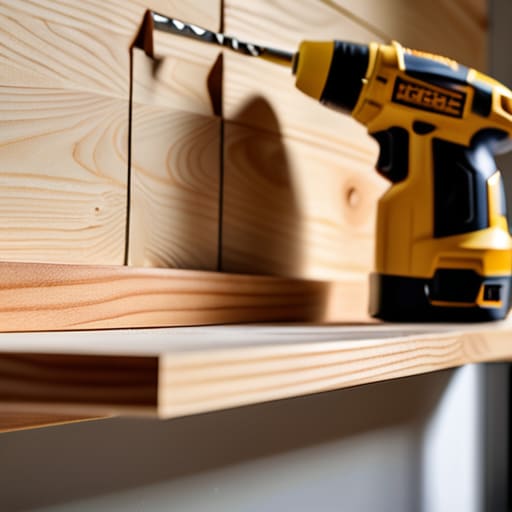
- Double-check your level one last time right before you drill. I know it’s tempting to trust your eyes, but gravity doesn’t care about your intuition, and a crooked shelf is a headache you don’t need.
- Always account for the weight of what you’re actually putting on the shelf. If you’re planning to display a heavy collection of vintage cookbooks, those lightweight plastic anchors aren’t going to cut it; plan for the load now so you aren’t fixing it later.
- Use a piece of painter’s tape to mark your drill points. It keeps the bit from skidding across your nice paint job and gives you a clear, clean spot to work.
- Don’t skip the “test fit.” Set the shelf in place without any screws first to make sure it actually fits the space and doesn’t look ridiculously out of scale with your wall.
- Keep a small vacuum or a damp rag handy while you work. There’s nothing worse than finishing a successful install only to realize you’ve left a layer of fine drywall dust all over your floor.
Three Things to Remember Before You Pick Up the Drill
Don’t guess when it comes to weight; always double-check your anchor ratings and find a stud whenever possible to avoid that dreaded “shelf sag” or, worse, a hole in your drywall.
Measure twice, drill once—and I mean it. Use a level every single time, because nothing ruins the aesthetic of a clean room faster than a crooked shelf.
Prep your workspace and gather your tools beforehand. There is nothing more frustrating than being halfway through a project and realizing you’re missing the one specific bit you need to finish the job.
The Finish Line
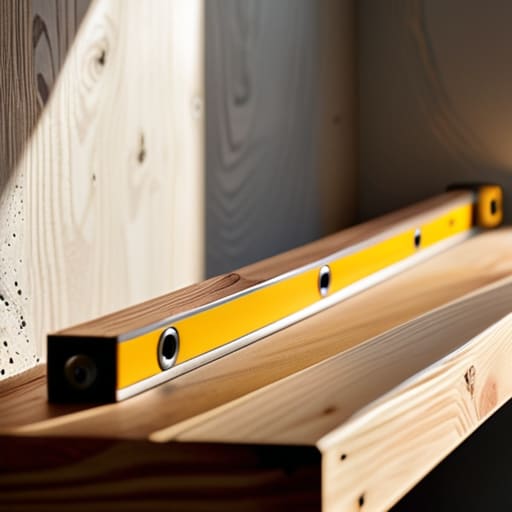
At the end of the day, installing a shelf isn’t just about the hardware; it’s about the prep work that keeps it from falling on your head three weeks from now. We’ve covered the essentials: finding those solid studs, picking the right anchors for your wall type, and making sure your brackets are actually up to the task. If you took the time to double-check your level and secure those heavy-duty anchors, you’ve already done the hard part. Don’t rush the final tightening—measure twice, drill once, and make sure everything is rock solid before you start loading up those books or decor pieces.
I know that looking at a pile of tools and a bare wall can feel like just another item on an endless to-do list, but I promise the payoff is worth the effort. There is a specific kind of peace that comes from looking at a room and seeing things exactly where they belong, rather than scattered across a countertop. Once this shelf is up, you aren’t just fixing a wall; you are reclaiming your space and lowering that mental load we all carry. So, grab your level, finish this project, and get back to enjoying your home. You’ve got this.
Frequently Asked Questions
What should I do if my stud finder keeps giving me false readings?
It’s incredibly frustrating when your gear acts up right when you’re in the zone. If your stud finder is acting twitchy, first, check your batteries—low power is the usual culprit for wonky readings. Also, make sure you aren’t scanning near electrical wires or metal pipes, which can throw the sensor off. If it’s still being stubborn, grab a small finishing nail and tap lightly; the “feel” of the solid wood is often more reliable than a cheap sensor.
How much weight can I actually trust these anchors to hold before they pull out of the drywall?
Look, I’ve seen too many “heavy-duty” organizers end up in a heap on the floor because someone overestimated their hardware. If you’re hitting a stud, you’re golden—you can trust it with almost anything. But if you’re relying on anchors in plain drywall, play it safe. Most quality plastic anchors tap out around 20-30 pounds. If you’re planning on stacking heavy cookbooks, skip the drywall anchors and find that stud. Don’t risk the crash.
I'm worried about the shelf looking crooked—is there a trick to leveling it without spending an hour staring at a bubble?
Look, I’ve spent way too many Saturday afternoons squinting at a tiny green bubble, only to realize the whole thing is still off. Here’s the shortcut: grab a piece of painter’s tape. Lay it across where you want the shelf, then use your level on the tape itself. Once you’ve marked your holes through the tape, you’re set. It keeps the guesswork out of it so you can actually get to the fun part.