How to Construct a Solid Desk Without Breaking the Bank

I was staring at a wobbling, particle-board nightmare of a desk last Tuesday, wondering why I’d spent two hundred dollars on something that felt like it would collapse if I even leaned on it to reach for my coffee. We’ve been sold this lie that you need a master carpenter’s toolkit or a massive workshop to create something sturdy, but that’s just not true. Honestly, learning how to build a desk isn’t about complex joinery or expensive machinery; it’s about choosing the right materials and not cutting corners on the stability. I’ve spent years restoring mid-century pieces and managing high-stakes projects, and if there’s one thing I know, it’s that a solid foundation is everything.
In this guide, I’m stripping away the fluff and the intimidating jargon to show you how to build a workspace that actually supports your life. I’ll walk you through selecting wood that won’t warp, the essential tools you actually need, and a straightforward assembly process that won’t leave you staring at a pile of sawdust in frustration. Let’s stop settling for flimsy furniture and just get this done.
Table of Contents
- Step-by-Step Instructions
- Choosing the Best Wood for Office Furniture Without the Stress
- Minimalist Desk Blueprints for a Clutter Free Life
- Five Small Wins to Keep Your Build from Becoming a Headache
- The Bottom Line: Less Stress, More Productivity
- The Finish Line is Just the Beginning
- Frequently Asked Questions
Guide Overview
Tools & Supplies
- Power Drill for driving screws and pre-drilling holes
- Tape Measure for accurate sizing and layout
- Sandpaper for smoothing wood surfaces
- Level to ensure the desktop is flat
- Wood Desktop (1 piece)
- Wooden Legs or Metal Hairpin Legs (4 pieces)
- Wood Screws (1 box)
- Wood Glue (1 bottle)
Step-by-Step Instructions
- 1. First things first, let’s get your materials together so you aren’t running to the hardware store halfway through the job. You’re going to need a solid piece of plywood or a pre-cut butcher block for the top, four sturdy legs (I personally love the tapered mid-century style), wood glue, some heavy-duty screws, and a drill. I always keep a dedicated project notebook handy for this part, so jot down your measurements twice before you buy a single thing.
- 2. Once you have your tabletop, clear off a large, flat workspace—your dining room table works fine, just lay down a blanket so you don’t scratch the finish. Measure where you want the legs to sit, making sure you leave at least a couple of inches of overhang on all sides so it doesn’t look awkwardly top-heavy. Use a carpenter’s square to mark your spots; if these lines aren’t straight, your whole desk is going to wobble, and we aren’t doing that.
- 3. Now, let’s prep the mounting points. If you’re using legs with mounting plates, flip your tabletop over and trace the outline of those plates onto the wood. Before you drive any screws, drill pilot holes first. This is the one step people skip, and it’s exactly how you end up splitting your expensive wood. A little bit of foresight here saves a lot of heartache (and money) later.
- 4. It’s time to attach the legs. Apply a tiny bead of wood glue to the mounting surface if you want extra stability, then line up your legs with the pilot holes you just drilled. Secure them with your screws, but don’t go overboard with the drill pressure; you want them tight, not buried deep into the wood. If you feel resistance, stop and check your alignment.
- 5. Flip the desk back over—get a hand from someone if it’s heavy, don’t try to be a hero and risk a back injury—and give it a good shake to check for wobbles. If it’s uneven, you might need to add a small felt pad to one of the legs. Once it’s steady, it’s time to tackle the finish. If you’re using raw wood, sand it down starting with a coarse grit and moving to a fine one until it’s smooth as silk.
- 6. The final touch is the sealant or stain. I prefer a simple matte polyurethane because it protects the wood from coffee rings without looking like a cheap plastic coating. Apply a thin, even layer, let it dry completely, and then do one more very light sand with high-grit sandpaper to get that professional feel. Once it’s dry, wipe it down and get ready to actually use the thing.
Choosing the Best Wood for Office Furniture Without the Stress
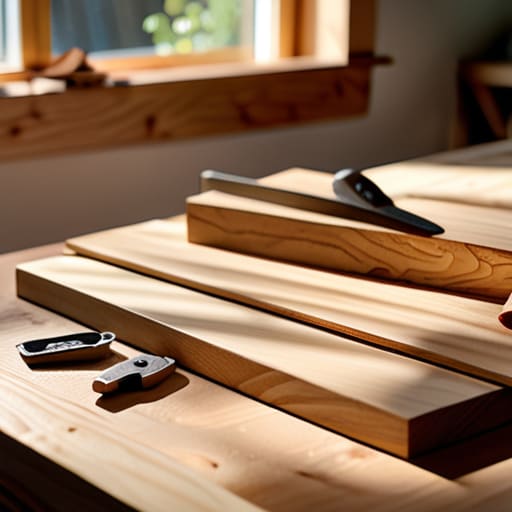
Look, I know the hardware store aisles can feel like a sensory overload, especially when you’re just trying to get a project off the ground. You don’t need to be a master carpenter to make a smart choice here. If you’re looking for the best wood for office furniture, I always suggest starting with something forgiving like pine or birch. They are budget-friendly and much easier to work with if you are just getting your feet wet with woodworking tools for beginners. They take stain well and won’t break the bank before you’ve even finished your first prototype.
If you’ve got a bit more breathing room in the budget and want something that feels substantial, go for a hardwood like oak or walnut. These are the heavy hitters—they’re durable, they look stunning, and they’ll stand up to years of heavy monitors and coffee mugs without buckling. Just keep in mind that harder woods require a bit more muscle and sharper blades. My rule of thumb? Don’t overcomplicate the selection. Pick a species that matches your skill level and your long-term goals for the space, and then just commit to it.
Minimalist Desk Blueprints for a Clutter Free Life
When you’re looking at different minimalist desk blueprints, it’s tempting to go for something overly complex because it looks “designer.” Trust me, I’ve been there with my mid-century restoration projects, and the temptation to add unnecessary flourishes is real. But if your goal is to reduce mental load, you want a design that prioritizes surface area and legroom over aesthetic clutter. I always suggest sticking to a simple T-frame or four-leg structure. It keeps the custom workstation assembly straightforward and ensures you aren’t fighting with complicated joinery when you just want a place to sit down and work.
Before you start cutting, you have to nail down your desk design dimensions. There is nothing more frustrating than finishing a build only to realize your monitor sits too high or your chair won’t tuck in properly. I personally swear by a standard depth of at least 24 to 30 inches; anything shallower and you’ll feel like you’re working in a cramped cockpit. Keep the lines clean and the storage integrated but hidden. A desk shouldn’t be a place where things accumulate—it should be a clear launchpad for your day.
Five Small Wins to Keep Your Build from Becoming a Headache
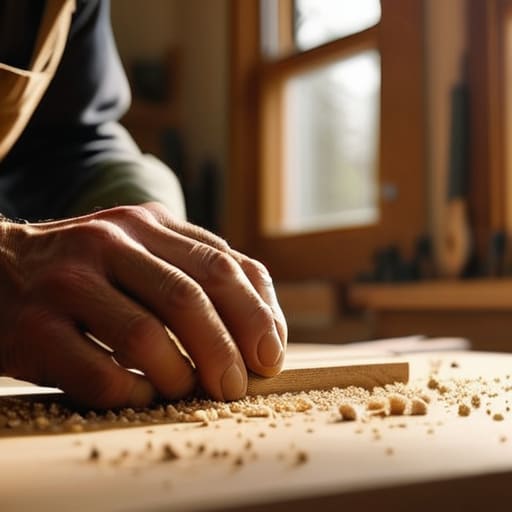
- Measure twice, cut once, and then measure a third time. I’ve learned the hard way that “close enough” is just a fancy way of saying you’ll be heading back to the hardware store mid-project.
- Don’t skimp on the fasteners. It’s tempting to grab the cheapest screws in the bin, but if you want a desk that doesn’t wobble every time you type an email, invest in some high-quality wood screws or even some heavy-duty cam locks.
- Sanding is the part everyone wants to skip, but don’t. If you want that smooth, professional feel under your hands, take the extra twenty minutes to sand through the grits; your future self will thank you when you aren’t getting splinters.
- Plan for cable management before you finish the assembly. I always leave a little extra space or drill a couple of neat holes for cords early on, otherwise, you’ll end up with a “spaghetti mess” of wires tangling around your legs.
- Keep your workspace organized as you go. I keep a small tray nearby for all my screws and dowels—there is nothing more frustrating than finishing a build only to realize a tiny, vital piece has rolled under the fridge.
The Bottom Line: Less Stress, More Productivity
Don’t get paralyzed by perfectionism—pick a solid wood, follow a simple blueprint, and just start building.
Prioritize function over flair; a desk that actually fits your workflow is worth more than one that just looks good on Instagram.
Invest in quality materials early so you aren’t stuck repairing wobbly legs or peeling veneer six months down the road.
The Finish Line is Just the Beginning
At the end of the day, building this desk isn’t about achieving some impossible level of woodworking perfection; it’s about having a dedicated, reliable space that actually serves your needs. We’ve covered everything from selecting the right wood that won’t give you a headache, to picking a blueprint that fits your minimalist aesthetic, and finally, walking through those assembly steps without losing your mind. Remember, the goal was to move away from that flimsy, particle-board junk and create something built to last. Once you’ve tightened that last screw and wiped away the sawdust, you aren’t just looking at a piece of furniture—you’re looking at a functional win for your home office.
I know how it feels to look at a pile of lumber and a half-finished project and feel that sudden urge to just walk away. But I promise you, the mental clarity that comes from sitting down at a desk you built with your own two hands is worth every bit of the effort. Don’t let the small hiccups stop you; just grab your tools, stay focused, and get it done. You’ve officially turned a chaotic corner of your room into a workspace that works as hard as you do. Now, clear off the scraps, grab a coffee, and enjoy the view of a job well done.
Frequently Asked Questions
How do I make sure the desk doesn't wobble once I've actually finished building it?
Nothing kills the high of a finished project like a desk that dances every time you type. First, check your floor—if it’s uneven, don’t fight the wood; just use adjustable leveling feet. If the wobble is in the frame, tighten every single bolt, then go one more quarter-turn. For a permanent fix, I always add a bit of wood glue to the joints. It’s about stability, not just looks. Get it solid.
What’s the easiest way to get a smooth, professional-looking finish without spending a fortune on fancy tools?
Look, you don’t need a professional spray booth to get a finish that looks expensive. Honestly, the secret is all in the prep work. Spend more time sanding than you think you need to—start with a medium grit and work your way up to a fine one. Then, grab a high-quality wipe-on poly or a good quality furniture wax. It’s much more forgiving than heavy oils and gives you that smooth, matte look without the headache.
I'm working with a small space—can I build a desk that mounts to the wall to save floor room?
Absolutely. If you’re fighting for every square inch of floor space, a wall-mounted desk is a total game-changer. I’ve done this in my own home office to keep the footprint minimal. Just remember: don’t skimp on the hardware. You aren’t just hanging a shelf; you’re supporting your laptop, your coffee, and your elbows. Find those studs, use heavy-duty brackets, and make sure it’s rock-solid before you start typing.




