Building a Sturdy Garage Workbench: a Step-by-step Guide
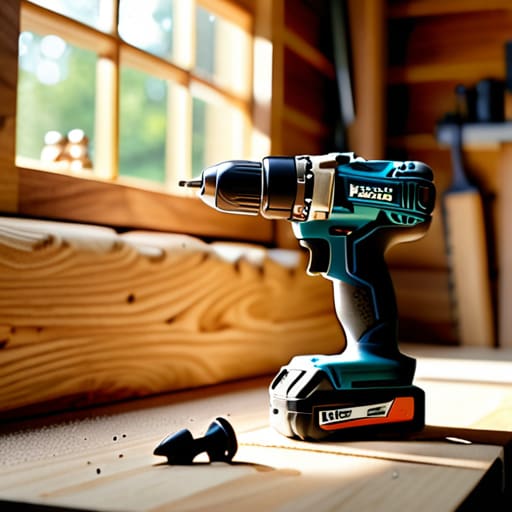
I was standing in my garage last Tuesday, staring at a pile of mismatched scrap wood and a half-finished sanding project, feeling that familiar, heavy knot of frustration in my chest. I realized I wasn’t actually working; I was just rearranging chaos because I didn’t have a stable surface to actually lean on. Most people think you need a massive investment in expensive hardwoods or a professional-grade shop to get started, but that is a total myth. Learning how to build a workbench doesn’t require a master carpenter’s degree or a massive budget; it just requires a solid plan and the willingness to stop overthinking it.
In this guide, I’m stripping away the fluff and the complicated jargon to show you exactly how to create a workspace that actually serves you. I’m going to walk you through a design that is sturdy, functional, and—most importantly—built to last without breaking the bank. We aren’t going to aim for perfection here; we are aiming for a reliable, heavy-duty station that turns your garage from a storage unit back into a productive workspace. Let’s quit the procrastination and get this done.
Table of Contents
Guide Overview
Tools & Supplies
- Circular saw for cutting lumber to size
- Drill/Driver for assembling the frame
- Tape measure for accurate dimensions
- Speed square for ensuring right angles
- 2×4 lumber (8-10 boards)
- 3/4 inch plywood (1 sheet)
- 2.5 inch wood screws (1 box)
- Wood glue for joint stability
Step-by-Step Instructions
- 1. First things first, you need to clear a space and get your materials together. Don’t try to wing this with random scraps you found in the corner of the garage. You’re going to need some sturdy 4×4 posts for the legs, 2x4s for the frame, and a thick piece of plywood or some solid wood planks for the top. I always tell myself: measure twice, cut once, because nothing kills my momentum like having to drive back to the hardware store for one more piece of lumber.
- 2. Start by building your base frame. Lay out your 2x4s on a flat surface to ensure you’re creating a perfect rectangle. Use a speed square to make sure every corner is at a true 90-degree angle before you start driving in those screws. If your frame is crooked now, your entire workspace will feel off-balance for the next ten years, and we aren’t about that life.
- 3. Now, let’s tackle those legs. Attach your 4×4 posts to the inside corners of your frame. I prefer using heavy-duty wood screws rather than nails for this part; nails tend to wiggle loose over time when you’re hammering or sawing on top. Make sure the legs are perfectly vertical by using a level. If they aren’t, your workbench will rock back and forth every time you lean on it, which is incredibly frustrating.
- 4. Once the legs and frame are standing, it’s time to add the bracing. You’ll want to run some 2x4s horizontally between the legs, about a foot off the ground. This doesn’t just add stability; it gives you a place to store your power tools or those heavy bins of hardware. It’s all about maximizing every inch of usable space without making the whole thing look cluttered.
- 5. Next, we lay down the tabletop. If you’re using plywood, I highly recommend a double layer or a very thick sheet to handle the impact of your projects. Secure the top to the frame using countersunk screws so the heads sit flush with the wood. You don’t want a protruding screw head catching your sleeve or scratching a piece of furniture you’re working on later.
- 6. Finally, give it a quick sand. You don’t need to spend all day making it look like fine furniture, but you do want to smooth out any splinters or rough edges. A quick pass with some 80-grit sandpaper is usually enough to make it functional and safe. Once that’s done, you’re officially ready to stop dreaming and start doing.
Picking Smart Woodworking Workbench Plans Without the Overcomplication
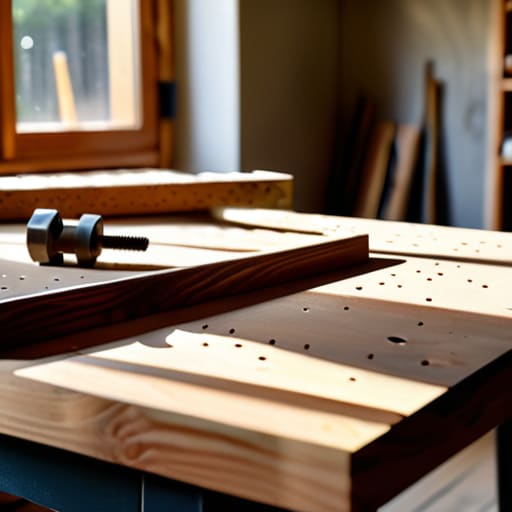
Look, I’ve spent enough time staring at Pinterest boards to know that “pretty” doesn’t always mean “practical.” When you start digging through various woodworking workbench plans online, it’s easy to get paralyzed by choice. You’ll see these elaborate, museum-quality builds that look incredible, but let’s be real: unless you’re running a professional shop, you don’t need that level of complexity. You need something that won’t wobble when you’re sawing through a piece of oak. Focus on finding a design that prioritizes stability over aesthetics.
My rule of thumb is to look for a heavy duty workbench design that uses thick, solid lumber rather than flimsy plywood scraps. If the plans call for specialized joinery that requires tools you don’t even own yet, put them back. You want a blueprint that focuses on building a sturdy work table using basic fasteners and standard dimensions. Don’t get distracted by bells and whistles; just find a solid foundation that gives you enough surface area to actually move around without knocking over your coffee.
Heavy Duty Workbench Design for a Life Without Wobbly Tables
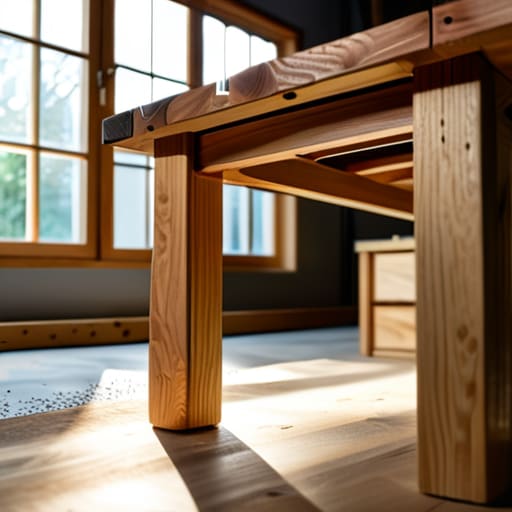
If you’ve ever tried to sand a piece of oak only to have your entire workspace dance across the garage floor, you know exactly why I’m obsessed with a heavy duty workbench design. There is nothing more frustrating than fighting your furniture instead of your project. To avoid that wobbling nightmare, you need to focus on mass and stability. I always recommend using thick, solid lumber for the legs—think 4x4s at a minimum—and ensuring your bracing is rock solid. A table that feels flimsy isn’t just annoying; it’s a safety hazard when you’re using power tools.
Once you’ve mastered building a sturdy work table, don’t just stop at the tabletop. A truly functional station needs to support your workflow, which means thinking ahead about your tools. I’m a big believer in integrating workbench tool storage ideas directly into the build, like adding a sturdy lower shelf or a pegboard backer. If you can reach your most-used items without stepping away from your project, you’ve already won half the battle. Let’s keep the movement minimal and the focus on the craft.
Five Ways to Keep Your Workbench from Becoming a Total Headache
- Measure twice, but for heaven’s sake, measure three times. There is nothing more frustrating than finishing a build only to realize your vise is sitting two inches too far to the left because you eyeballed it.
- Don’t skimp on the legs. If you use spindly, lightweight lumber, your workbench will act like a trampoline every time you hammer something, and that’s a quick way to lose your patience and your precision.
- Plan for your power. I learned this the hard way—don’t build a massive, beautiful station only to realize you’re tripping over extension cords every five minutes. Mount a power strip directly to the frame so you aren’t hunting for an outlet mid-project.
- Keep the top flat, not just strong. A heavy workbench is great, but if the surface is warped or uneven, you’ll spend more time fighting the wood than actually working on it. Sand it down until it’s smooth enough to trust.
- Leave room for your mess. A workbench isn’t just a tabletop; it’s a system. Build in a shelf for your heavy tools or a small cubby for your scraps so your workspace doesn’t turn into a junk drawer by Tuesday.
The Bottom Line
Don’t get paralyzed by fancy blueprints; pick a solid, heavy design that prioritizes stability over aesthetics so your tools don’t dance around while you’re working.
Invest in high-quality, heavy-duty materials from the start because a wobbly workbench is just a headache waiting to happen.
Keep it functional and focused—build exactly what you need for your specific space and stop overthinking the extra bells and whistles you’ll likely never use.
Get to Work
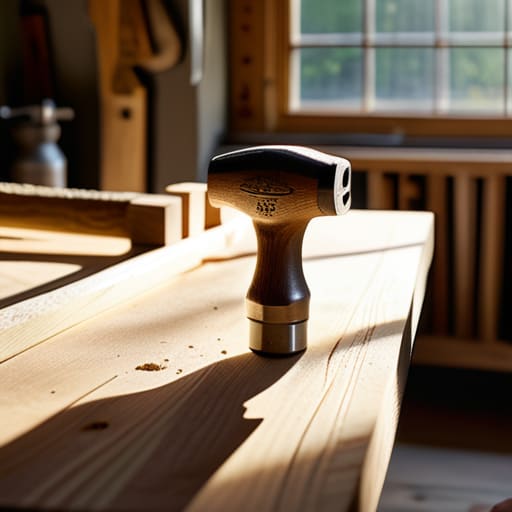
At the end of the day, building a workbench isn’t about having a professional-grade studio or a garage full of expensive, specialized machinery. It’s about having a solid, reliable surface that doesn’t shake every time you drive a screw or sand a piece of oak. We’ve talked about choosing plans that don’t make your head spin, focusing on heavy-duty designs that prioritize stability, and selecting wood that actually holds up to real work. If you follow these steps, you won’t just have a piece of furniture; you’ll have a foundation for every project that follows. Stop worrying about whether it’s perfectly level to the millimeter and just focus on making it sturdy and functional.
Once that last bolt is tightened and the sawdust is swept away, you’re going to feel a massive shift in your creative momentum. There is something incredibly satisfying about standing in front of a workspace that you built with your own two hands. It removes that invisible barrier of hesitation that comes from working on a kitchen table or a wobbly folding desk. My advice? Don’t let this project sit half-finished in your mind. Grab your tools, clear some space, and just start building. You deserve a workspace that works as hard as you do.
Frequently Asked Questions
Do I really need a professional-grade drill for this, or can I just use what’s in my basic toolkit?
Look, I’ve spent enough time in my garage to know that gear-lust is real, but you don’t need a professional-grade setup to get this done. If your basic drill has enough torque to drive a couple of long wood screws without stalling out, you’re golden. Don’t let the fear of “not having the right tool” keep you from starting. Just grab what you have, keep an eye on the battery, and let’s get to work.
How much floor space should I actually set aside so I'm not tripping over my own feet while I work?
Look, I’ve learned the hard way that a workbench isn’t just a piece of furniture; it’s a workspace. If you’re cramped, you’re going to be frustrated, and frustrated people make mistakes. Aim for at least three feet of clear floor space on all sides of the bench. You need room to step back, pivot, and—most importantly—move your legs without kicking a pile of scrap wood. Don’t let your shop become an obstacle course.
What’s the best way to keep the sawdust from migrating into the rest of the house once I'm done?
Look, we’ve all been there—you finish a project feeling great, only to find a fine layer of sawdust on the kitchen counters. It’s infuriating. My rule? Don’t wait until the end. Keep a shop vac running or use a dedicated dust extractor while you work. Once you’re done, hit the surfaces with a damp microfiber cloth immediately. If you let it settle, you’re just inviting a cleaning nightmare into your living space.




