Achieve a Perfect Finish Every Time You Spray Paint
I was standing in my garage last Saturday, staring at a gorgeous, mid-century teak sideboard that had seen better days, feeling that familiar surge of frustration. I had watched three different “expert” tutorials online, but they all made it look like magic, and frankly, I was terrified of ending up with a sticky, drip-covered mess that ruined a perfectly good piece of furniture. Most people think you need a professional studio setup to get a smooth finish, but the truth is, learning how to spray paint isn’t about having fancy equipment; it’s about controlling your technique and knowing when to step back.
I’m not here to sell you on a complicated, expensive hobby or a twenty-step process that takes up your entire weekend. In this guide, I’m stripping away the fluff and giving you the straight-talking, practical steps I use in my own workshop to get professional results without the headache. We’re going to cover everything from the essential prep work to the actual movement of the can, so you can stop overthinking it and finally get that project done.
Table of Contents
- Step-by-Step Instructions
- Dont Skip the Prep Essential Spray Paint Surface Preparation
- Picking the Best Spray Paint for Diy Projects Without the Stress
- Five Pro Tips to Keep Your Project from Becoming a Mess
- The Bottom Line: Small Wins for Your Next Project
- The Finish Line
- Frequently Asked Questions
Guide Overview
Tools & Supplies
- Spray paint cans (for the finish)
- Drop cloths (to protect surfaces)
- Sandpaper (to smooth surface)
- Masking tape (to define edges)
- Primer (1 can)
- Spray paint (1-2 cans)
- Cleaning agent/Degreaser (1 bottle)
- Microfiber cloth (1 pack)
Step-by-Step Instructions
- 1. First things first, you’ve got to clear your workspace. I don’t care if it’s the garage or a corner of the backyard, but find a spot with decent airflow and enough room to move without knocking something over. Lay down some old newspapers or a cheap drop cloth—trust me, nobody wants to spend their Saturday scrubbing spray paint drips off the driveway.
- 2. Next, grab a degreaser or some simple dish soap and water to clean your item thoroughly. If you’re working on one of my vintage mid-century side tables, any leftover wax or oils will cause the paint to bead up and fail. You want a surface that is completely stripped of grime so the paint actually sticks instead of just sitting on top like a layer of dust.
- 3. Once it’s dry, it’s time for the tedious but vital part: masking and prepping. Use painter’s tape to cover anything that shouldn’t be colored—hinges, handles, or even the underside of a chair leg if you’re feeling lazy. I always keep a roll of high-quality tape in my project kit because cheap tape is a nightmare to peel off later without taking the finish with it.
- 4. Now, give that can a vigorous shake for at least two full minutes. I know it sounds like overkill, but you need those pigments fully suspended in the solvent to avoid a blotchy mess. If you don’t shake it enough, you’ll end up with a nozzle that clogs halfway through, and that is a headache we simply don’t have time for.
- 5. When you’re ready to spray, remember the golden rule: light, even coats. Don’t try to cover the whole thing in one heavy pass like you’re trying to hide a mistake; that just leads to those ugly drips we all hate. Start spraying just off the edge of the object, sweep across in a steady motion, and stop just past the other side.
- 6. Be patient and wait between coats. It’s tempting to see that beautiful color and want to go for round two immediately, but if the first layer isn’t set, you’ll just end up gumming up the surface. Give it about ten to fifteen minutes—or whatever the can says—until it’s tack-free before you even think about adding more.
- 7. Finally, once you’ve finished your final layer, let it cure before you put it back into rotation. Just because it feels dry to the touch doesn’t mean it’s ready for heavy use. Give it at least 24 hours to really set so you don’t end up with fingerprints or scratches the moment you try to actually enjoy your newly refreshed piece.
Dont Skip the Prep Essential Spray Paint Surface Preparation
Look, I know the temptation to just grab the can and start spraying is real—especially when you’re staring at a piece of furniture that’s been an eyesore for months. But if you want to avoid the heartbreak of a peeling finish, you have to respect the prep work. I’ve spent many a Saturday afternoon scrubbing down old teak, and let me tell you, a clean surface is the difference between a professional finish and a sticky mess. Start with a good degreaser; if there’s even a hint of dust or old wax left, your paint won’t bond, and you’ll be back at square one.
One of my biggest non-negotiables is applying primer before spray paint, especially if you’re working with metal or dark wood. It acts as the glue that holds everything together. Also, don’t get too impatient with the spray paint drying time between coats. I used to think I could rush it, but that’s exactly how you end up with those dreaded runs. Take a breath, let it set, and do it right the first time so you don’t have to do it twice.
Picking the Best Spray Paint for Diy Projects Without the Stress
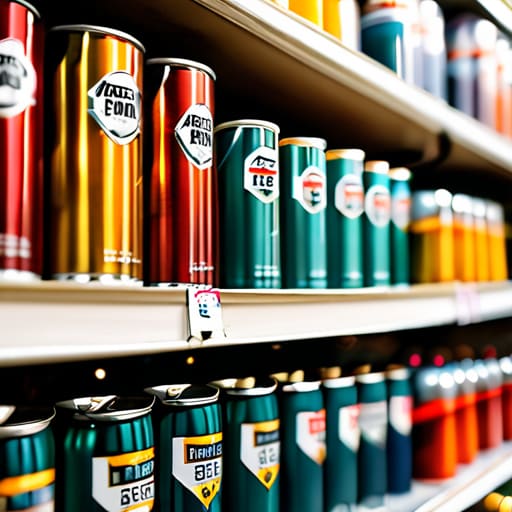
I know how it goes—you’re standing in the hardware aisle, staring at a wall of colorful cans, feeling completely overwhelmed by the options. It’s easy to think all aerosol cans are created equal, but if you want to avoid a frustrating afternoon of peeling paint, you need to be intentional about what you grab. For most of my furniture flips, I look for a high-quality enamel; it offers a much more durable finish than the cheap stuff. If you’re working on something tricky like metal or plastic, finding the best spray paint for DIY projects specifically labeled for those surfaces is a total game-changer.
Don’t forget that the paint itself is only half the battle. If you’re working on a dark piece and want a crisp, professional look, I always recommend applying primer before spray paint. It saves you from having to do ten heavy coats just to hide the old color. Also, keep an eye on the label for the spray paint drying time. I’ve learned the hard way that rushing back into a second coat before the first is truly set is the fastest way to end up with a sticky, ruined mess.
Five Pro Tips to Keep Your Project from Becoming a Mess
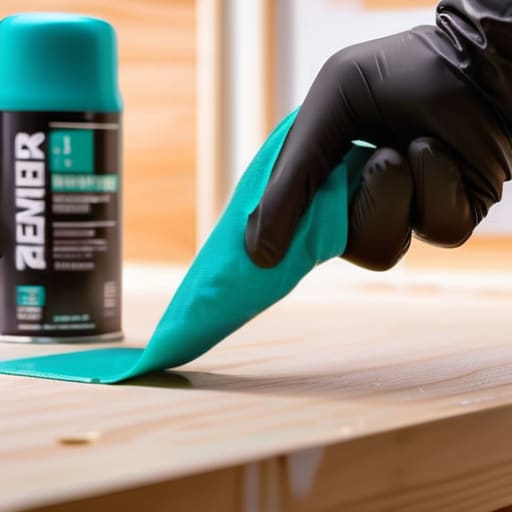
- Watch your distance—if you hold the can too close, you’ll get those ugly drips that take forever to sand out, so keep a steady six to eight inches away.
- Don’t try to do it all in one go; I’ve learned the hard way that three thin, light coats are much better than one thick, gloopy layer that never truly dries.
- Master the “sweep” by starting your spray motion just outside the edge of the object and ending it on the other side, so you don’t get heavy buildup on the corners.
- Check the weather before you even crack the seal; if it’s too humid or breezy outside, your finish is going to look textured or uneven, and nobody has time for that.
- Keep a piece of cardboard handy to use as a shield for the areas you don’t want painted, because masking tape alone isn’t always enough to stop the overspray from drifting.
The Bottom Line: Small Wins for Your Next Project
Don’t rush the prep work; a clean, smooth surface is the difference between a professional finish and a sticky mess you’ll regret later.
Choose your paint based on what you’re actually fixing, not just the prettiest color on the shelf.
Keep your layers thin and your patience high—it’s better to do three light coats than one heavy, dripping one.
The Finish Line
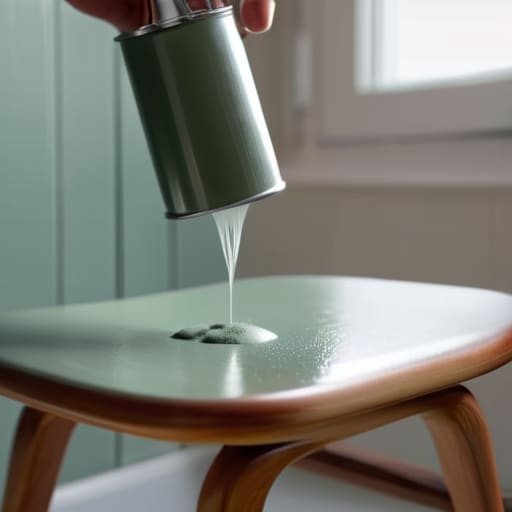
At the end of the day, successful spray painting isn’t about having a professional studio setup; it’s about the discipline you put into the process. If you took the time to clean that surface thoroughly and chose a paint that actually matches your vision, you’ve already done the hard part. Remember, the secret isn’t in the spray itself, but in those thin, even coats and the patience to let them dry. Don’t rush the process just to get to the couch, or you’ll end up dealing with drips that take twice as long to fix. Stick to the prep, watch your distance, and you’ll find that minimalist functionalism applies to your DIY projects just as much as it does to my living room decor.
I know that staring at a piece of old, chipped furniture can feel overwhelming, especially when your to-do list is already a mile long. But there is a specific kind of peace that comes from looking at a transformed piece and knowing you did it yourself with your own two hands. Don’t let the fear of a little mess stop you from reclaiming your space. Grab your mask, head out to the garage, and just get it done. You aren’t just painting a chair or a lamp; you are curating a home that actually works for you, one small win at a time.
Frequently Asked Questions
How do I stop that annoying "drip" effect from ruining my finish?
Look, we’ve all been there—you’re finally seeing progress, and then suddenly, a rogue drip ruins the whole vibe. The secret is all in your wrist and your distance. Stop hovering too close to the piece; keep that can about 8 to 12 inches away. Most importantly, use light, sweeping motions. Think of it like a fine mist, not a heavy pour. If you see a drip forming, stop immediately and let it dry before fixing it.
Can I spray paint something that’s already been painted, or do I have to sand it all down first?
Look, I’ve been there—staring at an old dresser and wondering if I’m about to spend my entire weekend sanding. The short answer? Yes, you can definitely spray over old paint, but don’t just start spraying. If you don’t scuff it up first, that new coat will peel off faster than my teenagers’ motivation on a Monday. Give it a light sand just to break the shine, wipe it clean, and you’re good to go.
How long do I actually have to wait before I can touch it or put it back to use?
Look, I know the temptation to grab that chair and move it into place the second it looks dry, but please—resist it. There’s a massive difference between “dry to the touch” and actually cured. I usually give my projects a full 24 hours before I even think about touching them. If you’re putting something back into use, like a side table, give it at least 48 to 72 hours. Patience prevents those sticky fingerprints.