How to Build Your Own Raised Garden Beds
I was standing in my backyard last Saturday, staring at a pile of cedar planks and a half-empty bag of soil, feeling that familiar wave of “where do I even start?” overwhelm. Most people think you need a degree in landscaping or a garage full of expensive power tools to get started, but that’s just not true. Learning how to build a raised garden bed doesn’t have to be this massive, weekend-ruining ordeal that requires a spreadsheet and a prayer. Honestly, the biggest mistake I see is people overcomplicating the design before they’ve even touched a hammer; you don’t need a masterpiece, you just need something that holds dirt.
In this guide, I’m stripping away all the unnecessary fluff and high-end gardening jargon to give you the straight truth. I’ll walk you through exactly how to select your materials, how to prep your ground without breaking your back, and the most efficient way to assemble everything so it actually lasts more than one season. My goal isn’t to turn you into a professional carpenter, but to give you the actionable wins you need to get those seeds in the ground. Let’s stop staring at the lumber and just get it done.
Table of Contents
- Step-by-Step Instructions
- Cedar vs Pressure Treated Lumber Picking the Best Wood for Raised Beds
- Perfect Raised Bed Dimensions and the Best Raised Bed Soil Mix Ratio
- Five Pro-Tips to Save You From Future Regret
- Three Things to Remember Before You Start Digging
- Time to Get Your Hands Dirty
- Frequently Asked Questions
Guide Overview
Tools & Supplies
- Drill and bits for driving screws
- Measuring tape for accurate cuts
- Level to ensure even ground
- Hand saw or circular saw for sizing
- Untreated cedar or pine boards (approx. 4-6 pieces)
- Galvanized wood screws (1 box)
- Garden soil and compost mix (approx. 10-15 bags)
- Hardware cloth or landscape fabric (1 roll)
Step-by-Step Instructions
- 1. First things first, head to your local hardware store and grab your materials. You aren’t looking for anything fancy here; I recommend untreated cedar or redwood because they naturally resist rot without all those nasty chemicals you don’t want leaching into your tomatoes. Pick up some 2×6 or 2×12 boards, a box of exterior-grade wood screws, and a few sturdy corner posts. Don’t forget a level—you’ll thank me later when your soil doesn’t all slide to one side.
- 2. Once you’re back in the yard, clear out the area where the bed is going to live. You don’t need to dig up the entire lawn, but you do need to flatten the ground as much as possible. If you’re working on a slope, this is where most people quit, but just take a shovel and level out the high spots. A flat base is the difference between a garden that thrives and one that feels like a chore.
- 3. Now, let’s get to the assembly. Lay your boards out on the ground to visualize the shape, then grab your corner posts and start screwing the sideboards into them. I like to use a cordless drill to keep things moving quickly, but take your time to make sure the corners are square. If your corners aren’t tight, the pressure from the wet soil will eventually push the whole thing out of shape, and nobody has time for that.
- 4. Once the frame is built, slide it into its final position and check it with your level one last time. If it’s tilting, shim it with a little extra dirt or gravel until it’s straight. Once it’s level, I highly recommend laying down a layer of cardboard at the bottom of the bed. It’s a simple trick that smothers the grass and weeds underneath, meaning you won’t be fighting an uphill battle against weeds in three weeks.
- 5. It’s time for the heavy lifting: filling the bed. Don’t just grab cheap topsoil from the bag; you want a high-quality mix of compost, peat moss, or coconut coir to give your plants the nutrients they need. I usually follow a “60-30-10” rule—60% topsoil, 30% compost, and 10% aeration material—to ensure the soil stays loose and healthy. It’s a bit of work upfront, but it’s the secret to a low-maintenance growing season.
- 6. Finally, give everything a deep soak with the hose to settle the soil. You’ll notice the level drops slightly as the air pockets disappear, so don’t be surprised if you need to add a little more compost to top it off. Once the ground is damp and the structure is solid, you’re officially done. Now, grab your seeds, find a comfortable spot, and actually enjoy the process.
Cedar vs Pressure Treated Lumber Picking the Best Wood for Raised Beds
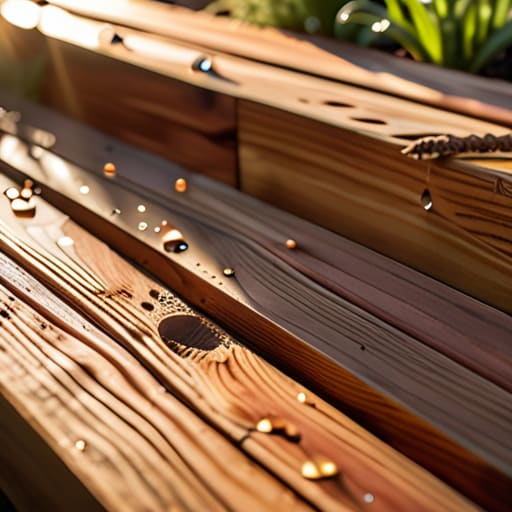
When you’re standing in the lumber aisle, the price difference between cedar and pressure-treated wood can be enough to make you pause. If you’re looking for the best wood for raised beds from a purely longevity standpoint, cedar is your winner. It’s naturally rot-resistant and contains oils that keep bugs away without any extra help. I usually opt for cedar because I don’t want to be rebuilding these frames in three years, but it will hit your wallet harder upfront.
On the flip side, let’s talk about the elephant in the room: pressure-treated lumber. Years ago, I would have told you to steer clear because of the chemical concerns, but modern treatments have changed significantly. Most newer boards use much safer, copper-based solutions. If you’re on a tight budget or building raised beds for vegetables that you plan to replace every few seasons, pressure-treated is a perfectly functional, cost-effective choice. Just weigh the peace of mind you get from cedar against the immediate savings of treated wood, and pick the one that lets you sleep better at night.
Perfect Raised Bed Dimensions and the Best Raised Bed Soil Mix Ratio
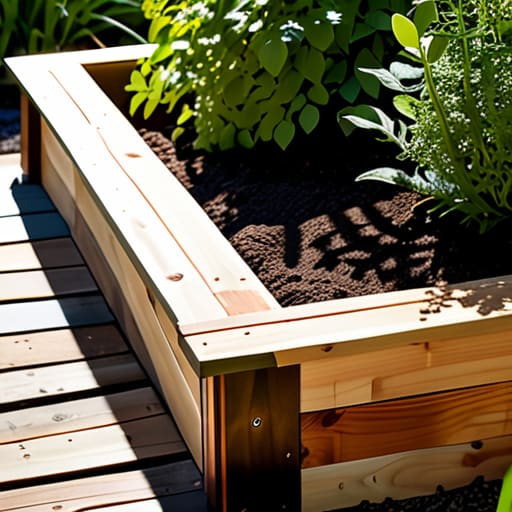
Before you start hauling heavy bags of dirt, let’s talk about the layout. I’ve learned the hard way that if you make your beds too wide, you’ll end up stepping into the middle of them to reach the center, which compacts the soil and kills your hard work. For building raised beds for vegetables, I always recommend keeping the width to no more than four feet. This allows you to reach everything comfortably from either side without breaking your back. As for height, aim for at least 12 inches; it gives roots enough room to stretch and makes the whole setup much easier on your knees.
Once the frame is set, don’t just dump whatever dirt you find in the backyard into the box. You need a mix that stays loose and nutrient-dense. My go-to raised bed soil mix ratio is a simple one-third split: one part high-quality compost, one part peat moss or coconut coir, and one part vermiculite or perlite. This ensures your plants get the nutrients they crave while maintaining the perfect level of aeration and moisture. It’s a little more upfront work, but your plants will thank you.
Five Pro-Tips to Save You From Future Regret
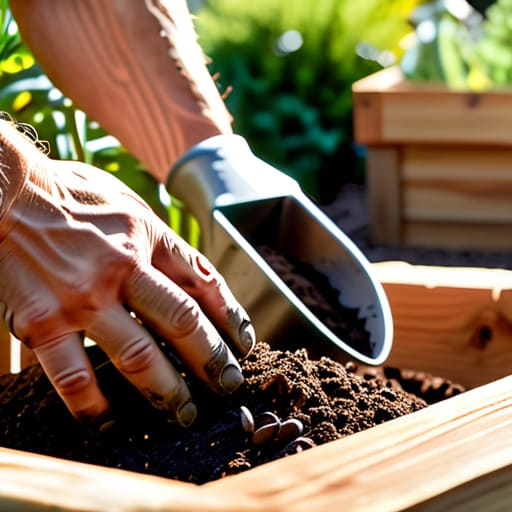
- Don’t skip the hardware cloth. Even if you aren’t worried about rabbits, gophers and moles will find your beautiful new garden bed in a heartbeat; lining the bottom with a bit of wire mesh is a ten-minute job that saves months of headache.
- Level your ground before you even think about screwing the boards together. If your base is wonky, your bed will look crooked, and more importantly, your water will pool in one corner instead of soaking evenly into the soil.
- Think about your reach. I made the mistake of building a bed too wide early in my gardening years, and let me tell you, leaning over a massive frame to weed is a recipe for a sore back—keep it narrow enough that you can reach the center without stepping inside.
- Use corner posts for stability. Don’t just butt the boards against each other; drive a 4×4 post into each corner. It gives you something solid to screw into and prevents the weight of the wet soil from bowing your sides outward over time.
- Plan for your irrigation now, not later. It’s much easier to tuck a soaker hose or a drip line under the mulch while you’re setting everything up than it is to try and retrofit a complex system once your seedlings are already fighting for survival.
Three Things to Remember Before You Start Digging
Don’t get paralyzed by perfection—pick your wood, grab your tools, and get it in the ground. The goal is a functional garden, not a museum piece.
Stick to the dimensions we discussed so you aren’t straining your back reaching for the middle of the bed every time you need to weed.
Invest your money in the soil mix, not just the wood. Good lumber holds the shape, but good soil is what actually does the work of growing your food.
Time to Get Your Hands Dirty
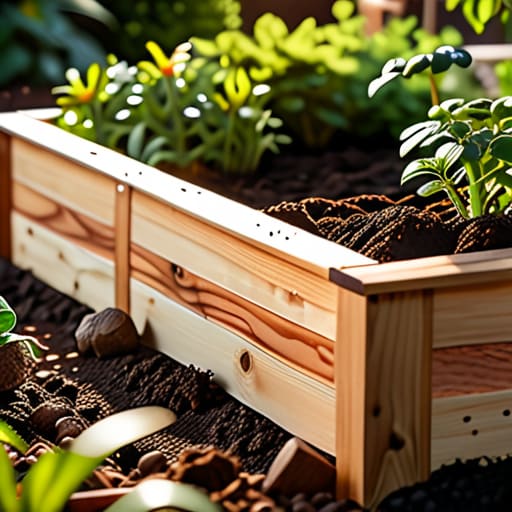
At the end of the day, building a raised bed isn’t about achieving architectural perfection; it’s about creating a space where things can actually grow. We’ve covered the essentials—from choosing the right wood so you aren’t replacing it in two years, to getting those dimensions right so you aren’t straining your back every time you weed. Remember, the most important part of this entire process is the foundation you lay now. If you picked the right soil mix and set your frame level, you’ve already done the heavy lifting. The rest is just the rewarding part where the magic happens.
I know it can feel overwhelming when you’re staring at a pile of lumber and a patch of dirt, but don’t let the “perfect” garden become the enemy of the actual garden. You don’t need a professional landscaping crew to enjoy homegrown tomatoes or fresh herbs; you just need a little bit of grit and a solid plan. Once that first sprout breaks through the soil, all that mental load you’ve been carrying about “getting started” is going to evaporate. So, grab your trowel, stop overthinking the logistics, and just start planting. You’ve got this.
Frequently Asked Questions
Do I really need to line the bottom with landscape fabric, or will that just mess with my drainage?
Look, I get the hesitation—nobody wants a swampy mess in their garden. Here’s the straight talk: skip the landscape fabric at the bottom. It often ends up acting like a barrier that traps water and creates a sludge layer instead of letting it drain naturally. If you’re worried about weeds, just lay down a thick layer of cardboard first. It smothers the grass, then rots away into the soil, leaving your drainage perfectly intact.
How do I stop my dog (or the local rabbits) from treating my new garden beds like a sandbox?
Look, I know the feeling—you spend all weekend perfecting your soil mix only to find a paw print or a rabbit hole staring back at you. It’s frustrating. If it’s the dog, a simple decorative wire fence around the perimeter usually does the trick. For rabbits, I swear by hardware cloth buried a few inches deep; it stops them from digging underneath. Don’t let them turn your hard work into a sandbox.
Is it worth it to build these on top of my existing grass, or am I better off digging the sod out first?
Look, I get the temptation to just drop the frame right on top of the lawn to save your back, but don’t do it. If you leave that grass there, it’ll rot, create a messy sludge, and eventually cause your bed to shift or sink unevenly. Take the extra hour to scalp the sod first. It’s a bit of a pain upfront, but it ensures your soil stays aerated and your bed stays level.