Furniture Refinishing: Breathing New Life Into Old Pieces
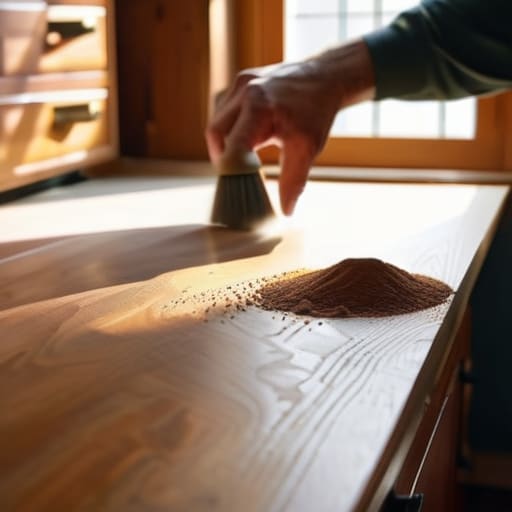
I was standing in my garage last Saturday, staring at a chipped, water-stained mid-century sideboard I’d rescued from a curb, feeling that familiar wave of “what have I gotten myself into?” Most people will tell you that learning how to refinish furniture requires a professional workshop, expensive spray booths, and a level of patience you simply don’t have after a forty-hour work week. But honestly? That is a total myth. You don’t need a degree in fine arts or a garage full of heavy machinery to breathe life back into a piece of wood; you just need a solid plan and the right mindset to tackle it one step at a time.
In this guide, I’m stripping away the fluff and the intimidating jargon to show you exactly how to get the job done without losing your mind. I’ll walk you through my personal, tried-and-true process—from choosing the right sandpaper to achieving that perfect, smooth finish—so you can stop letting old, tired pieces collect dust in your guest room. We aren’t aiming for museum perfection here; we are aiming for functional beauty that actually fits your real life. Let’s roll up our sleeves and get to work.
Table of Contents
Guide Overview
Tools & Supplies
- Sandpaper (various grits for smoothing)
- Screwdriver (for removing hardware)
- Paintbrush or foam roller (for applying finish)
- Microfiber cloth (for dust removal)
- Wood primer (1 quart)
- Furniture paint or stain (1 quart)
- Degreaser or soap (1 bottle)
- Tack cloth (1 pack)
Step-by-Step Instructions
- 1. First things first, you need to clear the deck. I’m talking about a real workspace, not just shoving everything to the side of the kitchen table. Grab a drop cloth or some old sheets and lay them down to protect your floors from the inevitable dust clouds. Once you’ve got your piece in place, remove all the hardware—the knobs, the handles, the hinges—and toss them into a labeled Ziploc bag. There is nothing more frustrating than finishing a beautiful piece only to realize you’ve lost the original brass pulls.
- 2. Now, we get down to the dirty work: stripping or sanding. If you’re dealing with a heavy, old lacquer, you might want to use a chemical stripper to take off the bulk of it, but for most of my mid-century finds, a good, thorough sanding does the trick. Start with a coarse grit sandpaper to get rid of the old finish and any deep scratches, then move to a finer grit to smooth things out. Don’t rush this part; if you leave uneven patches now, they will show up like a sore thumb once the new stain goes on.
- 3. Once you’ve finished sanding, you’ll notice a fine layer of dust covering everything. This is where most people get sloppy, but I’m telling you, you have to be meticulous. Use a vacuum with a brush attachment first, and then wipe the entire piece down with a tack cloth. If there is even a tiny speck of dust left on that wood, your finish is going to look bumpy and unprofessional. I always keep a dedicated notebook entry for “prep work” just to remind myself how much of a difference a clean surface makes.
- 4. If you’re looking to change the color, it’s time to apply your stain. I prefer using a wipe-on stain because it’s much more forgiving for beginners and prevents those annoying drip marks. Apply it in the direction of the wood grain, working in small, manageable sections. If you want a darker look, you can apply a second coat, but wait until the first one is completely dry. It’s tempting to rush, but patience is your best friend when you want a professional result.
- 5. After the stain has set and dried according to the manufacturer’s instructions, you need to seal the deal with a topcoat. This is what protects your hard work from coffee rings and daily wear and tear. Whether you choose a matte, satin, or gloss finish, apply it in thin, even layers. I usually do three light coats rather than one heavy one to avoid bubbles. Apply it with purpose—steady strokes, no hovering—and let it cure fully before you even think about touching it.
- 6. Finally, once the finish is hard and dry (and I mean truly dry, not just “not sticky”), it’s time to put the piece back together. Clean those handles you put in the Ziploc bag, screw them back into place, and move your furniture back to its rightful home. Take a second to look at what you’ve accomplished. You didn’t just fix a piece of wood; you reclaimed something functional for your home, and that is a massive win.
Mastering Wood Stripping Techniques for a Fresh Start
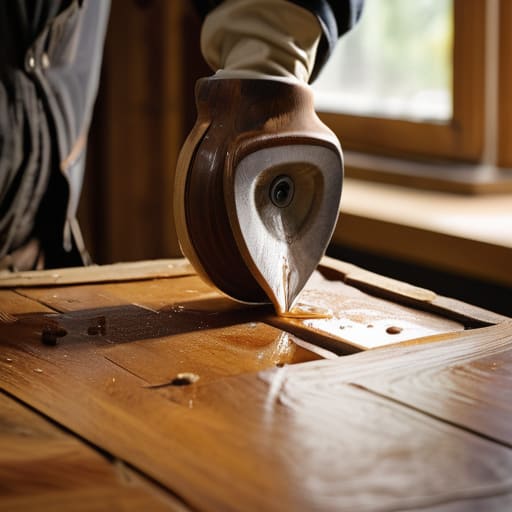
Before you even think about grabbing a sander, you need to deal with the layers of history sitting on that wood. I’ve learned the hard way that trying to sand straight through thick, old finishes is a recipe for a headache and a ruined project. Instead, focus on removing old varnish or stubborn paint with a quality chemical stripper first. It’s much easier to let the chemicals do the heavy lifting than to spend three hours fighting a gummy surface with sandpaper. Just remember to work in small, manageable sections so the stripper doesn’t dry out before you can scrape it off.
Once the bulk of the gunk is gone, you’re left with the real work: wood grain preparation. This is where most people rush, and it’s exactly where they trip up. Use a tack cloth to wipe away every single speck of dust; if you leave even a tiny bit of grit behind, your new finish will feel like sandpaper. I always keep a small notebook nearby to track which grits I’ve used, ensuring I don’t skip a step. Taking that extra ten minutes now saves you from a lifetime of regret once the stain goes on.
The Truth About Removing Old Varnish Fast
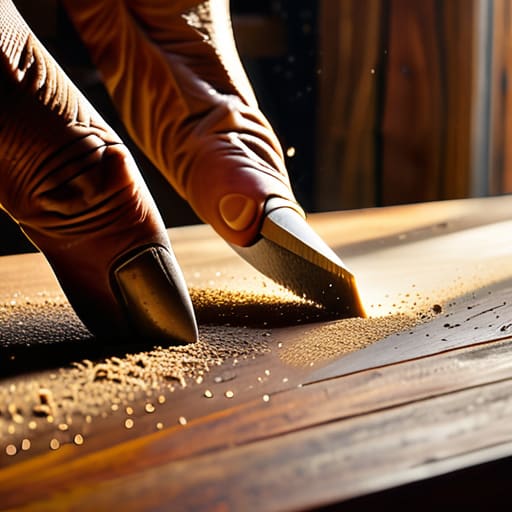
Look, I get it. You’re staring at a piece of mid-century teak, and the thought of spending three days scrubbing away decades of gunk feels exhausting. We’ve all been there. When it comes to removing old varnish, the temptation is to just grab a heavy-duty sander and power through. But if you aren’t careful, you’ll end up gouging the wood and losing that beautiful character you were trying to save in the first place.
If you want to speed things up without the headache, don’t skip the chemical step. Using a high-quality stripper can do about 80% of the heavy lifting for you, leaving you with much less physical labor. It’s all about working smarter, not harder. Once the chemical does its job, you’re left with much lighter work during your wood grain preparation. Instead of fighting through thick layers of old finish, you’ll just be smoothing out the surface to get it ready for its new life. It turns a grueling weekend project into something actually manageable.
Five Little Wins to Keep Your Project from Turning Into a Headache
- Don’t skip the prep work; I know it’s tempting to jump straight to the fun sanding, but if you don’t clear out the dust and grime first, you’re just rubbing dirt into the grain.
- Invest in a decent quality sander rather than the cheapest one at the hardware store—your wrists and your patience will thank you halfway through the job.
- Work in small, manageable sections instead of trying to tackle the whole dresser at once; it keeps the project from feeling like a mountain you can’t climb.
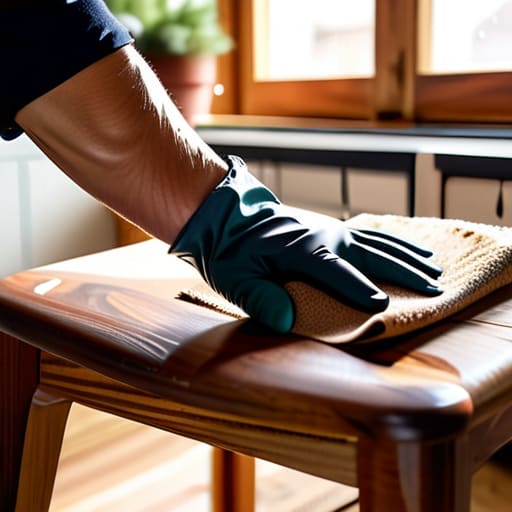
- Keep a damp lint-free cloth nearby to wipe away sawdust constantly so you can actually see the progress you’re making on the wood.
- Always test your stain or finish on a hidden spot, like the back of a leg or the inside of a drawer, before you commit to the whole piece.
The Bottom Line: Three Things to Remember
Don’t rush the stripping process; if you try to force it, you’ll just end up gouging the wood and creating more work for yourself later.
Invest in decent sandpaper—the cheap stuff clogs up instantly and leaves scratches that’ll drive you crazy once the new finish hits.
Focus on the small wins: you don’t need a professional workshop, just a clear space, the right tools, and the patience to do it right the first time.
The Finish Line is Just the Beginning
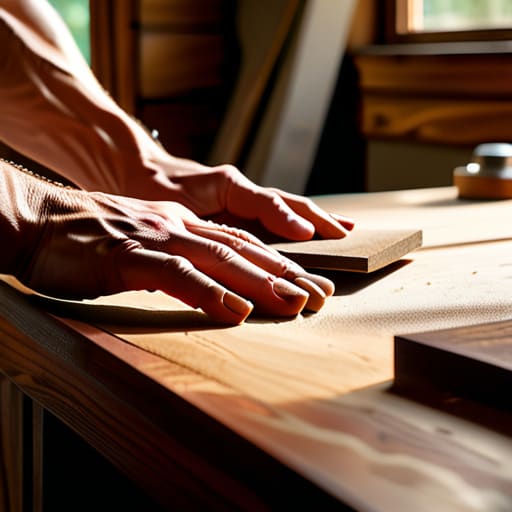
At the end of the day, refinishing a piece of furniture isn’t about achieving some impossible, museum-quality perfection; it’s about the process of reclaiming something useful. We’ve covered the heavy lifting—from choosing the right grit of sandpaper to the patience required for stripping away those layers of old, stubborn varnish. Whether you spent the afternoon wrestling with a chemical stripper or meticulously hand-sanding a tabletop, you’ve done the hard part. Remember, the secret to a professional look isn’t some expensive magic trick, it’s simply staying consistent with your sanding and making sure you don’t rush the drying times. If you take it one step at a time, you won’t end up with a mess, you’ll end up with a piece that actually works for your space.
I know that looking at a stripped, raw piece of wood can feel a little overwhelming right before you apply that final coat, but trust me, it’s worth the effort. There is a specific kind of quiet satisfaction that comes from looking at a dresser and knowing you were the one who brought it back to life. Don’t let a little bit of sawdust or a messy workbench discourage you. We aren’t just fixing furniture here; we are building a home that feels intentional and well-loved. So, wipe down your tools, clear your workspace, and take pride in what you’ve accomplished. You didn’t just finish a project; you conquered a task that was sitting on your mental to-do list for far too long. Now, go enjoy that beautiful, finished result.
Frequently Asked Questions
Is it worth it to refinish a piece if the wood underneath looks pretty beat up or damaged?
Honestly? It depends on how much “beat up” we’re talking about. If it’s just surface scratches or water rings, a little sanding and some wood filler will work wonders. But if the wood is gouged, rotting, or structurally unsound, you’re just chasing your tail. Don’t waste your weekend fighting a losing battle. If the bones are bad, save your energy—and your sanity—for a piece that actually has potential.
How do I know if I should go with a clear coat to show off the grain or if I need to use a bit of stain to hide some imperfections?
That’s the million-dollar question. Honestly, it comes down to how much patience you have for the wood’s “character.” If you’ve sanded it down perfectly and the grain looks stunning, go with a clear coat—it’s rewarding and keeps that natural feel. But if you’re seeing patches of uneven color or light scratches that just won’t quit, don’t sweat it. Use a stain. It’s an easy way to unify the look and hide those little imperfections.
What kind of space do I actually need to do this without turning my entire living room into a sawdust zone?
Look, I’ve been there—trying to sand a side table in the middle of the living room and ending up with a fine layer of dust on every single surface. Don’t do that to yourself. You need a dedicated zone, ideally a garage or a covered patio with good airflow. If you’re stuck indoors, clear a corner of a spare room, lay down heavy-duty drop cloths, and keep a shop vac right next to you.




