Give Your Chairs a Makeover With This Reupholstery Guide
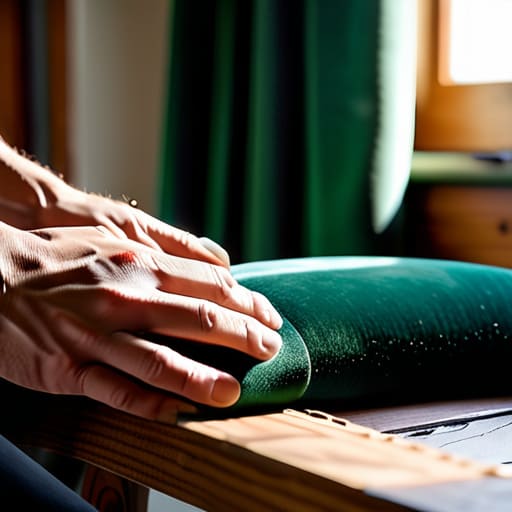
I was sitting on my floor last Tuesday, surrounded by clumps of old foam and a pile of fabric that looked more like a colorful mess than a design choice, staring at a mid-century armchair that had seen better decades. My husband thought I was crazy for trying to tackle it myself, and honestly, for a second, I almost believed him. There is this huge, intimidating myth that learning how to reupholster a chair requires a professional studio and a degree in textile engineering, but that’s just not true. Most of the time, you don’t need a masterclass; you just need the right sequence of steps and a little bit of grit to get through the messy parts.
I’m not here to sell you on some complicated, expensive hobby that takes up your entire weekend. Instead, I’m going to show you how to strip that old, tired fabric away and replace it with something that actually fits your life. This guide is about the practical wins: the specific tools you actually need, the trick to pulling fabric tight without it bunching, and how to avoid the most common mistakes that end up making a chair look lumpy. Let’s stop letting your good furniture sit in the garage gathering dust and just get it done.
Table of Contents
- Step-by-Step Instructions
- Gather Your Upholstery Tools and Supplies Without the Stress
- Smart Fabric Selection for Upholstery That Actually Lasts
- Five Pro-Tips to Save Your Sanity (and Your Sanity-Sapping Mistakes)
- The Bottom Line: Don't Overthink It, Just Start
- You’ve Got This
- Frequently Asked Questions
Guide Overview
Tools & Supplies
- Staple gun and staples for securing fabric
- Pliers for removing old staples and fabric
- Fabric scissors for precision cutting
- Measuring tape for fabric dimensions
- Screwdriver for removing seat components
- Upholstery fabric (2-3 yards depending on chair size)
- High-density foam (1-2 inch thickness)
- Batting/Dacron (1 roll to smooth contours)
- Dust cover fabric (1 yard for bottom finish)
Step-by-Step Instructions
- 1. First things first, you need to strip the chair down to its bones. Grab a pair of pliers and a flathead screwdriver, and start pulling out those old, crusty staples and nails. Don’t worry about being delicate here; you’re essentially clearing the slate. As you pull the old fabric away, keep every single piece of it—even the scraps. I know it looks like trash, but those old pieces are your secret blueprint for how the original fabric was tucked and folded.
- 2. Once the frame is bare, take a good look at the padding. If the foam is crumbling into orange dust or the batting is lumpy and uneven, toss it out immediately. There is no point in putting beautiful new fabric over a bad foundation. I usually replace the old stuff with fresh high-density foam and a layer of polyester batting to give it that professional, plump look that makes you want to sit down and stay a while.
- 3. Now, let’s talk about your fabric choice. Since I live by the rule of functionalism, I always tell people to test for durability before they commit. If you’re reupholstering a dining chair that’s going to see spills and constant movement, skip the delicate silk and go for something with a tight weave or a heavy polyester blend. Once you’ve picked your winner, lay your chair upside down on your new fabric and mark your corners with chalk so you don’t lose your way.
- 4. It’s time to start pulling that fabric taut. Start with the center of each side, pulling the fabric tight enough to remove wrinkles but not so tight that you distort the shape of the chair. Use a staple gun to secure the fabric, working your way toward the corners. I like to do a “center-out” approach: staple the top, then the bottom, then the left, then the right. It keeps everything balanced and symmetrical, which is half the battle.
- 5. The corners are where most people lose their cool, but don’t let them win. Instead of bunching the fabric into a messy knot, try to fold the excess neatly into a crisp, hospital corner. Think of it like wrapping a gift; you want clean, straight lines. If you find yourself fighting with too much bulk, grab your scissors and trim away the excess from underneath before you staple it down.
- 6. Finally, take a moment to inspect your work. Run your hands over the seams to make sure there are no lumps, and check that every staple is driven in flush. If a corner looks a little wonky, don’t panic—just pull it slightly and add a few more staples. Once you’re satisfied, flip the chair right-side up, and give yourself a win. You just took something destined for a landfill and turned it into a functional piece of your home.
Gather Your Upholstery Tools and Supplies Without the Stress
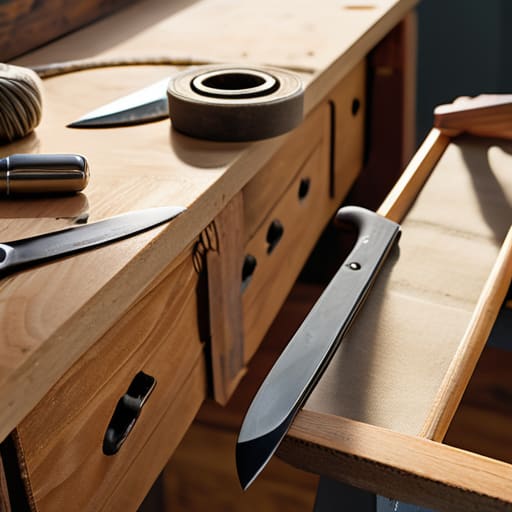
Before you go tearing into that old fabric, let’s talk about the prep work. I’ve learned the hard way that nothing kills a productive Saturday faster than getting halfway through a project only to realize you’re missing a specific staple or a heavy-duty pair of shears. I keep a dedicated “project bin” for my furniture restoration so I’m not hunting through junk drawers mid-task. You’ll want a solid set of upholstery tools and supplies on hand—think a reliable staple gun, pliers for pulling old staples, and a sharp utility knife. Don’t skimp on the quality here; cheap tools just lead to frustration and hand cramps.
While you’re gathering your gear, take a moment to think about the “hidden” layers. If you’re working on a seat that feels a bit flat, you’ll likely be replacing chair foam padding to give it that professional, firm feel again. It’s also worth checking the condition of the upholstery webbing and springs before you even touch the fabric. If the foundation is shot, the prettiest fabric in the world won’t save it. Get the bones right first, and the rest will fall into place.
Smart Fabric Selection for Upholstery That Actually Lasts
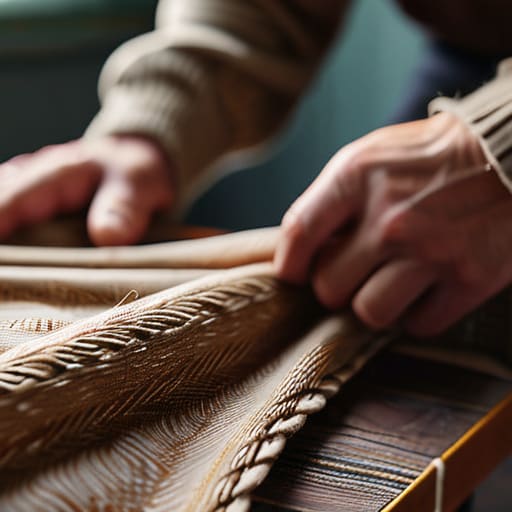
Before you even touch your staple gun, you need to get serious about your fabric. I’ve learned the hard way that a beautiful pattern means nothing if it wears thin the second a teenager sits down or a dog jumps up. When you’re looking at fabric selection for upholstery, don’t just shop with your eyes; shop with your lifestyle in mind. If this chair is going in a high-traffic area like the living room, look for high “double rubs” on the spec sheet—that’s just industry speak for durability. I always lean toward heavy linens, performance velvets, or even tight-weave cotton blends that can handle a bit of real-world chaos.
Don’t forget that the fabric is only half the battle. If you’re already in the middle of replacing chair foam padding, take a moment to consider how your fabric weight interacts with the new cushioning. A heavy upholstery fabric needs a sturdy foundation so it doesn’t sag or pull awkwardly over the foam. Think of it as a partnership: the padding provides the comfort, but the fabric provides the armor. Pick something that feels substantial in your hands, and you’ll avoid the heartbreak of a project that looks great for a month but falls apart by next season.
Five Pro-Tips to Save Your Sanity (and Your Sanity-Sapping Mistakes)
- Don’t toss the old fabric until the new stuff is actually on the chair. I know, it looks like a mess, but those old scraps are your only roadmap for where the staples go and how the pattern should line up.
- Invest in a decent staple gun, not the cheap plastic kind from the dollar store. You’ll be fighting with it every ten minutes if you don’t, and trust me, nothing kills my momentum faster than a jammed staple when I’m in the zone.
- Work in small sections, not big chunks. If you try to pull all the old fabric off at once, you’ll lose your sense of direction. Take it off piece by piece, or better yet, strip it in sections so you can see exactly how the tension worked.
- Use a pair of upholstery pliers to tuck those edges. Your fingers aren’t strong enough to get that tight, professional finish, and trying to do it by hand is just a fast track to frustration and sore knuckles.
- Always check your pattern alignment before you pull the trigger on the stapler. I’ve spent way too many Saturday afternoons staring at a crooked floral print because I was rushing—take a breath, line it up, and then make it permanent.
The Bottom Line: Don't Overthink It, Just Start
Invest in quality tools and durable fabric upfront; it’s much easier to do the job once than to try and fix a sloppy, cheap job six months from now.
Keep your workspace organized and your notes handy—I swear by my little notebook for tracking how much fabric I actually used so I don’t run short mid-project.
Focus on the fundamentals of tension and alignment rather than perfection; a chair that’s structurally sound and looks clean is a win in my book.
You’ve Got This
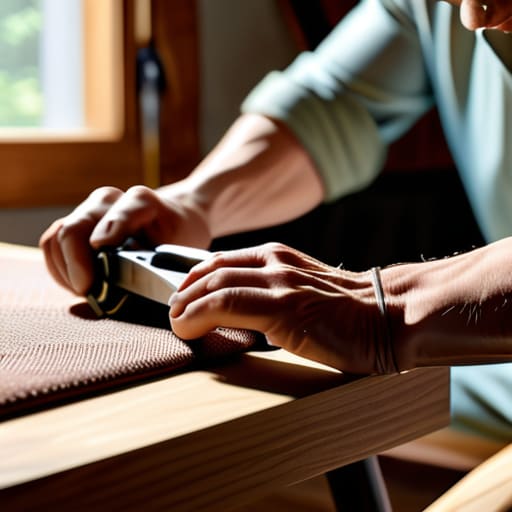
Now that you’ve tackled the heavy lifting, take a second to look at what you’ve actually accomplished. You didn’t just follow a set of instructions; you gathered the right tools, picked a fabric that can actually handle real life, and worked through the grit of the actual upholstery process. It wasn’t always going to be pretty while you were pulling out those old, dusty staples, but that’s how progress works. By focusing on the right materials and a steady, methodical approach, you’ve turned a piece of junk into a functional part of your home. You’ve effectively removed a source of visual clutter and replaced it with something that serves a purpose.
My best advice as you move on to your next project is to not let the fear of a mistake stop you from starting. If a seam is a little crooked or a corner isn’t perfectly crisp, don’t sweat it—it’s a sign of a life lived and things actually being used. The goal isn’t perfection; it’s intentionality. Every time you fix something yourself instead of tossing it, you’re reclaiming your space and your time. So, take that win, grab a cup of coffee, and enjoy the view of your handiwork. You’ve earned it.
Frequently Asked Questions
How do I know if the foam inside my chair is actually worth saving or if I need to toss it and start fresh?
Here’s the deal: don’t waste your time trying to save foam that’s lost its bounce. If you press down on the cushion and it stays indented like a memory foam pillow that won’t reset, it’s dead. Also, if you see crumbling, yellowing bits or smell something musty, toss it immediately. It’s much easier (and more satisfying) to start with fresh, high-density foam than to fight with old, tired stuffing.
What’s the trick to getting those fabric corners to look crisp and professional instead of bunched up and messy?
The secret is all in the tension and the order of operations. Don’t just start pulling fabric tight in every direction; you’ll end up with a bunched-up mess. Start by securing your center points first, then work your way toward the corners. When you hit the corner, pull the fabric taut—but not so tight that it puckers—and use a staple gun to create a “pleat” or a neat fold. Think of it like wrapping a gift; precision beats speed every single time.
Is it worth investing in a heavy-duty staple gun, or can I just make do with what I already have in my junk drawer?
Look, I’ve been there—digging through a junk drawer for a tool that’s probably more rust than metal. But here’s the truth: don’t waste your time with those cheap, plastic ones. They’ll jam halfway through a seam, and nothing kills my momentum like a tool that won’t cooperate. If you’re serious about this chair, invest in a decent, heavy-duty manual or electric staple gun. It’s a one-time cost that saves you a massive headache.




