How to Build a Practical Backyard Compost Bin
I was standing in my kitchen last Tuesday, staring at a mountain of vegetable scraps and coffee grounds, feeling that familiar wave of mental clutter. For the longest time, I thought composting had to be this high-maintenance, scientific endeavor involving expensive tumblers and specialized thermometers. Honestly? That’s just a recipe for another abandoned project sitting in the corner of the yard. I realized that if I wanted to actually reduce my household waste without adding more stress to my plate, I needed to figure out how to make a compost bin that was actually functional and low-maintenance.
Forget the overcomplicated systems and the “expert” advice that makes you feel like you need a degree in biology just to recycle an onion skin. I’m going to show you how to build a simple, sturdy setup using basic materials you probably already have in your garage or can grab for a few bucks at the hardware store. We aren’t aiming for perfection here; we are aiming for actionable results. I’ll walk you through the exact, no-nonsense steps to get your bin up and running so you can stop worrying about the trash and start reclaiming your kitchen space.
Table of Contents
- Step-by-Step Instructions
- Mastering the Composting Materials Ratio Without the Stress
- Simple Compost Bin Drainage Solutions for a Cleaner Yard
- Five Pro-Tips to Keep Your Compost From Becoming a Headache
- Three Quick Wins for a Successful Compost Pile
- Getting It Over the Finish Line
- Frequently Asked Questions
Guide Overview
Tools & Supplies
- Drill with bits for making ventilation holes
- Handsaw or utility knife for trimming materials
- Measuring tape for accurate sizing
- Plastic storage bin (18-30 gallons)
- Drill bits (small diameter)
- Potting soil or finished compost (a handful for starter)
- Hardware cloth or mesh (optional for base)
Step-by-Step Instructions
- 1. First, let’s scout out the perfect spot. You don’t want this right next to your back door—nobody wants to smell decomposing scraps while sipping morning coffee—but you also don’t want it tucked so far away that you actually get too lazy to use it. Find a level, well-drained patch of soil in a spot that gets a bit of sun to keep the microbes active.
- 2. Grab your materials. Since I’m a fan of keeping things simple and functional, I recommend using heat-treated wooden pallets. You can usually find these for free behind local hardware or grocery stores. Just make sure they are stamped with “HT” (heat treated) rather than “MB” (methyl bromide), because the last thing we need is toxic chemicals leaching into your garden soil.
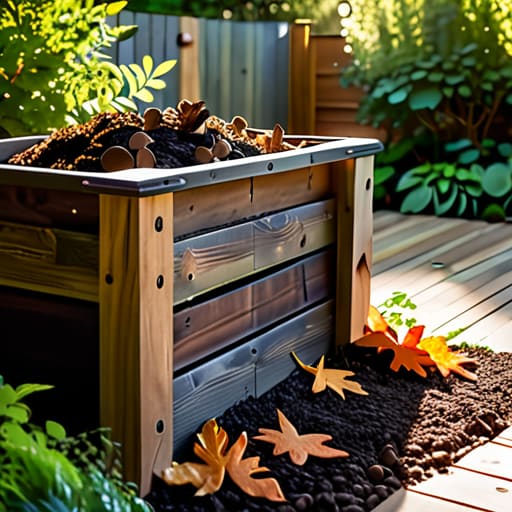
- 3. Now, let’s get building. You’re essentially creating a three-sided box. Stand three pallets on their long edges to form a “U” shape. I like to use heavy-duty zip ties or even just some simple galvanized screws to secure the corners tightly. If you have a fourth pallet, you can attach it with some hinges to create a gate, which makes turning the compost a whole lot easier on your back later on.
- 4. Layer your foundation. Before you start tossing in coffee grounds, you need a base of coarse material to allow for airflow. Throw in some small twigs, dried stalks, or even some old, shredded cardboard at the bottom. This prevents the pile from becoming a soggy, compacted mess that smells like a swamp.
- 5. Start the “Green and Brown” dance. This is the part where most people overcomplicate things, so let’s keep it straightforward. You need a balance of “greens” (nitrogen-rich stuff like vegetable scraps, grass clippings, and coffee grounds) and “browns” (carbon-rich stuff like dried leaves, shredded paper, or straw). Aim for about two or three parts brown to one part green. If it starts smelling, add more browns; if it’s not doing anything, add more greens.
- 6. Give it a little air. Compost needs to breathe to break down efficiently. Every week or two, take a pitchfork and give the pile a good toss. You’re essentially introducing oxygen into the center of the heap. If you’re too busy for that, don’t sweat it—it’ll still compost, it’ll just take a bit longer.
- 7. Keep a little notebook nearby. Just like I do with my house repairs, I keep a small mental (or physical) note of what I’m throwing in. If you notice the pile is getting too wet from the rain, toss a layer of dry leaves on top to act as a natural lid. It’s all about reacting to what the pile is telling you.
Mastering the Composting Materials Ratio Without the Stress

Now, let’s talk about the part where most people get intimidated: the actual “science” of it. You don’t need a degree in biology to get this right, but you do need to understand the basic composting materials ratio. Think of it like a recipe. You want a balance of “greens” (your nitrogen-rich kitchen scraps) and “browns” (your carbon-rich dried leaves or shredded cardboard). If you lean too heavily on the greens, your pile starts to smell like a swamp; if you go all browns, nothing happens. Aim for roughly three parts brown to one part green, and you’ll find the decomposition process explained becomes much simpler in practice than it does in a textbook.
Another thing I’ve learned from years of trial and error in my own backyard is that air is your best friend. Without proper aeration for compost bins, the pile becomes compacted and anaerobic, which is just a fancy way of saying it gets stinky and stops working. Every week or so, grab a pitchfork and give it a quick turn. It’s a five-minute task that prevents a massive headache later. Just keep it simple, keep it moving, and don’t overthink it.
Simple Compost Bin Drainage Solutions for a Cleaner Yard
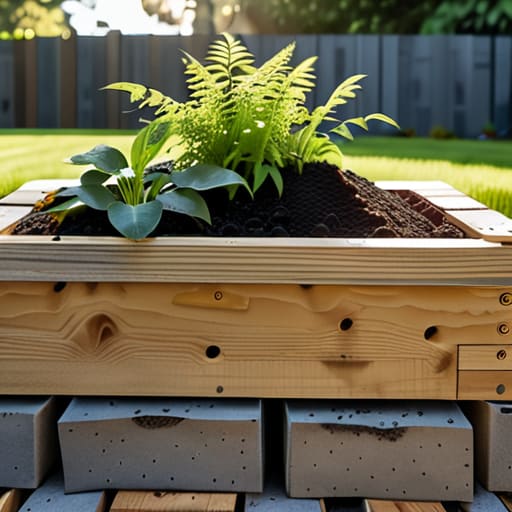
One thing I learned the hard way while tinkering with my own backyard setup is that moisture is a double-edged sword. You need it for the decomposition process, but too much of it turns your bin into a smelly, anaerobic swamp. If you don’t have proper compost bin drainage solutions in place, you’re going to end up with a mess that no one—not even the most dedicated gardener—wants to deal with. I always suggest elevating your bin on a few cinder blocks or a wooden pallet. This simple trick allows excess liquid to seep into the soil below rather than pooling at the bottom and suffocating your pile.
If you’re working with a contained bin, like a plastic tumbler or a heavy-duty tote, you absolutely have to drill several small holes near the base. This ensures that the liquid can escape and maintains the necessary aeration for compost bins, which is vital for keeping things smelling fresh. If you notice things are getting a bit too soggy despite the drainage, just toss in a few extra handfuls of shredded cardboard or dry leaves to soak up the excess. It’s all about finding that balance so you can manage your organic waste without the headache.
Five Pro-Tips to Keep Your Compost From Becoming a Headache
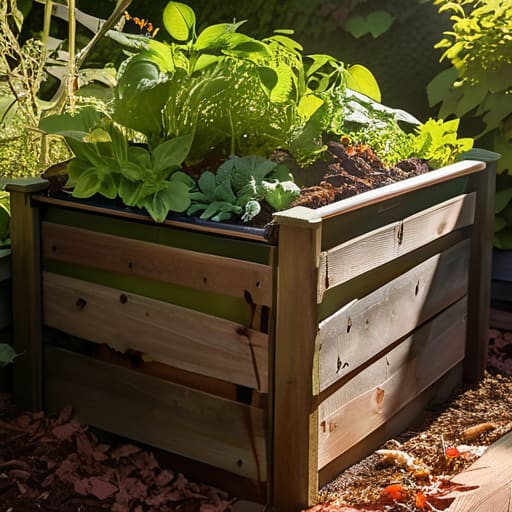
- Location is everything. Don’t tuck your bin in a far corner of the yard where you’ll forget it exists; place it somewhere accessible enough that you’ll actually walk out there to dump your scraps.
- Keep a small, lidded container right on your kitchen counter. If you have to walk to the backyard every time you peel a potato, you won’t do it, and that’s how food waste ends up in the trash.
- Don’t be afraid to get a little messy. If your pile looks like a dry heap of leaves, grab the garden hose and give it a quick soak; it needs to stay as damp as a wrung-out sponge to work.
- Use a pitchfork or a sturdy stick to turn the pile once a week. Aeration is the secret sauce—it keeps the smell down and speeds up the breakdown so you aren’t waiting forever for good soil.
- Watch out for the “no-go” list. Keep meat, dairy, and oily scraps out of your bin unless you want to deal with uninvited guests like raccoons or a very unpleasant odor in your yard.
Three Quick Wins for a Successful Compost Pile
Keep your ratio simple; aim for a healthy mix of greens and browns so you aren’t constantly troubleshooting smells or soggy messes.
Prioritize drainage from the start, because a bin that sits in stagnant water is just a recipe for a headache and a messy yard.
Don’t aim for perfection—just get the bin built and the scraps moving, then adjust as you go.
Getting It Over the Finish Line
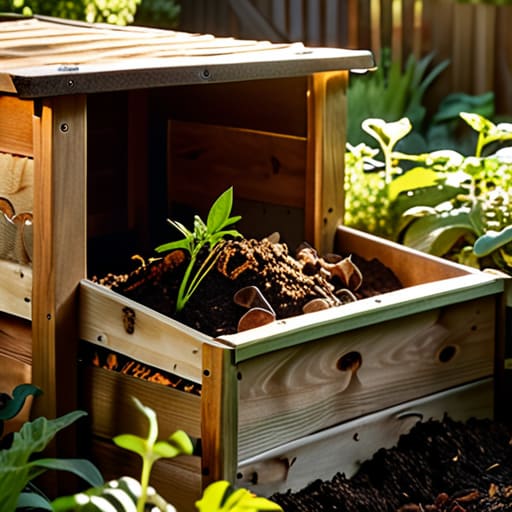
At the end of the day, building a compost bin isn’t about achieving some kind of perfect, scientific mastery; it’s about setting up a system that actually works for your lifestyle. We’ve covered the structural basics, figured out how to balance your greens and browns so things don’t get smelly, and ensured your yard stays clean with proper drainage. If you follow these steps, you’ve essentially eliminated a major source of household waste and turned a messy problem into a predictable cycle. Just remember to keep an eye on that moisture level and don’t be afraid to give it a quick turn every now and then. It doesn’t have to be a massive project—it just needs to be functional and consistent.
I know that starting something new can feel like just another item on an already overflowing to-do list, but I promise you, the payoff is worth the initial effort. There is a profound sense of satisfaction in watching your kitchen scraps transform into rich, dark soil that feeds your garden. It’s one of those small, actionable wins that makes your home feel more intentional and less chaotic. So, grab your tools, clear a little space in the yard, and just get it done. You’ll be amazed at how much lighter your life feels when you stop fighting the mess and start working with nature instead.
Frequently Asked Questions
How do I keep the flies and pests away from my new bin without using harsh chemicals?
Look, I get it—nobody wants a swarm of fruit flies hovering over their backyard project. The trick isn’t a chemical spray; it’s just about managing what’s inside. Keep your “greens” buried deep under a thick layer of “browns” like dried leaves or shredded cardboard. This acts as a natural filter. Also, if you see too much moisture, toss in some extra dry paper. Keep it balanced, keep it covered, and they’ll stay away.
Is there a specific spot in my yard where the bin should live to get the best results?
Don’t overthink the location, but don’t just toss it in a random corner either. You want a spot that’s easy to reach—if it’s a chore to walk to, you won’t use it. Aim for a level, well-drained area that gets a mix of sun and shade. Too much sun dries it out; too much shade keeps it soggy. Just pick a convenient, flat patch and get it settled.
How often do I actually need to turn the pile to keep things moving along?
Look, I get it—the last thing you want to do after a long workday is go out and wrestle with a pile of dirt. But if you want that compost to actually break down instead of just sitting there smelling funky, you’ve got to give it some air. Aim to turn it once a week. If you’re feeling particularly lazy, once every two weeks is fine, but don’t let it sit stagnant.