How to Get a Streak-free Shine on Stainless Steel

I was standing in my kitchen last Tuesday, staring at my refrigerator after a particularly chaotic morning of school lunches and spilled coffee, feeling completely defeated by the streaks. It’s one of those universal frustrations: you spend twenty minutes scrubbing, only to realize you’ve actually just smeared the fingerprints around instead of removing them. Most people think you need a cabinet full of expensive, specialized sprays to get that showroom glow, but honestly? That’s just more clutter for my minimalist kitchen to deal with. If you’ve been struggling with how to clean stainless steel without leaving a hazy mess behind, I promise you, it is much simpler than the marketing gurus want you to believe.
In this guide, I’m stripping away the fluff and giving you the exact, low-effort methods I use in my own home to keep my appliances looking sharp. We aren’t going to waste time on complicated chemical concoctions; instead, I’ll show you how to use basic household staples to get a streak-free finish in minutes. My goal is to help you reclaim your time and stop the endless cycle of polishing. Let’s get into the straight-talking steps to making your stainless steel look brand new again.
Table of Contents
- Step-by-Step Instructions
- The Secret to Removing Fingerprints From Stainless Steel Without the Stress
- Cleaning Stainless Steel With Vinegar and Oil for a Real Shine
- Five Quick Wins to Keep Your Appliances Looking Sharp
- Three Things to Remember Before You Start
- Keeping That Shine Without the Headache
- Frequently Asked Questions
Guide Overview
Tools & Supplies
- Microfiber cloth for wiping and polishing
- Soft sponge for scrubbing without scratching
- Dish soap (small amount)
- Warm water (2 cups)
- White vinegar (1/2 cup)
- Olive oil or mineral oil (1 tablespoon)
Step-by-Step Instructions
- 1. Before you grab any spray, take a close look at your appliance to find the grain of the metal. Just like wood, stainless steel has a direction where the tiny lines run, either horizontally or vertically. If you scrub against that grain, you’re just pushing dirt deeper into the microscopic grooves and risking permanent scratches.
- 2. Grab a soft microfiber cloth—and please, skip the paper towels, as they can leave behind annoying lint and tiny abrasions. Start by wiping down the surface with a bit of warm, soapy water to tackle the heavy lifting. This isn’t about deep scrubbing; it’s just about lifting the grease and those stubborn, sticky fingerprints that seem to appear the second you look away.
- 3. Once you’ve wiped away the grime, take a clean, damp cloth to rinse away the soap residue. I’ve learned the hard way that if you leave even a tiny bit of dish soap behind, it’ll dry into these cloudy streaks that make your kitchen look even messier than when you started.
- 4. Now, it’s time for the part that actually makes it shine. Put a tiny drop of olive oil or mineral oil onto a fresh, dry microfiber cloth. You don’t need much—if you use too much, your fridge will end up feeling unpleasantly greasy to the touch, and we’re going for clean, not oily.
- 5. Apply the oil by following that grain you identified in step one. Use long, gentle strokes in the direction of the lines. Think of this as more of a polishing motion than a scrubbing motion; you’re essentially buffing the metal to bring out that deep, factory-fresh luster.
- 6. Finally, take a dry section of your cloth and buff out any excess oil. You want the surface to feel smooth and look bright, not slick. If you see any leftover smudges, just give it one more quick pass with a completely dry cloth to lock in that shine.
The Secret to Removing Fingerprints From Stainless Steel Without the Stress
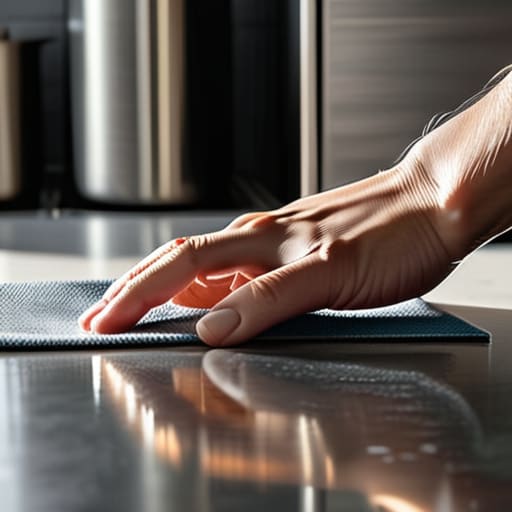
Let’s be honest: the kitchen is the high-traffic zone of any home, and your appliances are the first to show it. You finish a quick snack, wipe your hands on a towel, and suddenly your beautiful fridge looks like a crime scene of oily smudges. If you’re tired of seeing those marks every time you walk by, the real trick isn’t about scrubbing harder; it’s about working smarter. Always remember to follow the stainless steel cleaning grain direction. If you wipe against those tiny microscopic lines, you’re just moving the oils around and potentially causing more harm than good.
When the smudges feel stubborn, I usually skip the heavy chemical sprays and go for something more intentional. I’ve found that cleaning stainless steel with vinegar and oil is a total game-changer for a streak-free finish. A quick spray of diluted white vinegar lifts the grime, and a tiny drop of olive oil on a microfiber cloth buffed in the direction of the grain provides that professional luster. It’s a simple, low-stress way to keep things looking polished without the headache of expensive specialty cleaners.
Cleaning Stainless Steel With Vinegar and Oil for a Real Shine
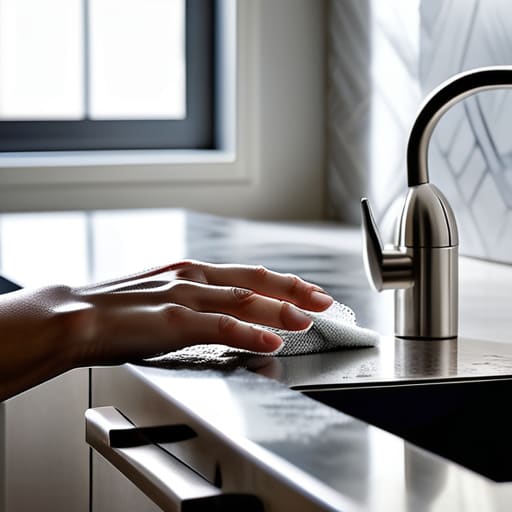
If you’re looking to skip the expensive, chemical-heavy sprays and go back to basics, I’ve found that cleaning stainless steel with vinegar and oil is a total game-changer. I keep a spray bottle of white vinegar and a clean microfiber cloth tucked in my utility drawer for exactly this reason. First, spray the vinegar directly onto the surface to cut through any stubborn grease or grime. It’s acidic enough to do the heavy lifting without leaving a film behind. Just remember the golden rule: always wipe in the direction of the stainless steel cleaning grain direction. If you scrub against it, you’re just inviting trouble.
Once the surface is clean and dry, here is where the magic happens. Take a tiny drop of olive oil or a specialized mineral oil on a fresh cloth and buff it into the metal. This isn’t just about aesthetics; it creates a microscopic barrier that helps with removing fingerprints from stainless steel later on. It’s a simple, two-step rhythm that makes your appliances look professionally polished without the professional price tag.
Five Quick Wins to Keep Your Appliances Looking Sharp
- Always follow the grain. Just like wood, stainless steel has a subtle direction to its texture; if you scrub against it, you’re just inviting streaks and micro-scratches to move in.
- Ditch the abrasive sponges. I’ve learned the hard way that those heavy-duty scouring pads are the enemy of a smooth finish—stick to soft microfiber or a gentle cloth to avoid permanent damage.
- Watch out for bleach. It sounds like a good idea for disinfecting, but bleach is a one-way ticket to pitting and staining your steel, so keep those harsh chemicals far away from your fridge.
- Dry it immediately. If you leave water to air-dry, you’re just asking for those annoying water spots to show up, so always give it a quick wipe with a clean, dry towel once you’re done.
- Keep a “cleaning kit” handy. I keep a dedicated microfiber cloth and a spray bottle right under the sink so I can tackle a smudge the second I see it, rather than letting it become a permanent fixture.
Three Things to Remember Before You Start
Always wipe in the direction of the grain; fighting against it is a quick way to leave streaks that’ll drive you crazy.
Ditch the harsh chemicals and abrasive sponges—they do more damage than good to that beautiful finish.
Keep a microfiber cloth handy for a final buff; that’s the real secret to getting that professional, streak-free shine.
Keeping That Shine Without the Headache
At the end of the day, keeping your stainless steel looking sharp doesn’t require a chemistry degree or a cabinet full of expensive, specialty sprays. Whether you’re just wiping away a quick set of fingerprints with a microfiber cloth or going the extra mile with the vinegar and oil method to really buff out the dullness, the goal is the same: efficiency. Remember to always work with the grain of the metal to avoid those annoying streaks, and don’t be afraid to keep a few basic supplies within arm’s reach. Once you have a routine that works, you’ll find that maintaining a clean kitchen becomes just another small, manageable win in your daily schedule rather than a looming chore.
I know how it goes—sometimes the house feels like it’s winning, and the pile of dishes or the smudge on the fridge feels like just one more thing on an endless to-do list. But there is a certain kind of peace that comes from a kitchen that actually functions and looks cared for. It’s not about achieving perfection; it’s about intentionality and ease. When you take five minutes to care for your home, you’re really just taking five minutes to care for yourself and your headspace. So, grab your cloth, get it done, and then get back to enjoying your life.
Frequently Asked Questions
Is it actually safe to use bleach on my appliances, or am I going to end up with permanent damage?
Short answer: Please, don’t do it. I’ve seen enough “quick fixes” turn into permanent disasters to know that bleach is a bad idea for stainless steel. It’s way too harsh and can actually pit or discolor the surface, leaving you with marks that no amount of scrubbing will fix. If you’re looking to disinfect, stick to a mild dish soap or a dedicated stainless cleaner. Let’s keep things simple and safe, okay?
I keep seeing people say to wipe "with the grain"—how do I actually figure out which way that is?
I know, it sounds like one of those vague instructions that only makes sense once you’ve seen it done. Here’s the trick: look closely at the surface under a decent light. You’ll see tiny, faint lines running in one direction—kind of like the grain in a piece of wood. That’s your guide. Always wipe parallel to those lines. If you go against them, you’re just pushing dirt into the microscopic grooves.
What’s the best way to clean the hard-to-reach gaps around the oven handle without losing my mind?
Look, I’ve spent way too many Saturday mornings wrestling with grease trapped in those tiny crevices. Don’t try to shove a rag in there; you’ll just move the grime around. Grab an old, soft toothbrush and some warm, soapy water. It’s the perfect tool for those tight spots. Once you’ve scrubbed the gunk out, dry it immediately with a microfiber cloth. It’s a small task, but it makes a huge difference in how much easier the whole kitchen feels.