No-sew Curtain Tutorial: Make Your Own Window Treatments
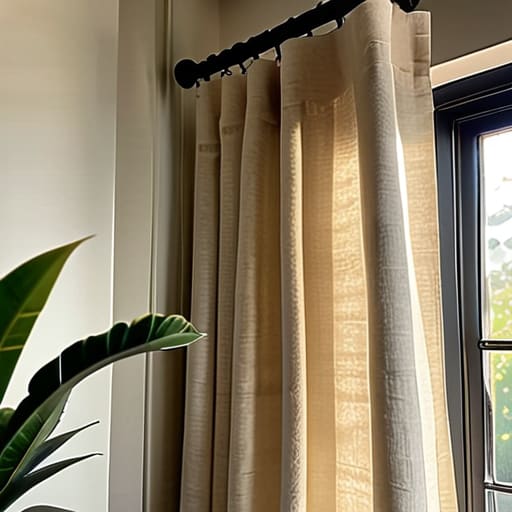
I was standing in my living room last Tuesday, staring at those sad, thin blinds that have been doing nothing for my privacy or my style, feeling that familiar weight of a task left undone. I had the fabric sitting in a pile in the hallway, and for a second, I almost let it stay there because the thought of a complicated sewing project felt like too much mental load for a Wednesday. But then I remembered: you don’t need a degree in textile design to master diy curtains. You just need to stop letting “perfect” get in the way of actually finished.
In this guide, I’m stripping away the fluff and the intimidating jargon to show you how to get these windows looking intentional without spending a fortune or losing your entire weekend to a sewing machine. I’ll walk you through the simplest ways to hang diy curtains—from basic rod pockets to no-sew hacks—so you can finally reclaim your space. No overcomplicating, no expensive mistakes, just straightforward steps to help you turn a house that feels unfinished into a home that feels truly yours.
Table of Contents
- Step-by-Step Instructions
- Smart Fabric Selection for Window Treatments Without the Stress
- Measuring Windows for Curtains So You Get It Right Once
- Five Little Details That Keep Your Curtains From Looking Like a Craft Project Gone Wrong
- Three Things to Remember Before You Start
- The Finish Line is Just the Beginning
- Frequently Asked Questions
Guide Overview
Tools & Supplies
- Fabric scissors for clean cutting
- Sewing machine for stitching hems
- Measuring tape for accurate sizing
- Pins or clips to hold fabric in place
- Fabric (2-3 yards depending on window size)
- Thread (1 spool matching fabric color)
- Iron (to press hems flat)
- Curtain rod (to hang finished product)
Step-by-Step Instructions
- 1. First things first, you need to measure. Don’t just eyeball it—that’s how you end up with awkward gaps that make a room look unfinished. Measure your window width and height, then add at least six to eight inches to both for fullness and length. I always keep my measuring tape in my kitchen junk drawer so I can grab it the second I have an idea, and trust me, precision is your best friend here.
- 2. Next, pick your fabric. Since I lean toward minimalist functionalism, I usually go for linen or a heavy cotton weave. You want something with enough weight to hang straight without looking flimsy. Once you’ve picked your material, calculate how much you need by multiplying your width by two (or even two and a half if you want those lush, deep folds). Grab a pair of sharp fabric shears—dull scissors are a recipe for a jagged, messy edge.
- 3. Now, let’s prep the edges. If you aren’t feeling particularly brave with a sewing machine, you can use high-quality iron-on hem tape, but a quick stitch is much more durable. Lay your fabric flat on a clean floor or a large table, fold the edges over to your desired width, and pin them securely in place. I find that using pattern weights or even a few heavy books works wonders if you can’t find enough sewing pins in your craft kit.
- 4. Time to tackle the top of the curtain. You have two main choices: a rod pocket or using curtain tabs. If you want that classic, effortless look, fold the top edge over to create a sleeve that is slightly wider than your curtain rod. If you’re feeling a bit more modern, sew on some loops or tabs. Just make sure you reinforce the corners with a few extra stitches; that’s where the most tension happens, and you don’t want them ripping after a month.
- 5. Don’t forget the bottom hem. A heavy bottom hem is the secret to making DIY curtains look like they actually cost money. Fold the bottom edge up twice—once for a small clean edge and again for the actual hem—to create a weighted feel. This prevents the fabric from fluttering like crazy every time someone opens the door. Iron everything as you go; a crisp crease makes a world of difference between “homemade” and “handcrafted.
- 6. Finally, it’s time for the installation. Check your curtain rod to ensure it’s sturdy enough for the weight of your new fabric. If you’re mounting it above the window frame to make the ceiling look higher (which is my favorite trick for small rooms), make sure your anchors are tight and secure. Slide the rod through your new pockets or attach your tabs, and take a second to step back and admire the work. You did it, and it looks absolutely intentional.
Smart Fabric Selection for Window Treatments Without the Stress
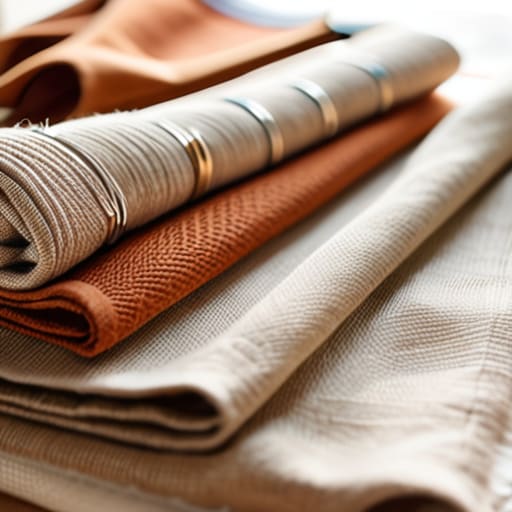
Look, I’ve learned the hard way that the wrong material can turn a weekend project into a full-blown headache. When you’re starting your fabric selection for window treatments, don’t feel like you have to hunt down something impossibly expensive or delicate. If you’re like me and just want a win, skip the high-maintenance silks that require professional dry cleaning. Instead, look for linen blends or heavy cottons. They have enough weight to hang beautifully without looking flimsy, and they’re much more forgiving if your stitching isn’t absolutely perfect.
If you’re really trying to minimize the mental load, don’t skip the weight test. Grab a sample of the fabric and hold it up against your window. If it’s too sheer, you’ll end up fighting with light leaks all day; if it’s too heavy, you might struggle with hanging curtain rods for beginners because the weight will pull your hardware right out of the drywall. Stick to mid-weight fabrics that offer a good balance of privacy and ease of use. It’s about making your home work for you, not the other way around.
Measuring Windows for Curtains So You Get It Right Once
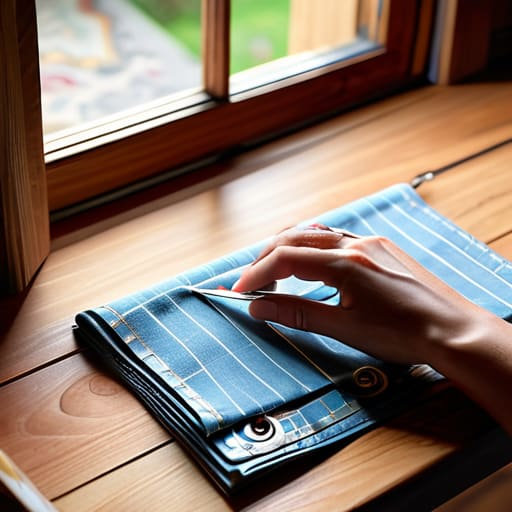
Listen, I’ve seen too many people rush into a project only to end up with curtains that look like they’re shrinking away from the window. If you want to avoid that, you need to treat measuring windows for curtains like a high-stakes project deadline: precision is everything. Don’t just measure the glass; measure the entire frame and then some. I always tell my clients to account for “stack back”—that’s the space the fabric takes up when the curtains are actually open. If you don’t leave enough room on the sides, you’ll end up blocking your natural light every time you want to see outside.
Grab a metal measuring tape—don’t even think about using a soft sewing tape for this, they stretch and lie to you—and take your measurements three times. Once for the width, once for the height, and once for the distance from the ceiling to the rod. I personally like to hang my rods a few inches above the frame to give the room a bit of architectural height. It’s a small tweak, but it makes a massive difference in how finished the room feels.
Five Little Details That Keep Your Curtains From Looking Like a Craft Project Gone Wrong

- Don’t skimp on the hardware; a flimsy rod will bow in the middle the second you hang heavy fabric, and nothing ruins a clean look faster than a saggy line.
- Iron your fabric before you even think about pinning it, because if you hang them with those tiny little fold lines, they’ll stay there forever and look messy.
- Always use double the width of your window in fabric so you get those beautiful, deep folds instead of a flat, sad sheet of cloth stretched tight.
- Invest in some decent hem tape if you aren’t feeling confident with a sewing machine; it’s a huge time-saver and keeps your edges looking crisp and professional.
- Hang your rods a few inches above the actual window frame to trick the eye into thinking your ceilings are higher—it’s a simple trick that makes a massive difference in how the room feels.
Three Things to Remember Before You Start
Measure twice and then measure again; there is nothing more frustrating than spending an afternoon on a project only to realize your curtains are two inches too short.
Don’t get paralyzed by choice—pick a fabric that fits your lifestyle and your budget, and move on to the actual work.
Focus on the function first; a curtain’s job is to frame your view and manage light, so don’t overcomplicate the design just for the sake of it.
The Finish Line is Just the Beginning

At the end of the day, hanging your own curtains isn’t about achieving some impossible Pinterest-perfect standard; it’s about the satisfaction of knowing you handled it yourself. We’ve covered the essentials—from picking a fabric that actually fits your lifestyle to the crucial step of measuring twice so you aren’t staring at awkward gaps later. Remember, whether you went with a heavy velvet to block out the morning sun or a breezy linen for a more relaxed vibe, the goal was to take a task off your mental to-do list and put it into action. You’ve done the heavy lifting, and now it’s time to stop overthinking and just enjoy the view.
I know that sometimes a DIY project can feel like just one more thing on an already overflowing plate, but there is something incredibly grounding about seeing a finished result that you created with your own two hands. It turns a house that feels like a collection of rooms into a home that feels intentionally curated. So, step back, grab a cup of coffee, and take a look at those windows. You didn’t just hang some fabric; you reclaimed a little bit of your space and your peace of mind. You got it done, and that is what matters most.
Frequently Asked Questions
I don't have a sewing machine; can I still make these look professional using just iron-on hem tape?
Absolutely. Honestly, if you aren’t a seamstress, don’t force yourself to wrestle with a sewing machine just for a hem. It’s an unnecessary headache. Grab some high-quality iron-on hem tape—the kind that holds firm—and a crisp iron. As long as your measurements are precise and your press is steady, nobody will ever know you didn’t stitch them. Let’s keep it simple: get the line straight, press it well, and move on.
How do I figure out the right length so they don't look like they're "high-water" or dragging too much on the floor?
This is where most people trip up, and trust me, nothing kills a room’s vibe faster than curtains that end two inches above the floor. It looks accidental, not intentional. For a clean, modern look, aim for the “kiss”—where the fabric just barely grazes the floor. If you want something a bit more relaxed, go for a “puddle” by adding an extra inch or two, but don’t go overboard or you’ll be tripping on them daily.
Should I be looking for blackout lining, or will that make the DIY process way too complicated for a beginner?
Look, don’t let the extra layer intimidate you. Adding blackout lining doesn’t make the project “advanced”—it just makes it more functional. If you’re tired of the sun hitting your face at 6:00 AM, it’s worth the extra step. You can buy pre-made blackout lining fabric that’s easy to work with. Just treat it like another layer of fabric. It’s a small upfront effort for a much better night’s sleep. Just get it done.




