Stop Wasting Energy: a Guide to Weatherstripping Your Doors
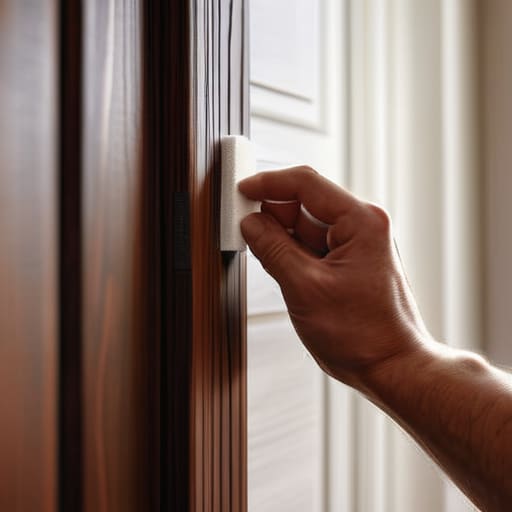
I was sitting on my living room floor last Tuesday, nursing a lukewarm coffee, when I felt it—that unmistakable, icy finger of wind curling right under the front door. It’s one of those small, nagging things that makes you feel like you’re losing control of your own space, and frankly, I was tired of paying to heat the entire neighborhood. Most people think you need a contractor or a brand-new door to solve a draft, but that’s just nonsense. The truth is, weatherstripping a door is one of those low-effort, high-reward wins that can stop that energy leak in under thirty minutes.
I’m not here to sell you on some complicated, expensive home renovation project. Instead, I’m going to walk you through exactly how to identify where the air is escaping and which materials actually hold up over time. We’ll go over the right tools to grab, how to prep the surface so the adhesive doesn’t peel off in a week, and the trick to getting a tight seal without making the door impossible to latch. Let’s stop letting the draft win and just get it done.
Table of Contents
Guide Overview
Tools & Supplies
- Tape measure for measuring door gaps and perimeter
- Scissors or utility knife for cutting material to size
- Screwdriver if using screw-on compression seals
- Microfiber cloth for cleaning the door frame
- Weatherstripping roll (foam, rubber, or V-strip) 1 pack
- Adhesive remover or rubbing alcohol for surface prep
Step-by-Step Instructions
- 1. First things first, you need to figure out what you’re actually dealing with. Grab a flashlight and a piece of paper, and walk around the door on a breezy day. I like to use a single stick of incense or a candle and watch where the smoke dances; that’s exactly where your culprit is hiding. Once you identify the gaps, you’ll need to decide if you’re using adhesive foam, V-strip, or those more substantial rubber seals. Don’t just buy the first thing you see at the hardware store—measure twice so you aren’t stuck with a roll of foam that’s too thin to actually stop a draft.
- 2. Before a single piece of new weatherstripping touches your door, you have to clean the surface. This is the step everyone skips, and it’s exactly why their DIY projects fail three weeks later. Take a damp cloth with some mild soap or a bit of rubbing alcohol and wipe down the door frame where the seal will sit. If there is old, crusty adhesive or dust in the way, the new strip won’t stick, and you’ll be doing this all over again next month. Let it dry completely; patience is key here.
- 3. Now, let’s get to the actual application. If you’re using the adhesive type, start at the top of the door frame and work your way down. I always recommend peeling back just a few inches of the backing at a time rather than trying to strip the whole thing at once. This prevents the strip from getting tangled or dusty before it hits the frame. Press it firmly into place, ensuring it’s straight. If you’re off by even a fraction, you’ll end up with a gap at the bottom that’s wider than the top, and nothing ruins my mood like a crooked DIY job.
- 4. Once the top and sides are set, move to the threshold—that’s the bottom of the door. This is usually where the most significant heat loss happens. If your door has a large gap at the bottom, you might need a door sweep rather than just a thin strip of foam. Screw it in or adhere it according to the package, but make sure it’s tight enough to create a seal without making the door impossible to close. You want a snug fit, not a workout every time you enter the kitchen.
- 5. This is the “test drive” phase. Close the door and feel around the edges with your hand to see if you can still sense any movement of air. If you find a spot that’s still leaking, don’t panic—just tweak the placement or add a small extra piece of foam to that specific area. I keep a small roll of leftover foam in my “fix-it” notebook just for these kinds of last-minute adjustments.
- 6. Finally, take a moment to check the door’s hardware. Sometimes, a drafty door isn’t just about the seals; it’s about the door not sitting flush because the strike plate or the hinges are slightly misaligned. If the door feels “heavy” or doesn’t latch easily now that you’ve added the weatherstripping, grab your screwdriver and tighten those hinge screws. A well-sealed door should still operate smoothly, because functionality is everything in a home that actually works for you.
Choosing Your Weapon Foam vs Rubber Weatherstripping
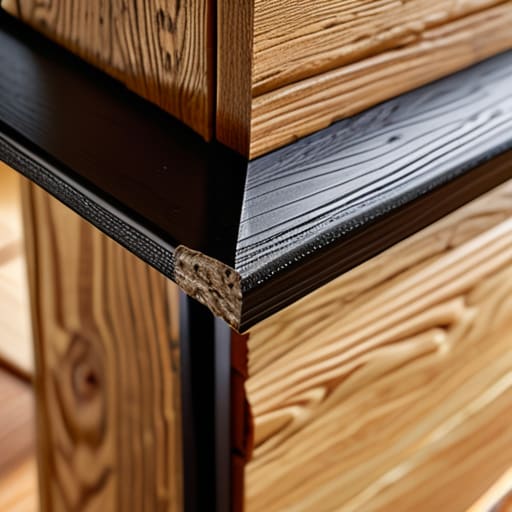
Before you head to the hardware store, let’s clear up the confusion between your options. Most people grab the first roll of adhesive foam they see because it’s cheap and easy, but if you’re serious about preventing air leaks around doors, you need to think about longevity. Foam is fine for a quick, budget-friendly fix, but it tends to compress and lose its shape after a single season. If you want something that actually stands up to the daily slamming of a heavy door, I always recommend going with rubber. It’s more resilient, handles temperature swings better, and stays supple enough to create a true seal for years.
It’s also worth noting that your choice depends on where the leak is actually happening. If the gap is between the door and the frame, a rubber strip is your best bet. However, if you’re feeling a draft coming up from the floor, you aren’t looking for a strip—you’re looking for a door sweep replacement. Combining a good frame seal with a proper bottom seal is the real secret to improving door insulation without breaking the bank. Get the right tool for the specific gap, and you won’t have to do this again next year.
Door Bottom Seal Installation Without the Headache
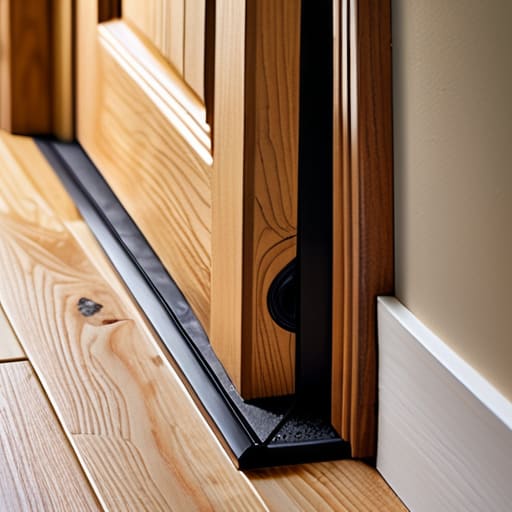
Now, let’s talk about the gap at the very bottom of your door. You can spend all day perfecting the sides and top, but if there’s a massive canyon between your door and the threshold, you’re basically throwing money out the window. A proper door bottom seal installation is the heavy hitter when it comes to preventing air leaks around doors, especially if you have a high-traffic entryway. I’ve learned the hard way that if the seal is too loose, the drafts just whistle right through, but if it’s too tight, you’ll be fighting the door every single time you try to walk through.
When you’re looking at a door sweep replacement, don’t just grab the cheapest plastic piece you see at the big-box store. I prefer the heavy-duty rubber versions because they actually conform to the unevenness of an old floor. Before you screw anything in, take a quick measurement and test the tension by closing the door halfway. You want a snug fit that stops the wind, but doesn’t require a shoulder nudge to close. It’s one of those small, intentional wins that makes a massive difference in how your house actually feels.
Pro-Tips for a Seal That Actually Lasts
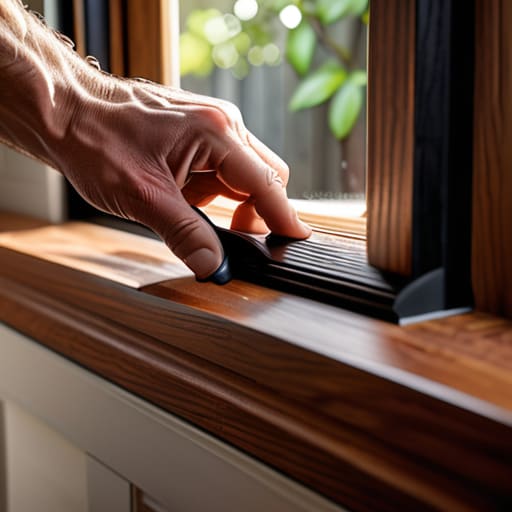
- Do a “light test” before you buy anything; shut your door in a dark room and look for slivers of light peeking through the edges—those are your targets.
- Clean the door frame with rubbing alcohol first, because if you stick new weatherstripping onto a layer of old dust and grime, it’s going to peel off by next Tuesday.
- Don’t overstuff the gap; if you use material that’s too thick, you’ll end up forcing the door shut and putting unnecessary strain on your latch and hinges.
- Check your threshold height before heading to the hardware store, because if the bottom seal doesn’t meet the floor perfectly, you’ve just wasted your time and money.
- Keep a little extra adhesive on hand, but don’t be tempted to go overboard—less is more when it comes to preventing that sticky, messy buildup around the frame.
The Bottom Line on Beating the Draft
Don’t settle for a “close enough” fit; the secret to real energy savings is ensuring your chosen material actually compresses against the frame to create a tight seal.
Take the time to clean your door frames thoroughly before sticking anything down—if you apply weatherstripping to dust or old residue, it’s going to peel off within a week.
Focus on the high-traffic spots first, specifically the door bottom and the side jambs, to get the biggest immediate win for your heating bill and your comfort.
The Finish Line
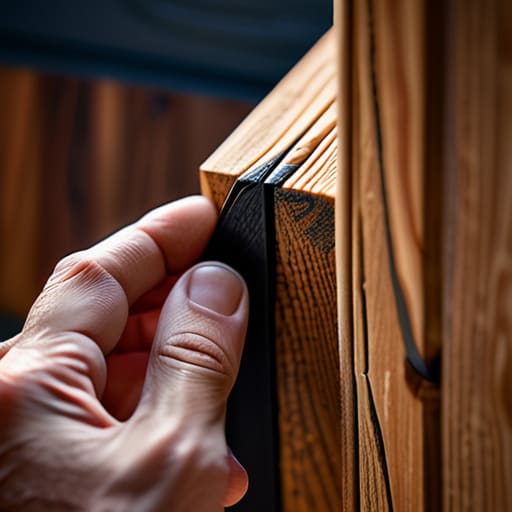
At the end of the day, fixing a drafty door isn’t about achieving some perfect, showroom-ready architectural feat; it’s about making sure your home actually works for you. We’ve gone through the work of picking the right material—whether that was the easy-to-apply foam or the more durable rubber—and we’ve tackled that tricky door bottom seal that usually trips people up. Once you’ve cleaned those surfaces properly and pressed that stripping home, you’ve effectively closed the gap between a house that feels drafty and one that feels secure. It’s a small project, sure, but it’s one of those high-impact wins that pays dividends every time the temperature drops outside.
I know that when you’re staring at a pile of hardware and a sticky door frame, it can feel like just one more thing on an already overflowing to-do list. But I promise you, the feeling of walking into a room that stays warm and quiet is worth the hour of effort. Don’t let these little household irritations pile up until they feel overwhelming. Grab your tools, get it done, and then get back to enjoying your life. You’ve earned a home that is as functional as it is comfortable, and honestly, you’re more than capable of making it happen.
Frequently Asked Questions
How often am I actually going to have to redo this once it's installed?
Look, I’m a big believer in doing things once and doing them right, but let’s be real: nothing lasts forever. If you’ve used high-quality rubber, you’re likely looking at five to seven years before it starts to compress or crack. Foam is cheaper, but expect to swap it out every couple of years. Just keep an eye on it during your seasonal home checkups. If you see light peeking through, it’s time to replace it.
I can still see light through the cracks even after I've applied the stripping—did I mess something up?
Don’t panic—you haven’t ruined it. If you can still see daylight, it usually means one of two things: either the stripping is too thin for that specific gap, or you didn’t apply enough pressure during installation to let it compress. Take a look at where the light is peeking through. If it’s a consistent line, you might need a thicker roll. If it’s patchy, try pressing the material more firmly into the crevice.
Is it worth it to weatherstrip the windows too, or should I just focus on the doors for now?
Look, if you’re staring at a long to-do list and feeling overwhelmed, stick to the doors for now. Doors are usually the biggest culprits for those sudden, annoying drafts. However, if you notice your heating bill is still climbing or you’re shivering near a specific window, don’t ignore it. I usually tackle windows once the doors are sorted. Get the big wins first, then circle back to the windows when you have the headspace.




