The Secret to Applying Caulk Cleanly and Correctly
I was standing in my bathroom last Tuesday, staring at a jagged, peeling mess of old silicone around the tub, feeling that familiar knot of frustration in my chest. I had a notebook in my hand, ready to jot down a professional contractor’s number, but then I realized I was just procrastinating on a task that should be simple. Most people think you need a steady hand like a surgeon or a dozen expensive specialty tools to master how to caulk, but that is a total myth. In reality, a messy bead is usually just the result of rushing or using the wrong tension, not a lack of natural talent.
I’m not here to give you a lecture on the chemistry of polymers or sell you on a high-end toolkit you’ll never use again. Instead, I’m going to show you how to approach this with minimalist functionalism—using just the right amount of prep and a few smart tricks to get a smooth, professional finish. We are going to strip away the intimidation and focus on the actionable wins so you can stop staring at that gap and finally get it done.
Table of Contents
Guide Overview
Tools & Supplies
- Caulking gun to apply the sealant
- Caulk removal tool or utility knife to strip old material
- Microfiber cloth to clean the surface
- Caulk tube (silicone or acrylic depending on surface)
- Painter's tape for clean lines
Step-by-Step Instructions
- 1. First things first, you have to clear out the old junk. If there’s crusty, peeling caulk in that gap, your new layer won’t stick, and you’ll be back here doing this again in three months. Grab a putty knife or a specialized caulk removal tool and scrape it all out until you’re down to the bare surface. If you’re feeling particularly stubborn, a utility knife works too, but just be careful not to gouge your tub or tile.
- 2. Once the old stuff is gone, you need to clean the area like you’re prepping for a big presentation. Use a bit of rubbing alcohol or a mild soap solution to wipe away any dust, soap scum, or lingering oils. If the surface isn’t completely dry and debris-free, the new caulk will just peel right off, and we aren’t here to waste time on a job that won’t last.
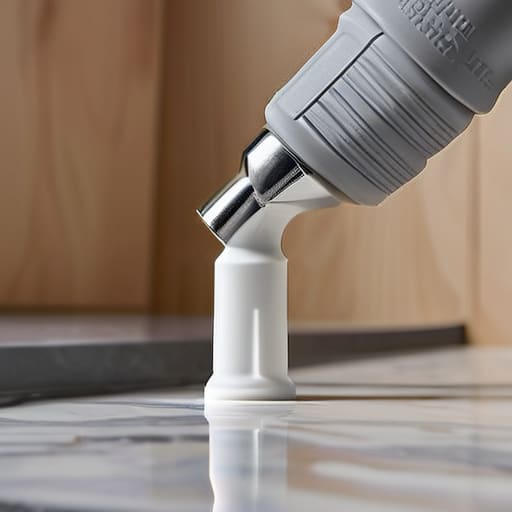
- 3. Now, grab your caulk and prep the tube. Cut the tip of the nozzle at a slight angle—think of it like a controlled release rather than a floodgate. You want a small, manageable opening so you aren’t fighting a massive blob of goop halfway through the job. I always keep a scrap piece of cardboard nearby to test the flow before I touch the actual project area.
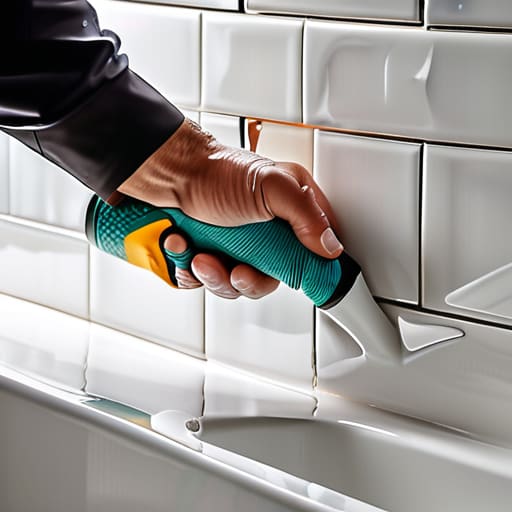
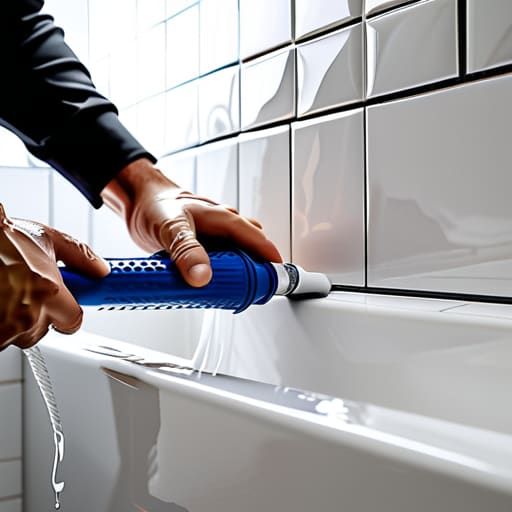
- 4. Apply the caulk in a steady, continuous motion. Don’t try to do the whole room in one go; just focus on one manageable section at a time. Hold the gun at a 45-degree angle and squeeze with a consistent pressure as you move along the gap. It’s a lot like managing a project timeline—if you rush the pace or get inconsistent, the whole thing falls apart later.
- 5. This is the part where people usually get nervous, but don’t overthink it. Take a damp rag or a dedicated caulking tool and smooth out the bead you just laid down. You aren’t trying to move the caulk everywhere; you’re just shaping it into a clean line and pushing it firmly into the gap. A light, sweeping motion is all you need to get that professional, seamless look.
- 6. Wipe up any excess immediately. If you let the caulk start to skin over, you’re going to end up with a sticky, smeared mess that’s a nightmare to clean. Keep a clean, damp cloth handy and tidy up as you go so you aren’t left staring at a smudge-filled bathroom once the job is “done.
- 7. Finally, step away and let it cure. Check the tube for the specific drying time—some silicones are ready in an hour, while others need a full day. Resist the urge to test it with your finger or run the shower too soon. Patience is key here; let the chemistry do its work so you can finally cross this off your list and get back to your life.
Choosing Your Weapon Silicone vs Acrylic Caulk
Before you head to the hardware store, let’s clear up the biggest point of confusion: silicone vs acrylic caulk. I used to think they were interchangeable, but choosing the wrong one is a fast track to a messy, peeling headache. If you’re tackling high-moisture areas like caulking bathtub seams or kitchen backsplashes, you want silicone. It’s waterproof, flexible, and stands up to constant humidity without cracking. It’s a bit more finicky to work with, but for wet zones, it’s non-negotiable.
Acrylic, on the other hand, is your go-to for “dry” spots like baseboards or crown molding. It’s much easier to clean up with a damp rag and, crucially, it’s paintable. If you try to slap paint over silicone, it’ll bead right off like water on a duck’s back, and you’ll be right back at square one. Just remember: silicone for the wet stuff, acrylic for the trim. Get this right the first time, and you won’t have to worry about removing old caulk and starting over in six months.
The Secret to Removing Old Caulk Without the Headache
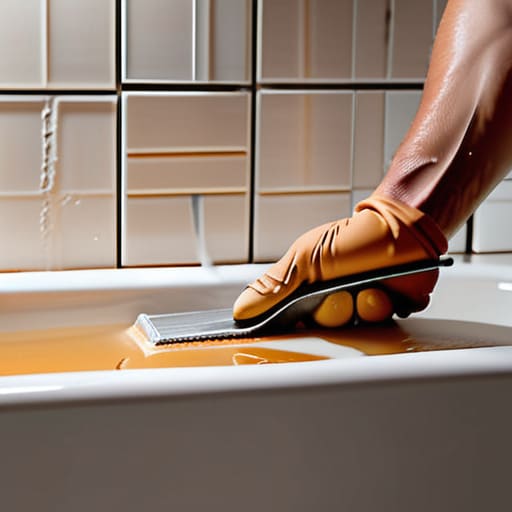
Look, I’ll be honest with you: the part everyone dreads isn’t the actual application; it’s the cleanup. If you try to layer new caulk over the old, crusty stuff, you’re asking for a disaster. It won’t adhere, it’ll look bumpy, and you’ll end up doing the whole job twice. When it comes to removing old caulk, patience is your best friend. I usually grab a sharp utility knife or a specialized caulk removal tool and slowly work my way along the seam. If you’re tackling something stubborn like caulking bathtub seams, try using a hair dryer to slightly warm the old material—it makes it much more pliable and easier to peel away in long strips.
Once the bulk is gone, don’t just assume you’re finished. This is where most people trip up. You need to get every microscopic bit of residue off the surface, or your new bead won’t stick. I always keep a bottle of rubbing alcohol and a clean rag handy to wipe down the entire area until it’s spotless. If there’s any grease or soap scum left behind, you’re essentially building on a shaky foundation. Get it clean, get it dry, and then—and only then—are you ready to move on.
Five Pro-Tips to Save Your Sanity (and Your Caulking Job)
- Don’t skip the prep work. I know, it’s tempting to just start squeezing the tube, but if there’s even a speck of dust or old residue left in that gap, your new bead is going to peel off in a week. Wipe it down with a bit of rubbing alcohol first; it’s a thirty-second step that saves you hours of re-doing it later.
- Master the “wet finger” trick. You don’t need fancy tools to get a smooth finish. Once you’ve laid down your bead, dip your finger in a bowl of water mixed with a tiny drop of dish soap. Run it along the line with a light touch. It smooths everything out and prevents that sticky, messy residue from getting all over your hands.
- Work in small sections. If you’re tackling a long bathtub or a massive backsplash, don’t try to do the whole thing in one go. You’ll end up with a bead that starts drying at one end before you even reach the other, and nobody wants a lumpy, uneven mess. Go piece by piece, keep it manageable.
- Watch your pressure. It’s a common mistake to squeeze the tube like you’re trying to get the last bit of ketchup out of a bottle. Be steady and consistent. If you pump too much out at once, you’ll spend more time cleaning up the excess than actually applying it. Think of it as a controlled flow, not a squirt gun.
- Give it real time to dry. I’ve seen so many people rush this part because they want to get back to their weekend. Even if the tube says it’s “water-ready” in an hour, give it the full recommended time before you let any moisture touch it. Patience is the difference between a professional seal and a DIY disaster.
The Bottom Line: Three Things to Remember
Don’t skip the prep work; if you don’t get that old, crusty caulk out and the surface bone-dry, your new bead is going to peel off faster than a cheap sticker.
Pick the right tool for the job—silicone for the wet stuff like showers, and acrylic for the dry stuff like baseboards—so you aren’t fighting your materials halfway through.
Stop obsessing over perfection and just focus on a steady hand; a clean, continuous bead is much better than a bunch of tiny, messy patches that look like a mistake.
Done and Dusted
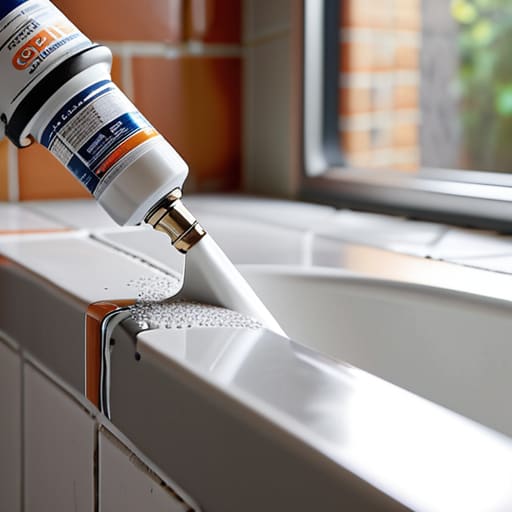
Look, I know that staring at a messy bead of caulk can feel a little demoralizing, but you’ve already done the heavy lifting. You’ve picked the right material—whether that’s the flexible silicone for the tub or the easy-to-paint acrylic for your baseboards—and you’ve cleared out that old, crusty residue that was causing the mess in the first place. Remember, the secret isn’t in having a steady hand like a surgeon; it’s about the preparation and the right tools. If you take the time to clean the surface properly and don’t rush the application, you’re going to end up with a seal that actually holds up when the real world starts throwing water and humidity at it.
At the end of the day, this isn’t just about fixing a gap in your backsplash or sealing a window frame. It’s about the mental clarity that comes from tackling the small stuff before it turns into a massive, expensive headache. There is a specific kind of peace that settles in when you look around a room and realize everything is tight, functional, and well-maintained. So, wipe your hands, put your tools back in the bin, and go enjoy your evening. You didn’t just fix a leak; you reclaimed a little bit of order from the chaos.
Frequently Asked Questions
How do I know if I've applied too much caulk, and can I fix it before it dries?
You’ll know you’ve gone overboard if the bead looks like a thick, messy sausage rather than a clean, slim line. If it’s oozing out everywhere, don’t panic. If it’s still wet, grab a damp rag or a finger dipped in a little soapy water and smooth it out immediately. If it’s already started to skin over, you’ll need to carefully scrape the excess away before it hardens completely. Just take a breath—we’ll fix it.
Do I really need to wait that long for it to cure before I can use the shower or sink?
Look, I get it. You’ve finally finished the job, the bathroom looks great, and you just want to hop in and wash the day away. But please, don’t rush it. If you use that shower before the caulk has fully cured, you’re essentially inviting water to ruin all your hard work. Check the tube for specific cure times, but generally, give it at least 24 hours. It’s a small price to pay to avoid doing this all over again next week.
What’s the trick to getting those perfectly smooth, professional-looking lines without making a huge mess?
Here’s the secret: don’t try to be a perfectionist with the gun itself. Apply a steady, continuous bead, and then—this is the crucial part—use a wet finger or a caulking tool to smooth it immediately. Keep a spray bottle of soapy water handy to mist the bead first; it prevents the caulk from sticking to your skin and helps you glide through that line like a pro. Just keep moving.




