High-end Looking Furniture Upcycling Ideas

I was staring at that scratched-up mid-century sideboard last Tuesday, wondering if it was a piece of history or just more clutter taking up precious floor space. We’ve all been there—standing in a room full of “maybe one day” projects that actually just feel like unnecessary mental weight. It is so easy to fall into the trap of thinking you need to buy something brand new every time a finish chips or a drawer sticks, but that’s just not how I roll. Instead of contributing to the landfill, I’ve found that a little bit of intentionality can breathe entirely new life into what you already own. Finding creative upcycling furniture ideas isn’t about chasing a Pinterest trend; it’s about reclaiming your space and your budget.
In this post, I’m stripping away the fluff and giving you five of my favorite, tried-and-true ways to transform tired pieces into functional gems. We aren’t talking about massive, expensive renovations that take months to finish. I’m sharing small, actionable wins—from simple hardware swaps to strategic sanding—that you can tackle this weekend. By the time you finish reading, you’ll have a clear roadmap to turn that “junk” in your garage into the most useful pieces in your home.
Table of Contents
- Give that dated dresser a second chance
- Turn old crates into organized shelving
- Refresh your tired side tables
- Reclaim old ladders as towel or blanket racks
- Upgrade mismatched chairs with new upholstery
- The bottom line on your next project
- Stop Overthinking and Start Creating
- Frequently Asked Questions
Give that dated dresser a second chance
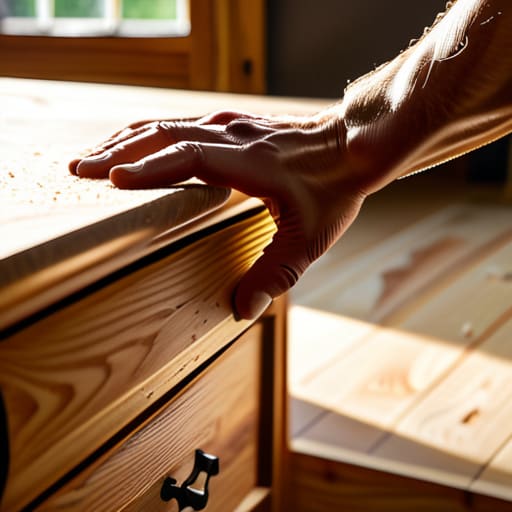
We’ve all been there—you find a solid wood dresser at a garage sale, but the honey oak finish looks like it crawled straight out of 1994. Before you even think about hauling it to the curb, remember that quality wood is hard to find these days. My first step is always a thorough sanding to strip away that old, thick lacquer. It’s tedious, sure, but it’s the only way to ensure your new finish actually sticks without peeling in six months.
Turn old crates into organized shelving
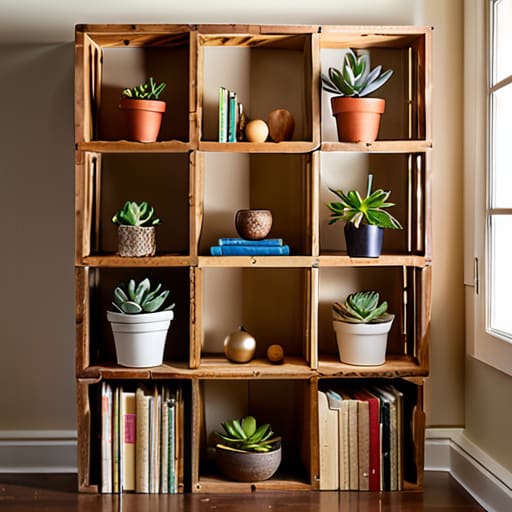
If you have a stack of wooden crates gathering dust in the garage, don’t just let them sit there. I’ve found that these are absolute goldmines for creating custom storage that actually fits your specific space. Instead of buying expensive, modular shelving units that never quite hit the right height, you can stack and secure crates to create a bookshelf or a mudroom organizer. Just make sure you sand the edges well so you don’t end up with a splinter every time you grab a book.
Refresh your tired side tables
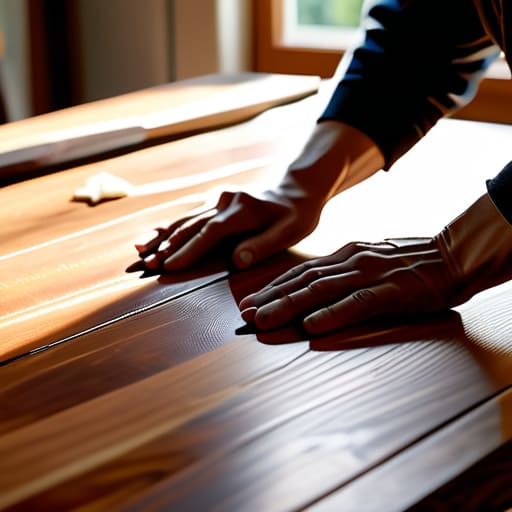
Side tables often take the brunt of daily life—coffee rings, scratches, and general wear and tear. Most people think a scratched surface means the piece is dead, but that’s rarely the case. If the structural integrity is still there, a simple topcoat refresh can work wonders. If the wood is deeply gouged, a little wood filler and some matching stain can hide the evidence of a chaotic Tuesday morning quite effectively.
Reclaim old ladders as towel or blanket racks
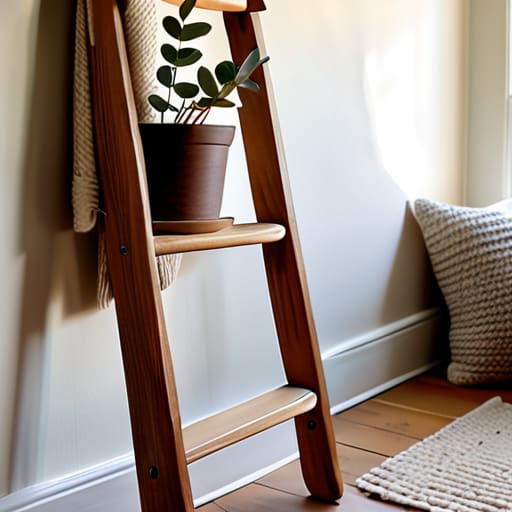
I once found an old wooden step ladder leaning against a shed, and instead of letting it rot, I brought it inside. It’s one of those projects that requires almost zero specialized tools but offers a massive payoff in terms of utility. By cleaning it up and giving it a light coat of wax, you can transform it into a functional accent piece. It’s perfect for the bathroom to hold extra towels or in the living room to drape those chunky knit throws we all love.
Upgrade mismatched chairs with new upholstery
We’ve all inherited that set of dining chairs where one looks slightly different from the rest, or perhaps they just feel incredibly uncomfortable. Before you replace the whole set, look at the fabric. Often, the frame is perfectly sturdy, and all it needs is a fabric facelift. It’s a bit more involved than painting, but the ability to choose a durable, high-quality textile makes it well worth the afternoon of work.
The bottom line on your next project
Don’t let perfectionism stall your progress; a slightly imperfect piece with a fresh coat of paint is infinitely better than a beautiful piece sitting in your garage gathering dust.
Always assess the structural integrity before you get attached to a design—there’s no point in prettying up a chair that’s actually a safety hazard.
Start small with one single piece of furniture to build your confidence and your toolkit before you try to tackle a full room makeover.
Stop Overthinking and Start Creating
At the end of the day, upcycling isn’t about achieving some Pinterest-perfect masterpiece that looks like it belongs in a showroom; it’s about making things work for you. Whether you’re just swapping out some outdated hardware, sanding down a tabletop to give it a fresh life, or repurposing an old crate into a functional shelf, the goal is the same: reducing waste and adding value. You don’t need a professional workshop or a massive budget to make these changes. All you really need is a bit of patience, a few basic tools, and the willingness to see the potential in what you already own instead of rushing to the big-box store for something brand new.
I know how easy it is to look at a piece of beat-up furniture and see nothing but a headache. But I promise you, once you finish that first project and see it sitting in your living room, looking exactly how you intended, that sense of accomplishment is worth every bit of the effort. Don’t let the fear of making a mistake keep you from trying. Grab that notebook, pick one small item, and just get it done. Your home will feel more intentional, your space will feel more like yours, and you’ll realize that a little bit of elbow grease goes a long way in turning a house into a home.
Frequently Asked Questions
I found a beautiful vintage piece but it's covered in layers of old, peeling paint—how do I tackle that without losing my mind?
First, take a breath. Peeling paint looks like a disaster, but it’s just a project. Don’t go straight for the heavy-duty power sander; you’ll end up with a dust cloud that’ll haunt your lungs. Grab a high-quality chemical stripper and a sturdy scraper instead. It’s much more controlled. Work in small sections, let the product do the heavy lifting, and scrape carefully. It’s tedious, sure, but it’s the only way to get a smooth finish without the headache.
Is it actually worth investing in high-end tools, or can I really get these results with just a basic toolkit from the hardware store?
Look, I’ll give it to you straight: don’t go out and drop a paycheck on a professional-grade kit just because you’re starting a new project. For most of what I do—fixing a wobbly chair leg or refinishing a side table—a decent, mid-range set from the hardware store is plenty. Buy the basics first. Once you find yourself cursing because a specific tool isn’t cutting it, that’s when you invest in the upgrade.
How do I know if a piece of furniture is actually a "good find" worth saving, or if it's just junk that's going to cost me more in repairs than it's worth?
Look, I’ve learned this the hard way: don’t let a pretty veneer fool you. Before you haul something home, check the bones. Is it solid wood or cheap particle board? If it’s heavy and the joints don’t wobble when you give it a firm shake, it’s a winner. Avoid anything with structural rot or massive water damage—those aren’t “projects,” they’re money pits. If the frame is sound, the rest is just sweat equity.