Everything You Need to Start Making Your Own Jewelry
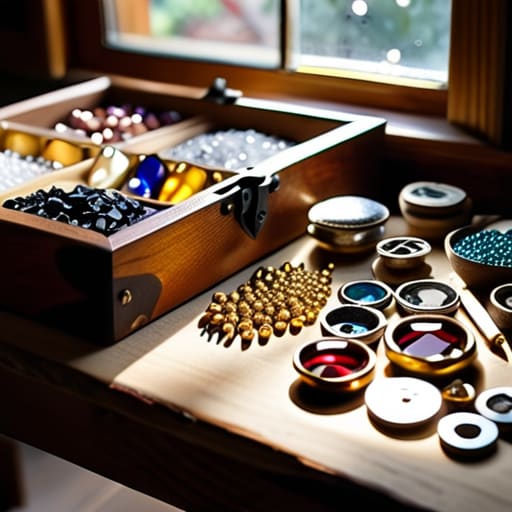
I was sitting on my living room floor last Tuesday, surrounded by a literal sea of tiny glass beads that had escaped their containers and were currently migrating into my rug, when I realized something. Most people think you need a professional studio and a massive investment in expensive tools to get started with diy jewelry making, but that is a total lie. Honestly, the biggest barrier isn’t the cost; it’s the unnecessary clutter and the lack of a real system. I spent way too long trying to follow those overly complicated tutorials that make it look like a high-stakes art project, when really, it should just be a way to unwind after a long day of managing projects.
I’m not here to sell you on a lifestyle or tell you that you need a thousand different pliers to make a decent necklace. In this guide, I’m stripping away the fluff and giving you the straight-talking basics you actually need to get moving. We’re going to talk about the essential tools that won’t break the bank, how to organize your workspace so you aren’t hunting for a clasp for twenty minutes, and the simple techniques that yield actual results. Let’s stop staring at the mess and just start creating.
Table of Contents
- Step-by-Step Instructions
- Ditch the Clutter Jewelry Making Kit Essentials You Actually Need
- Mastering the Basics Essential Bead Supplies and Simple Wire Wrapping Techn
- Stop Making It Harder Than It Needs To Be: 5 Pro-Tips for Smoother Making
- The Bottom Line: Keep It Simple and Keep It Moving
- Stop Overthinking and Start Creating
- Frequently Asked Questions
Guide Overview
Tools & Supplies
- Needle-nose pliers for gripping and bending wire
- Wire cutters for trimming metal and cord
- Beading mat to prevent rolling
- Assorted glass beads (1 pack)
- Jewelry wire or elastic cord (1 roll)
- Lobster clasps and jump rings (1 set)
Step-by-Step Instructions
- 1. First things first, clear off a dedicated space. You can’t make anything decent if you’re fighting for elbow room against a pile of mail or a half-finished coffee mug. Grab a flat tray or even a large, shallow baking sheet to act as your workspace boundary; this keeps those tiny, frustrating beads from migrating across the table and disappearing into the carpet.
- 2. Sort your supplies into something manageable. Don’t just dump everything into one big bin—that’s a recipe for a headache. I use a cheap plastic tackle box with small compartments to separate my findings, beads, and charms. If you can see exactly what you have without digging, you’re already halfway to a successful project.
- 3. Gather your essential toolkit. You don’t need a professional jeweler’s studio, but you do need the basics: needle-nose pliers, wire cutters, and a bead mat. Make sure your cutters are actually sharp before you start; there is nothing more infuriating than trying to snip through wire only to have it bend or fray because your tools are dull.
- 4. Map out your design before you touch the wire. I always tell my clients that “measure twice, cut once” applies to creativity, too. Lay your beads out on your tray in the sequence you want them to appear. This allows you to visualize the finished product and catch any color clashes before you commit to a permanent knot or crimp.
- 5. Start the assembly process by cutting your wire or cord to length. Always add an extra two inches to whatever length you think you need; you’ll want that extra wiggle room to manipulate the ends and secure your clasps. Once you’ve measured, use your cutters to make a clean, straight snip.
- 6. Secure your ends with crimp beads or knots. If you’re working with metal wire, use a crimp bead to create a loop for your clasp—it’s the most professional way to ensure the piece doesn’t fall apart the second you put it on. If you’re using silk or nylon cord, tie a surgeon’s knot and add a tiny drop of glue to the knot to make sure it stays put.
- 7. Do a final quality check. Put the piece on, move around, and tug on the connections. I never consider a project “done” until I’ve tested it for structural integrity. If it feels flimsy, don’t just hope for the best—take it apart and reinforce it now, rather than dealing with a broken necklace at a dinner party later.
Ditch the Clutter Jewelry Making Kit Essentials You Actually Need
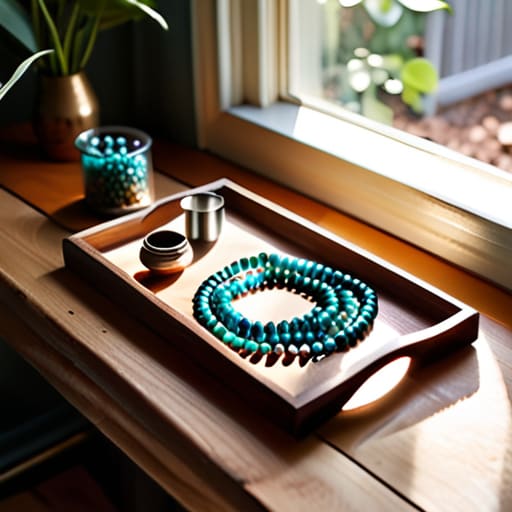
Look, I’ve seen too many people dive into this hobby only to end up with a kitchen table covered in tiny, expensive pieces of metal and glass that they can’t find two days later. The secret isn’t buying every gadget in the catalog; it’s about curating your jewelry making kit essentials so you aren’t fighting your own workspace. You don’t need a professional studio, but you do need a dedicated spot—even if it’s just a single tray—to keep your beads from migrating into the carpet.
Start with a solid foundation of jewelry making tools for beginners: a decent pair of needle-nose pliers, wire cutters, and a bead mat to stop the rolling. Once you have those, grab a few organizers. I swear by those clear, compartmentalized tackle boxes I used to use for hardware; they are perfect for sorting your jump rings and clasps. If you try to jump straight into complex wire wrapping techniques without having your basic components sorted, you’re just inviting a headache. Keep it simple, keep it contained, and you’ll actually enjoy the process instead of cleaning it up.
Mastering the Basics Essential Bead Supplies and Simple Wire Wrapping Techn
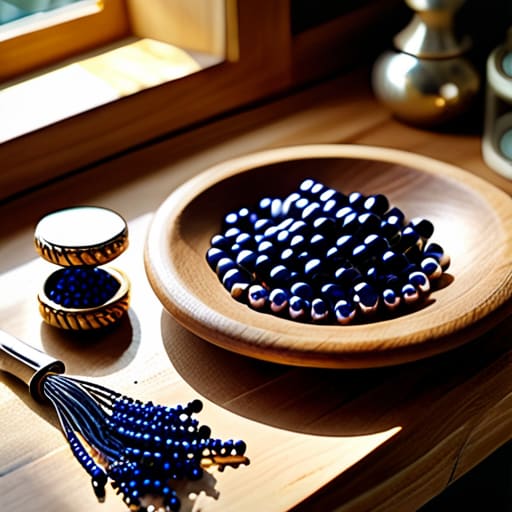
Once you’ve cleared the clutter, it’s time to actually get your hands dirty. Don’t fall into the trap of buying every shiny bead in the shop; you really only need a handful of essential bead supplies to start seeing results. I’m talking about high-quality glass or stone beads that have some weight to them, rather than that lightweight plastic stuff that feels like a toy. When you’re picking out your materials, think about how they’ll hang and move. A good rule of thumb I use is to buy more of the “staple” colors—creams, metallics, or deep blues—so you aren’t constantly running back to the craft store every time a new idea hits you.
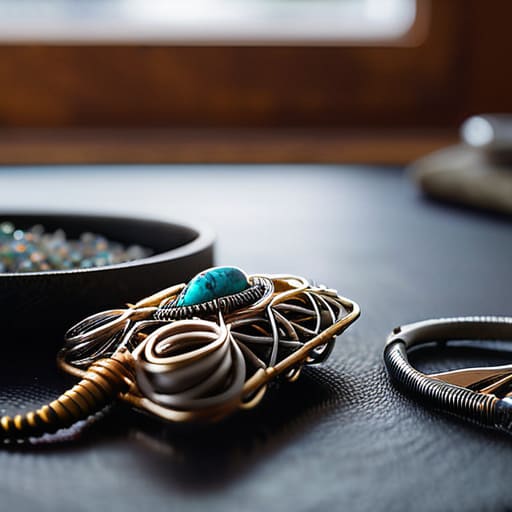
When it comes to the actual construction, don’t let the technical side intimidate you. You don’t need a degree to master basic wire wrapping techniques; you just need a steady hand and a pair of decent pliers. Start with a simple loop around a single bead to get the hang of the tension. If you rush the wire work, your pieces will look flimsy, and nothing kills the vibe faster than a necklace that falls apart halfway through your morning commute. Focus on the fundamentals first, and the complex designs will follow naturally.
Stop Making It Harder Than It Needs To Be: 5 Pro-Tips for Smoother Making
- Stop working on the kitchen table. If you don’t have a dedicated workspace, get a sturdy tray or a small desk mat. It keeps your beads from rolling into the cracks of the table and saves you from a massive headache when you’re trying to clean up later.
- Invest in a decent pair of needle-nose pliers. I learned the hard way that the cheap, flimsy ones from the dollar store will eventually bend your wire or slip and scrape your skin. Buy one good pair that actually grips; your hands will thank you.
- Don’t try to learn every single technique at once. Pick one thing—like simple wire wrapping or making a basic beaded bracelet—and master it. You don’t need a degree in fine arts to make something beautiful; you just need consistency.
- Use a bead mat or even a piece of felt. It sounds small, but having a surface that actually holds your beads in place instead of letting them scatter like marbles across the floor is a game-changer for your sanity.
- Keep a “mistake bin” nearby. Instead of getting frustrated and throwing away a tangled mess of wire, toss it in a small container. Most of the time, you can untangle it or use the scraps for something else later. Don’t let a little mess kill your momentum.
The Bottom Line: Keep It Simple and Keep It Moving
Don’t fall into the trap of buying every shiny bead in the shop; start with the basics and only add to your collection when you actually have a design in mind.
Organization isn’t just about being neat; it’s about saving your sanity—keep your tools in a dedicated kit so you aren’t hunting for pliers ten minutes into your creative time.
Perfection is the enemy of progress, so stop worrying about every tiny wire wrap being flawless and just focus on getting your pieces finished and wearable.
Stop Overthinking and Start Creating
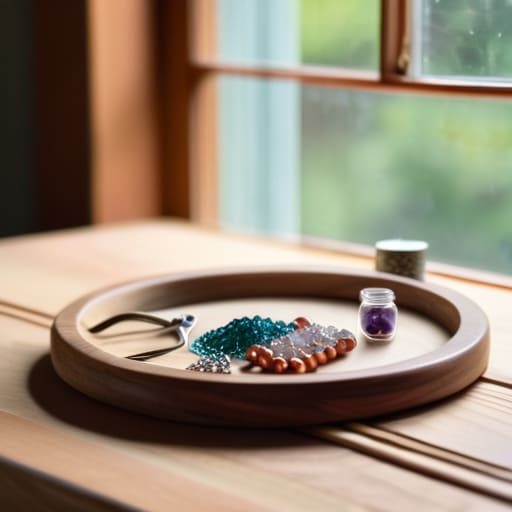
At the end of the day, you don’t need a professional studio or a mountain of expensive gemstones to make something beautiful. We’ve covered the essentials: getting your workspace sorted with a decent kit, mastering those basic wire wraps, and keeping your bead supplies organized so you aren’t hunting for a tiny spacer for twenty minutes. The goal isn’t perfection; it’s about having the right tools at your fingertips so you can actually get the job done without the frustration. Once you have your basic supplies organized and your technique down, the friction between “I want to make this” and “I am making this” virtually disappears.
Don’t let the fear of a messy mistake keep you from picking up the pliers. I’ve spent years learning that the best way to master any new skill—whether it’s fixing a mid-century chair or stringing a necklace—is to just embrace the learning curve. Your first few pieces might be a little wonky, and that is perfectly fine. The real win is the quiet hour you carved out for yourself to create something with your own two hands. So, clear off a small corner of your table, grab your notebook, and just start making something that makes you smile.
Frequently Asked Questions
I don't have a dedicated craft room; is there a way to keep my supplies organized so I'm not tripping over beads in the living room?
Look, I get it. I don’t have a spare room for a “studio” either; my dining table does double duty as a workspace. The trick is to stop treating your supplies like permanent residents. Grab a rolling utility cart or a stack of clear, latching bins that slide right under the sofa. When you’re done, everything goes in the bin, the lid snaps, and it disappears. If it isn’t tucked away, it’s clutter.
How do I know if I'm using the right wire gauge for my projects, or am I just going to end up snapping everything?
Look, there’s no point in wasting good materials if you’re fighting your own tools. Think of wire gauge like choosing the right screwdriver for a job—too thin and it bends under pressure; too thick and you’ll be fighting it all day. For basic beadwork and loops, stick to 20 or 22 gauge. If you’re making something structural, go heavier. Grab a cheap gauge finder or just keep a small cheat sheet in your notebook.
What’s the best way to store finished pieces so they don't get tangled or tarnished while I'm working on the next batch?
Look, there is nothing more frustrating than finishing a beautiful piece only to find it’s a knotted mess by morning. Stop tossing them in a random bowl. Grab some small, airtight Ziploc bags or individual velvet pouches to keep them separated and away from moisture. If you’re feeling fancy, a tiered hanging organizer works wonders, but honestly? Just keep them in individual compartments so they stay untangled and ready to wear.




