Repurpose Household Items Into Beautiful Diy Planters
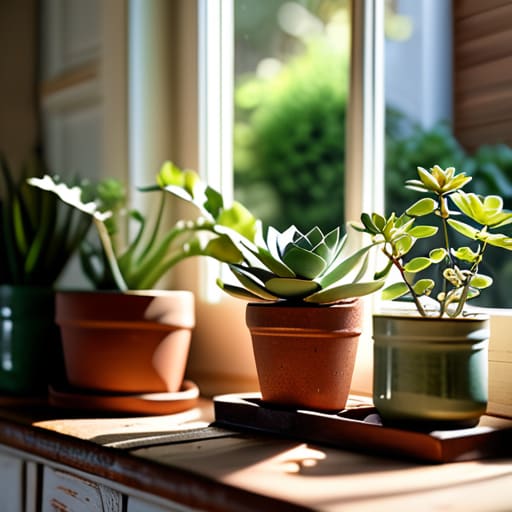
I was standing in my garage last Saturday, staring at a pile of discarded cedar scraps and a rusted tin bucket, wondering why I felt so overwhelmed by a simple weekend project. We’ve been sold this idea that making diy planters requires a high-end workshop, expensive power tools, and a Pinterest-perfect aesthetic that looks more like a museum than a living room. But honestly? That’s just noise. I’ve spent years fixing up mid-century furniture and managing chaotic household schedules, and if there’s one thing I’ve learned, it’s that perfection is the enemy of a functional home. You don’t need a masterclass in carpentry; you just need a plan that actually works.
In this guide, I’m stripping away the fluff and the fancy jargon to show you how to build sturdy, stylish diy planters using what you likely already have lying around. I’m going to walk you through three straightforward methods—from upcycling old containers to quick wood builds—that focus on durability and drainage rather than just looking pretty for a photo. No overcomplicating, no wasted materials, and no stress. Let’s just get these built so you can finally get some greenery into your space.
Table of Contents
- Step-by-Step Instructions
- Quick Wins With Upcycled Container Gardening and Recycled Plastic Bottle Pl
- Easy Hanging Planter Diy Projects and Rustic Wooden Planter Builds
- Five Pro-Tips to Keep Your DIY Planters from Becoming a Mess
- The Bottom Line: Stop Planning and Start Planting
- Done is Better Than Perfect
- Frequently Asked Questions
Guide Overview
Tools & Supplies
- Drill with bits for creating drainage holes
- Measuring tape for precise sizing
- Handsaw or utility knife for cutting materials
- Upcycled container (tin can, plastic bottle, or wooden crate) x1
- Potting soil (small bag) x1
- Small plants or seeds x3
- Decorative paint or twine for styling x1
Step-by-Step Instructions
- 1. First, clear off your workspace—and I mean actually clear it, not just push the mail and coffee mugs to the side. You need a flat, stable surface like a sturdy workbench or even a cleared-out kitchen table covered in a drop cloth. Gather your materials: scrap wood (cedar is my go-to because it resists rot), a drill, some exterior-grade screws, and a measuring tape. Having everything in front of you from the start is the only way to avoid that mid-project frustration of hunting for a screwdriver when you’re halfway through.
- 2. Measure and cut your wood pieces to size. If you’re building a simple rectangular box, you’ll need four sides and a bottom. Don’t stress about being mathematically perfect to the millimeter, but do ensure your corners are square so the box doesn’t end up looking like a leaning tower. If you don’t have a miter saw, a simple hand saw works just fine—just take your time and measure twice before you cut.
- 3. Sand down the edges of your wood pieces. This isn’t just about making it look pretty; it’s about functionality. Rough edges catch on your clothes and can snag your skin when you’re out gardening. I like to use a medium-grit sandpaper to smooth out the faces and a finer grit for the edges. It makes the whole project feel substantially more professional with very little extra effort.
- 4. Drill your pilot holes. This is the step most people skip, and it’s exactly why their wood splits. Before you drive those screws in, use a bit that is slightly smaller than your screw to create a path. This ensures the wood stays intact and the structural integrity holds up when you eventually fill it with heavy, damp soil.
- 5. Assemble the frame by driving your exterior screws through the sides and into the base. If you’re using a cordless drill, keep the pressure steady so you don’t strip the heads. I usually like to pre-assemble the sides first to make sure the box is level before I commit to attaching the bottom piece.
- 6. Drill a few drainage holes in the bottom panel. I cannot stress this enough: if your plants are sitting in a pool of stagnant water, they are going to die, and you’ll feel like you wasted your time. Use a spade bit to create several half-inch holes. It’s a small but non-negotiable step for keeping your greenery alive and thriving.
- 7. Seal the wood and add your soil. If you want these to last more than one season, apply a quick coat of eco-friendly wood sealer. Once that’s dry, line the bottom with a bit of landscape fabric to keep the soil from washing out of those drainage holes, then fill it up. Now, grab your plants and get them in the ground—the hard part is officially over.
Quick Wins With Upcycled Container Gardening and Recycled Plastic Bottle Pl
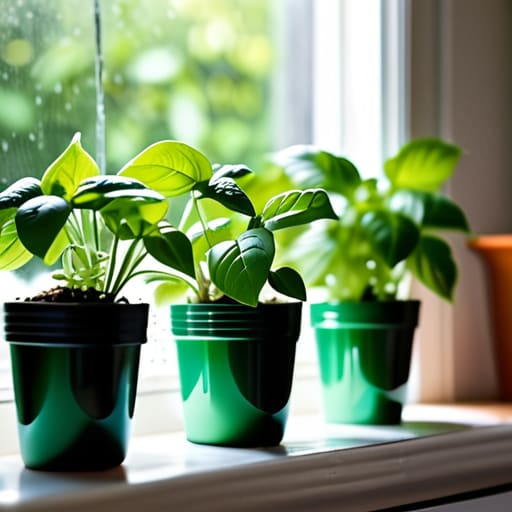
If you’re feeling overwhelmed by the idea of a full-scale garden overhaul, start small with upcycled container gardening. I’ve learned through years of managing both projects and a household that momentum is everything. You don’t need a trip to the expensive nursery to get started; look in your recycling bin instead. Taking a few old soda or water bottles and turning them into recycled plastic bottle planters is a brilliant way to test out herbs like basil or mint on your windowsill without spending a dime. Just remember to poke some drainage holes in the bottom—trust me, nobody wants a swampy mess in their kitchen.
For those of you looking to add some vertical life to a cramped balcony or a sunny corner, I highly recommend diving into some hanging planter diy projects. Using old tin cans or even sturdy yogurt containers can instantly soften the edges of a room. It’s about finding the utility in what you already own. These little wins don’t just save you money; they reduce the clutter of “stuff” by giving your waste a second, productive life. Let’s just grab what we have and get growing.
Easy Hanging Planter Diy Projects and Rustic Wooden Planter Builds
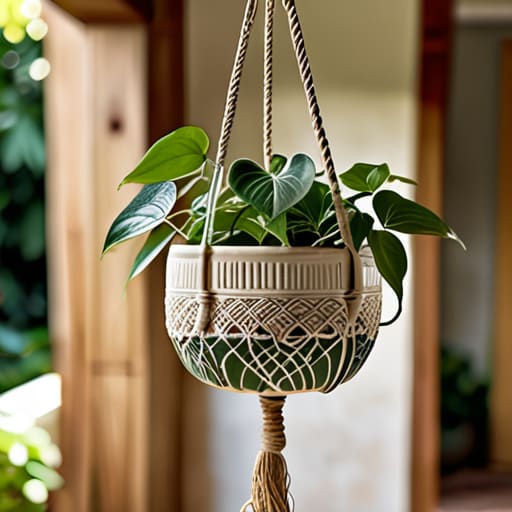
If you’re looking to reclaim some vertical space—especially if your patio feels more like a cluttered storage unit than a sanctuary—it’s time to look up. I’m a huge fan of hanging planter diy projects because they move the chaos off the ground and into the visual periphery. You don’t need a workshop for this; a simple macramé cord or even some sturdy twine looped through a ceramic bowl works wonders. Just ensure you’ve drilled drainage holes first; I’ve learned the hard way that sitting in stagnant water is a death sentence for most greenery.
For those of you who prefer a more grounded, tactile feel, I highly recommend diving into rustic wooden planter builds. Since I spend my weekends restoring mid-century furniture, I tend to gravitate toward reclaimed pallet wood or even old cedar scraps. It’s not about perfection; it’s about that intentional, lived-in look. Grab some weather-resistant screws, line the bottom with landscape fabric to keep your soil from escaping, and you’ve got a sturdy home for your herbs. It’s a low-stress way to add character to a porch without breaking the bank.
Five Pro-Tips to Keep Your DIY Planters from Becoming a Mess
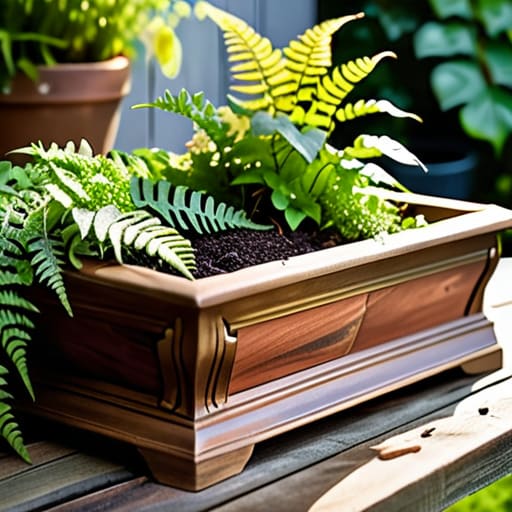
- Don’t skip the drainage. I’ve learned the hard way that even the prettiest hand-built wooden planter is just a slow-motion drowning chamber if you don’t drill holes in the bottom. If you’re using a container without holes, add a thick layer of pebbles at the base to give excess water somewhere to go.
- Match your materials to your lifestyle. If you’re like me and already have enough on your plate, don’t build a complex, multi-tiered cedar structure if you don’t have the time to maintain it. Start with something simple that doesn’t require a weekend of sanding and staining every single season.
- Seal your wood, or don’t bother. If you’re using scrap wood or anything other than naturally rot-resistant timber like cedar, you have to seal it. A quick coat of outdoor-grade sealant keeps the moisture from warping your hard work and turning your project into a soggy pile of decay by mid-July.
- Think about weight before you hang. It’s easy to get excited about a hanging planter idea, but once you add heavy ceramic pots and wet soil, that “lightweight” DIY setup is going to pull your gutter or bracket right off the wall. Always test the weight capacity of your mounting hardware before you commit.
- Use the right soil for the job. One of the biggest mistakes I see is people using standard garden dirt in a DIY container. It’s too heavy and packs down too tight, suffocating the roots. Grab a high-quality potting mix instead—it’s lighter, breathes better, and actually gives your plants a fighting chance.
The Bottom Line: Stop Planning and Start Planting
Don’t wait for a perfect garden center haul; use what you already have in your recycling bin or scrap pile to get things growing today.
Focus on function over perfection—a planter’s job is to hold soil and look decent, not to win a design award.
Small, consistent wins, like one hanging planter or a single upcycled pot, are better than a massive, half-finished project that just adds to your mental load.
Done is Better Than Perfect
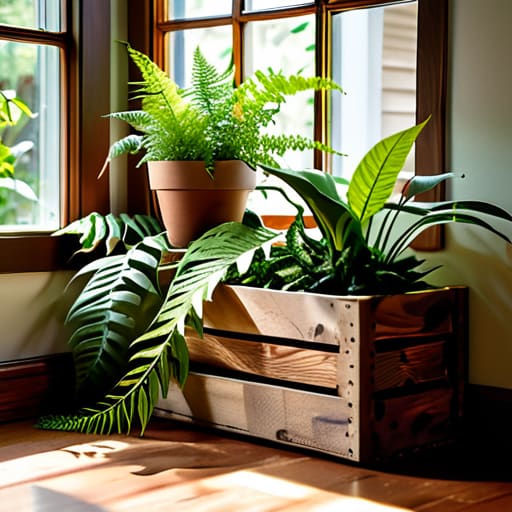
At the end of the day, whether you went the route of a rustic wooden build or just grabbed some recycled plastic bottles to save a few bucks, you’ve done the hard part: you started. We’ve covered everything from hanging planters that clear up floor space to upcycled containers that keep your garden from feeling cluttered. The goal here wasn’t to win a design award or create a museum-quality installation; it was to stop the mental clutter and actually bring some life into your living space. You now have a toolkit of simple, functional ways to add greenery without letting the project turn into another overwhelming item on your to-do list.
My best advice? Don’t wait for the perfect weekend or a massive budget to get these into the ground. If you have some scrap wood and an hour to spare, grab your notebook, head to the garage, and just get it done. There is a unique kind of peace that comes from looking at a windowsill filled with plants you grew in something you built yourself. It turns a house into a home, one small, intentional win at a time. Now, go get your hands a little dirty and enjoy the results.
Frequently Asked Questions
How do I stop my DIY planters from leaking all over my wooden porch or indoor floors?
Look, I’ve learned this the hard way: nothing ruins a weekend mood like a muddy puddle on your hardwood or a water-stained porch. To stop the leak, you need a solid drainage strategy. If you’re using containers without holes, drill some—but then you must use a saucer. For indoor plants, I always layer an inch of pebbles or charcoal at the bottom to create a buffer, or better yet, just use a double-potting method. Keep it simple and keep your floors dry.
What’s the best way to choose a soil mix so my plants don't just die in these containers two weeks later?
Look, don’t just grab the cheapest bag of “dirt” from the hardware store; that’s how you end up with a graveyard of expensive succulents. For containers, you need a high-quality potting mix, not garden soil. Garden soil is too heavy and will compact, essentially suffocating your plant’s roots. Look for something with perlite or vermiculite—those little white bits—to ensure drainage. If it doesn’t breathe, your plants won’t survive.
Are there specific types of plants that actually thrive in smaller, upcycled containers, or am I setting myself up for failure?
Look, I’ve definitely made the mistake of putting a thirsty fern in a tiny yogurt cup, and let me tell you, it was a disaster. To avoid the heartbreak, stick to plants with manageable root systems. Succulents and cacti are your best friends for small, upcycled containers because they don’t need much room or constant watering. Herbs like thyme or mint also do great, provided you don’t skimp on the drainage holes.




