Trendy Concrete Crafts You Can Make for Very Little Money
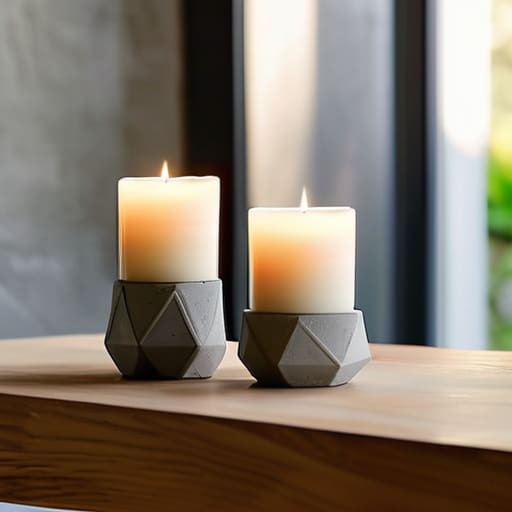
I spent most of my Saturday morning staring at a pile of mismatched ceramic coasters and a cluttered entryway that felt more like a junk drawer than a home. It’s easy to feel like your space is constantly working against you, especially when you’re trying to balance a freelance schedule and a house that never seems to stay tidy. I used to think that achieving that clean, intentional look required a massive budget or a professional designer, but I’ve learned that sometimes the best way to reclaim your space is through a little bit of grit and some simple concrete craft ideas. There is something incredibly grounding about working with your hands to create something that is both sturdy and purposeful.
In this post, I’m stripping away the fluff and sharing five of my favorite ways to use concrete to bring some much-needed order to your daily routine. We aren’t just making “decor”—we are building functional tools that actually serve a purpose in a busy household. From organizing your desk to finally tackling that countertop clutter, these five projects will show you how to turn a raw, inexpensive material into intentional home accents. Let’s stop overcomplicating your decor and just get these projects done.
Table of Contents
Minimalist Desk Organizers
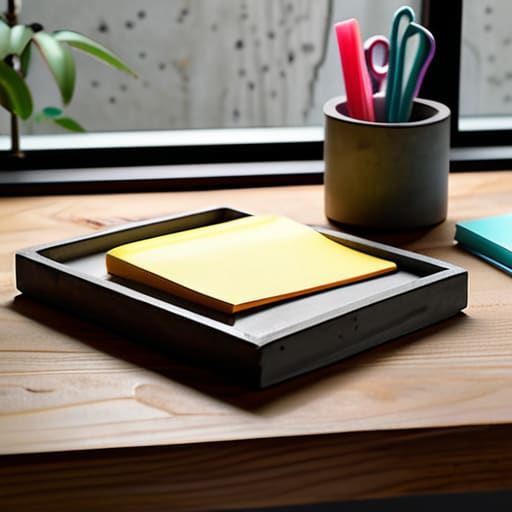
If your workspace looks like a paper cyclone hit it, you don’t need a fancy office overhaul; you just need some structure. I started making small, rectangular concrete trays using repurposed plastic food containers as molds. They are heavy enough that they won’t slide around when you’re reaching for a pen, and they provide a solid foundation for your stapler, paperclips, and post-its.
Low-Maintenance Succulent Planters
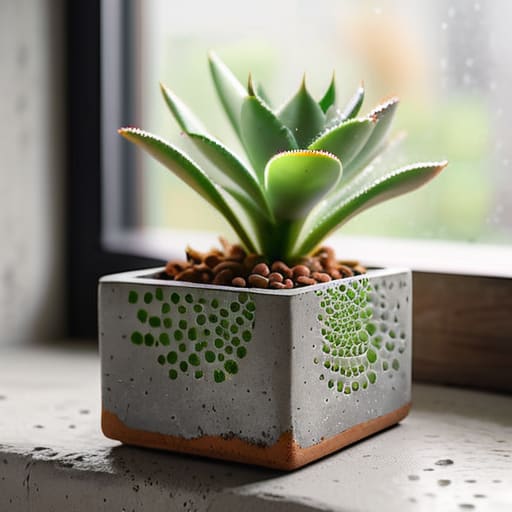
I used to be the person who constantly forgot to water my plants, which usually ended in a sad, shriveled mess on my windowsill. Switching to small concrete planters changed the game for me. Because concrete is porous, it actually helps with breathability for the roots, which is a massive plus for succulents and cacti that hate sitting in soggy soil.
Heavy-Duty Candle Holders
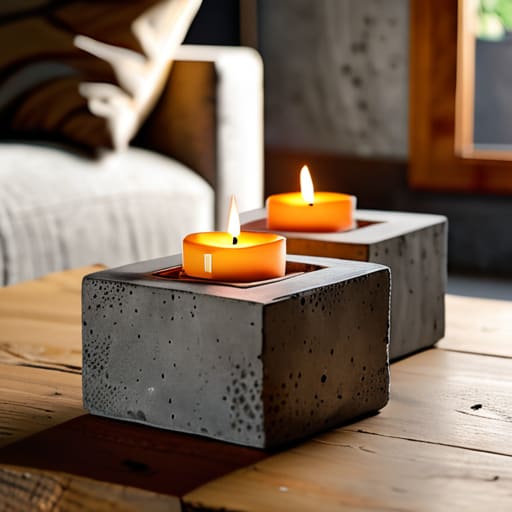
We all have those flimsy tea light holders that tip over way too easily, especially if you have kids or pets running around the house. I decided to fix that by casting some chunky, geometric concrete bases. These aren’t just pretty to look at; they have enough heft and stability to stay exactly where you put them, no matter how much chaos is happening nearby.
Catch-All Trays for Entryway Chaos
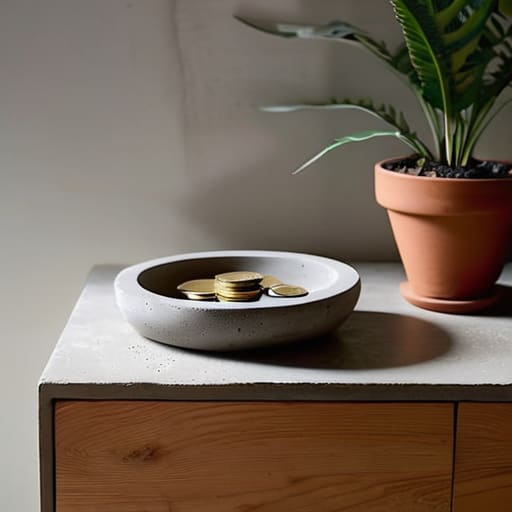
You know that pile of keys, loose change, and random mail that seems to migrate toward your entryway table every single day? I call it the “junk drift,” and it drives me crazy. I made a shallow concrete dish specifically to act as a designated landing zone for all those small items that usually end up scattered across the counter.
Brutalist Bookends
If you’re like me and you have a collection of heavy coffee table books or cookbooks that refuse to stay upright, you need something substantial to hold them in place. I whipped up a set of heavy-duty concrete bookends using old milk cartons as my primary molds. They are unapologetically heavy, which is exactly what you want when you’re trying to corral a leaning stack of hardcovers.
The Bottom Line on Concrete DIY
Don’t let the fear of a mess stop you; concrete is forgiving, and the goal is functional decor, not a museum-grade masterpiece.
Focus on utility first—if a concrete tray doesn’t actually help clear your surfaces, it’s just more clutter you don’t need.
Invest in a few decent molds and some sandpaper now so you aren’t fighting your materials halfway through the project.
Stop Overthinking and Start Casting
At the end of the day, whether you’re casting a simple succulent planter to clear your windowsill or creating custom catch-all trays to tame the entryway clutter, the goal is the same: functionality over perfection. We’ve looked at how a little bit of quick-dry cement can solve those small, nagging organizational gaps that drive us crazy. You don’t need a professional workshop or a degree in fine arts to make these work; you just need a few molds, a bit of patience, and the willingness to get your hands a little dusty. Once you see how these minimalist pieces actually serve a purpose in your daily routine, you’ll realize that DIY isn’t just about “decorating”—it’s about reclaiming your space.
If you’ve been staring at a messy desk or a cluttered countertop waiting for the “perfect” solution to arrive in a box, stop waiting. Grab a bag of concrete and just start making something. There is a profound sense of calm that comes from fixing a problem with your own two hands, especially when the result is something beautiful, sturdy, and useful. Life is far too chaotic to let small inconveniences win. Let’s stop overcomplicating our homes and just get things done.
Frequently Asked Questions
Do I really need to buy specialized concrete, or can I just use the stuff from the hardware store?
Look, save your money. You don’t need some boutique, high-end “artisan” mix to get the job done. Grab a bag of standard Quikrete or even sand/cement from the hardware store. The stuff from the big-box stores is perfectly fine for planters or coasters. Just a heads-up: the hardware store mix can be a bit gritty, so you might want to sand your finished pieces down once they’re dry to get that smooth, professional feel.
How do I stop my concrete projects from looking like gray, dusty messes on my coffee table?
The biggest mistake people make is leaving the concrete raw and porous. If you want to avoid that chalky, dusty look, you have to seal it. I always use a high-quality matte sealer; it protects the surface without making it look like cheap plastic. Also, don’t skip the sanding. A quick pass with fine-grit sandpaper before you seal will smooth out those rough edges and give it a professional, intentional finish.
Is there a trick to getting the bubbles out so my planters don't look like Swiss cheese?
Trust me, I’ve spent more hours than I’d like to admit staring at tiny air bubbles in my planters. The secret isn’t fancy equipment; it’s just a little patience and a vibration. Once you pour the mix, tap the sides of your mold firmly with a screwdriver handle or a wooden spoon. That vibration coaxes those pesky bubbles to the surface. If you’re feeling extra thorough, give the mold a gentle shake after every pour.




