Create Stunning Wall Art at Home That Looks Professionally Made
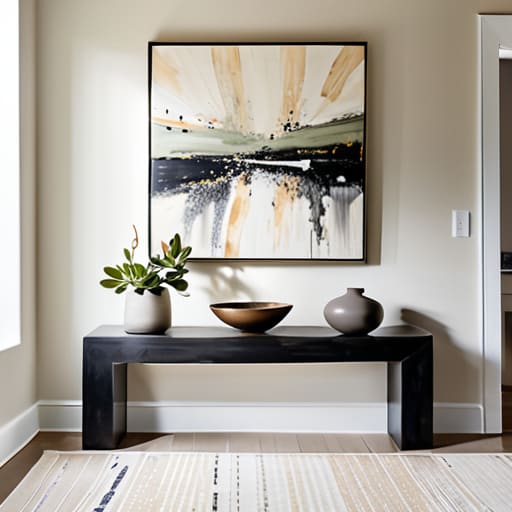
I was standing in my hallway last Tuesday, staring at a massive, glaringly white patch of drywall that had been mocking me for three months, and I realized I was paralyzed by the same thing everyone else is: the fear of making something “bad.” We’ve been conditioned to believe that if we want to learn how to make wall art, we need an expensive degree in fine arts or a studio full of high-end supplies. Honestly? That’s a total myth. You don’t need a gallery-grade budget to stop those empty walls from making your house feel like a sterile doctor’s office; you just need a plan that actually works with the tools you already have in your junk drawer.
In this guide, I’m stripping away all the fluff and the intimidating “artist” jargon to give you some real-world, actionable wins. I’ll show you exactly how to make wall art that looks intentional and polished without spending your entire weekend—or your entire paycheck—on a whim. We are going to focus on minimalist, high-impact projects that fit your life, whether you’re working with reclaimed wood from a furniture project or just some simple frames and textured paper. Let’s quit overthinking it and finally get those walls looking like a home.
Table of Contents
- Step-by-Step Instructions
- Easy Canvas Painting Techniques for a Polished Look
- Budget Friendly Home Decor Projects That Actually Look Expensive
- Five ways to keep your DIY art from looking like a middle school project
- The bottom line: Keep it simple and functional
- Let’s Get Those Walls Covered
- Frequently Asked Questions
Guide Overview
Tools & Supplies
- Paintbrush or sponge for applying color
- Painter's tape for creating clean lines
- Canvas or wooden panel (1 piece)
- Acrylic paints (set of 5-10 colors)
- Acrylic medium or water (small amount)
- Palette or paper plate for mixing
Step-by-Step Instructions
- 1. First, clear some space on your dining table or a flat surface you don’t mind getting a little messy. You need a dedicated “work zone” so you aren’t hunting for supplies mid-project. Grab some old newspapers or a cheap drop cloth to lay down; I learned the hard way that acrylic paint on a hardwood floor is a nightmare you only want to deal with once.
- 2. Pick your medium based on what you actually have on hand. Don’t go out and buy a professional easel if you aren’t ready for it. If you’re feeling minimalist, just grab some heavy cardstock or even old book pages. If you want something with more texture, a small canvas from the craft store works wonders. The goal here is to keep it simple so you don’t get overwhelmed before you even start.
- 3. Decide on a color palette before you touch a brush. This is where my organizational brain kicks in—if you pick colors that clash, the whole piece will feel chaotic. I usually pull three colors from the room where the art is going to hang. This ensures the piece looks like it actually belongs in the space rather than looking like a random afterthought.
- 4. Start with your background layer. Whether you’re using sponges to dab on color or a wide brush for a wash, get that base layer down first. Don’t worry about perfection; in fact, a little bit of unintentional texture often makes the piece look more expensive and less like a school project.
- 5. Layer in your focal points. This could be a simple geometric shape, a dried botanical pressed between glass, or even some bold brushstrokes. If you’re feeling stuck, remember that less is almost always more. I tend to stick to one main shape or element to keep the visual noise to a minimum.
- 6. Let it dry completely—and I mean completely. I know it’s tempting to hang it up immediately to see how it looks, but if you try to frame it while it’s still tacky, you’ll end up with a sticky mess. Use this time to tidy up your workspace and jot down any ideas for your next project in your notebook.
- 7. Finally, choose a way to display it that doesn’t require a drill if you’re renting or just want to keep things low-stress. Command strips are a lifesaver for lightweight canvases, or you can lean a larger piece against the wall on a mantel. The point isn’t to create a museum masterpiece; it’s to make your space feel finished on your own terms.
Easy Canvas Painting Techniques for a Polished Look
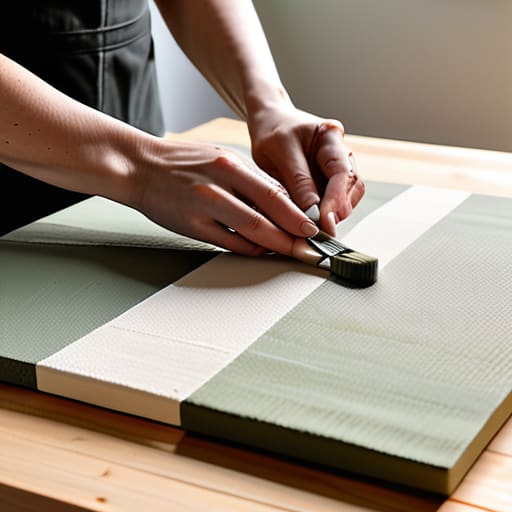
If you’re feeling a bit intimidated by a blank canvas, don’t sweat it. You don’t need to be Da Vinci to get something that looks intentional rather than accidental. One of my favorite easy canvas painting techniques is the simple color-block method. Instead of trying to paint a realistic landscape, pick three colors that already live in your living room—maybe a muted sage, a creamy off-white, and a deep charcoal—and just paint large, clean shapes. It’s a foolproof way to create modern wall decor DIY that actually complements your furniture instead of clashing with it.
For those who want a bit more depth without the mess of complex layering, I highly recommend experimenting with texture paste art methods. You can grab a cheap tub of modeling paste from the craft store and use an old credit card or a palette knife to swirl it across the surface. Once it dries, a quick, thin wash of acrylic paint over the ridges creates a high-end, sculptural look. It’s one of those budget friendly home decor projects that makes people ask, “Wait, did you actually buy that at a boutique?”
Budget Friendly Home Decor Projects That Actually Look Expensive
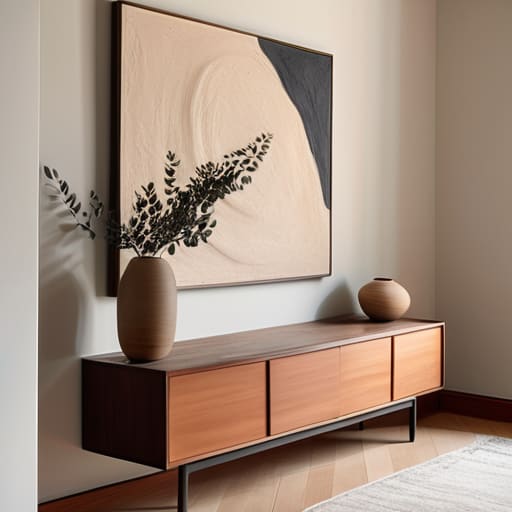
Look, we’ve all been there—staring at a Pinterest board full of high-end galleries, then looking at our bank account and sighing. But here’s a secret from my years of project managing: “expensive” is often just a code word for intentionality. You don’t need a massive budget to elevate your space; you just need to stop buying cheap, plastic trinkets and start leaning into modern wall decor DIY projects that have some actual soul.
One of my favorite ways to trick the eye is by playing with dimension. Instead of flat, boring prints, try experimenting with texture paste art methods. Grab a tub of lightweight modeling paste from the craft store—it’s incredibly inexpensive—and use a palette knife to create sweeping, sculptural lines on a canvas. When you catch the light hitting those ridges, nobody is going to ask if you spent fifty dollars or five. It’s all about adding that tactile, high-end feel without the designer price tag. Stick to a cohesive, neutral color palette, and you’ll have pieces that look like they were curated, not just “bought.”
Five ways to keep your DIY art from looking like a middle school project
- Stop obsessing over perfection. If you’re painting, embrace the texture. A little bit of unevenness actually makes a piece look more intentional and high-end, rather than something mass-produced in a factory.
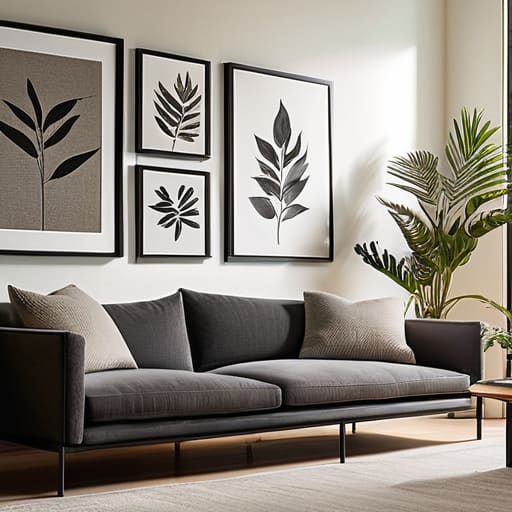
- Think about scale before you commit. I’ve seen so many people hang tiny little prints on massive walls, and it just looks lonely. If you have a big space, go big with your canvas or group smaller pieces into a cohesive gallery wall.
- Stick to a tight color palette. If you want your home to feel calm and organized, don’t use every color in the crayon box. Pick three or four tones that actually play nice with your existing furniture and stick to them.
- Don’t forget the framing. A cheap print can look like a million bucks if you put it in a decent, sturdy frame with a wide mat. It’s the easiest way to add that “finished” look without much effort.
- Test your placement before you hammer a single nail. Use painter’s tape to outline where the art will go on the wall. It saves you from the headache of realizing halfway through that your masterpiece is two inches too low.
The bottom line: Keep it simple and functional
Don’t get paralyzed by perfectionism—the goal is to fill the space and make it feel like yours, not to win an art gallery award.
Focus on scale and placement; even the simplest piece of art looks high-end if it’s sized correctly for the wall it’s hanging on.
Use what you have or grab cheap basics, because your home should be a living project, not a museum of expensive mistakes.
Let’s Get Those Walls Covered
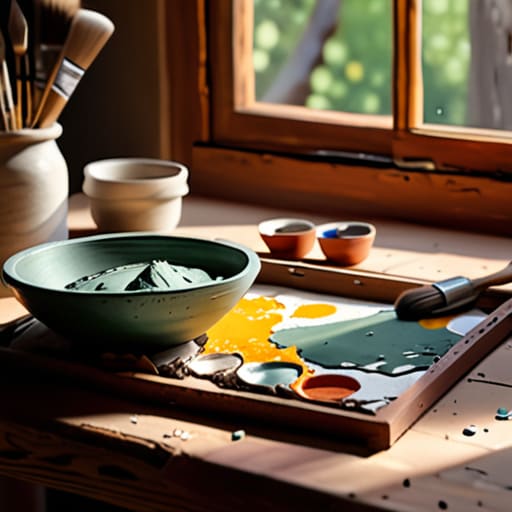
At the end of the day, making your own wall art doesn’t require a degree in fine arts or a massive budget. Whether you went the route of simple canvas textures, repurposed thrift store finds, or budget-friendly DIYs that look like they came straight from a high-end boutique, the goal was to move from intention to action. We’ve covered how to keep your techniques polished and how to make sure your decor looks intentional rather than cluttered. The most important thing I’ve learned from years of managing projects—both at work and in my own living room—is that perfection is the enemy of progress. Don’t get hung up on whether every brushstroke is flawless; focus on the fact that you are finally taking control of your space.
Your home should be a reflection of your journey, not a showroom for someone else’s taste. I know how easy it is to let a project sit in the “someday” pile while you wait for the perfect moment or the perfect supplies, but those blank walls aren’t going to decorate themselves. Grab that notebook, pick one small corner of a room, and just start. Once you see that first piece hanging up, you’ll realize that creating a functional, beautiful home is really just a series of small, manageable wins. Now, stop overthinking it and go get those walls looking like a real home.
Frequently Asked Questions
How do I figure out what size art actually fits my wall without it looking tiny or overwhelming the room?
I used to make the mistake of buying “cute” pieces that ended up looking like postage stamps on a giant wall. Don’t do that. Here’s my trick: grab some blue painter’s tape and mask out the dimensions on the wall before you buy anything. It gives you an immediate, physical sense of the scale. If you’re hanging one large piece, aim for about two-thirds the width of your furniture. Better to go slightly too big than too small.
I'm worried about making a mess—what's the best way to protect my floors and furniture while I'm working?
Look, I get it. There is nothing worse than finishing a project only to realize you’ve left a permanent paint splatter on the hardwood. Don’t just rely on a single sheet of newspaper; it shifts too easily. Grab some heavy-duty canvas drop cloths or even old bedsheets—they stay put better. Lay them down wide, tape the edges with painter’s tape if you’re working near furniture, and clear a dedicated “splash zone” before you even open the paint.
If I mess up a piece halfway through, is there a way to salvage it or should I just start over?
Listen, I’ve been there. I once ruined a custom stain on a mid-century sideboard and nearly threw the whole thing out. Don’t panic. Most of the time, you don’t need to start over; you just need a pivot. If the paint is too thick, sand it back. If the colors are a mess, layer something else on top or go monochromatic. Treat it as a “happy accident” and build a new layer. Just breathe—we’ll fix it.




